

Happy Valentine’s Day!
I stink at Valentine’s Day. I never know what to give my dearest husband, so his gift usually ends up being some awkward card. My kids, on the other hand, spend weeks creating all manner of Valentine’s Day crafts. I’m sure the intention is to give them to my husband and I on Valentine’s Day, but they never even remember. I’ve seriously considered doing the same thing for my husband. I’m not sure it would go over, though, any better than the awkward card.
For this Valentine’s Day, I thought I would take care of the parents’ gifts and the Valentine’s Day cards for friends with a couple little homeschool crafts. I love this about homeschooling – you always have an abundance of craft supplies! For Mom and Dad, the children made some Thumb Print Clay Diffusers and for their friends, they made Love Bug Essential Oil Diffusers.
Neither of these require any great skill or craftiness, but I always give the steps for you folks who are DIY-challenged and otherwise gifted.
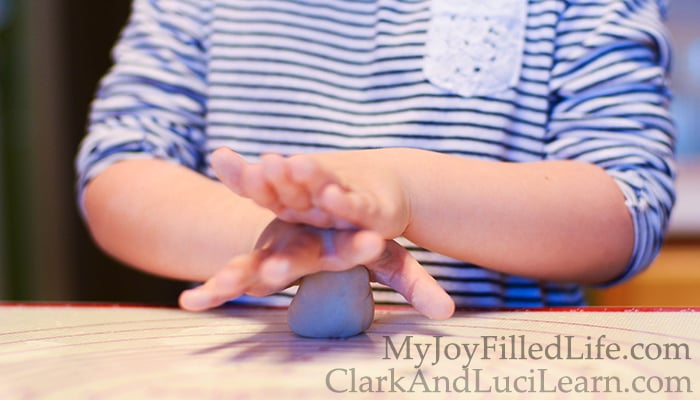
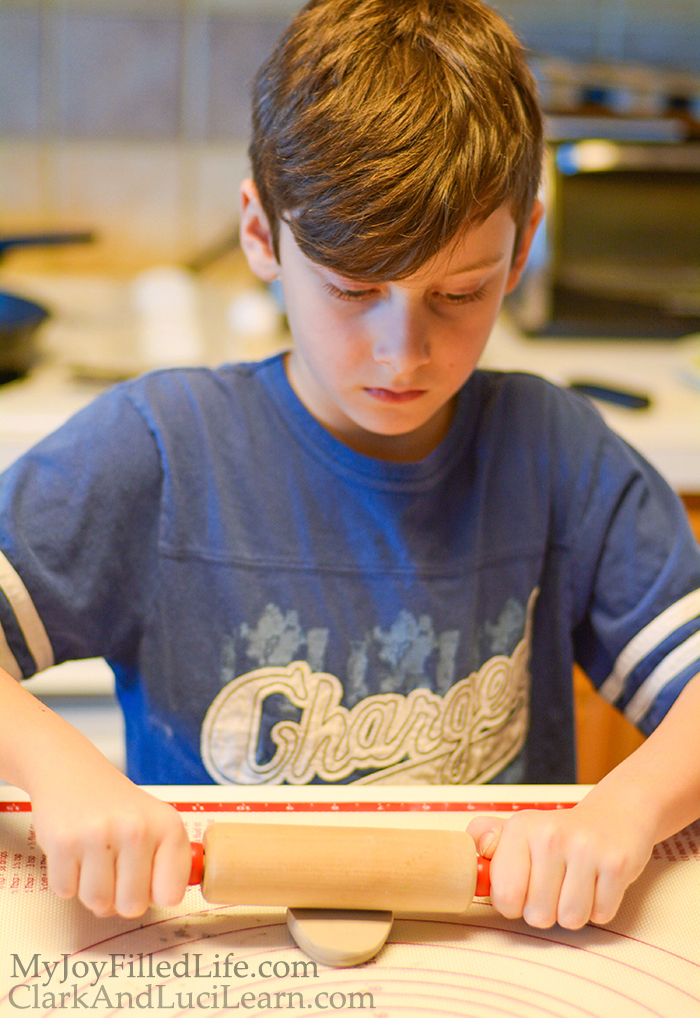
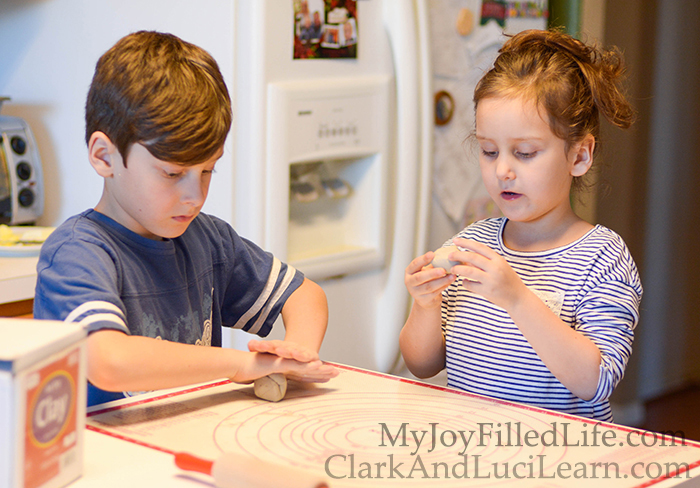
Start with a fist-sized ball of air dry clay. Roll it out to a uniform thickness of about 1/4 of an inch. I had the kids roll it out on a silicone pastry mat because it’s supposed to be non-stick and easy to clean. That’s not quite how things went down, since clay seems to stick to everything, but it does make the clean up a little easier.
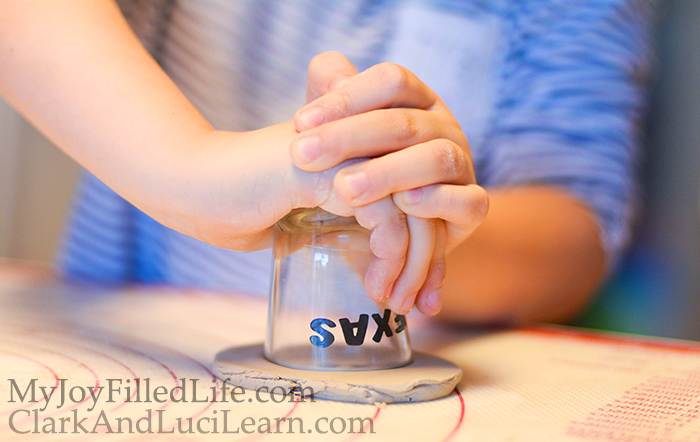
Once the clay is rolled out, use a cookie-cutter (or shot glass) to cut out a circular shape of about a 1.5″ diameter. Peel the circle off the counter and use water on your fingers to smooth down the edges.
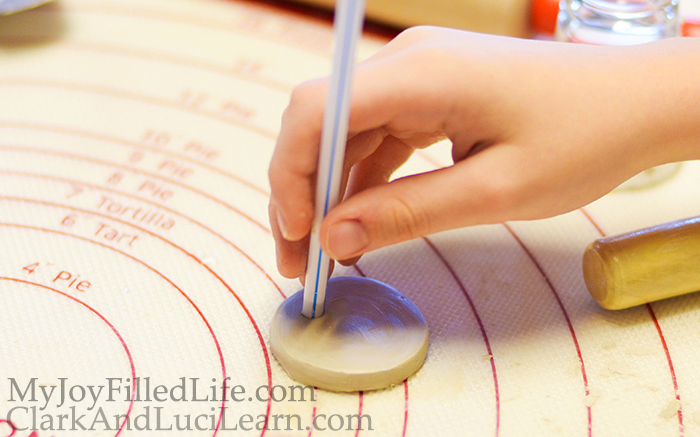
When it’s all nice and smooth, lay it down on the mat and, using an average sized straw, cut out a hole. This will be where you are going to hang it from, so keep that in mind when positioning.
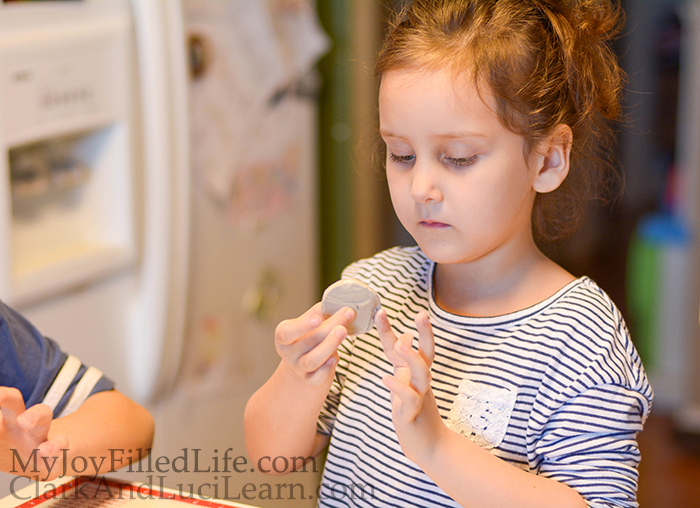
Now is the time to apply the thumb prints. I love the idea of preserving my children’s little thumb prints this way. They grow so fast; it’s nice to keep this for memories, right?
My children are still young and definitively needed guidance with this task. The goal was to create a heart out of two thumb prints.
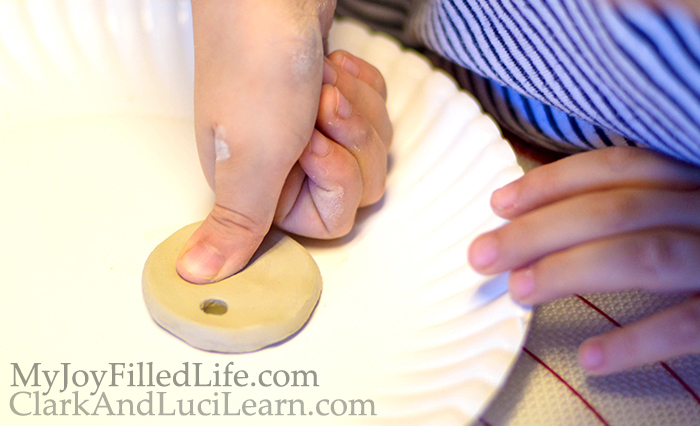
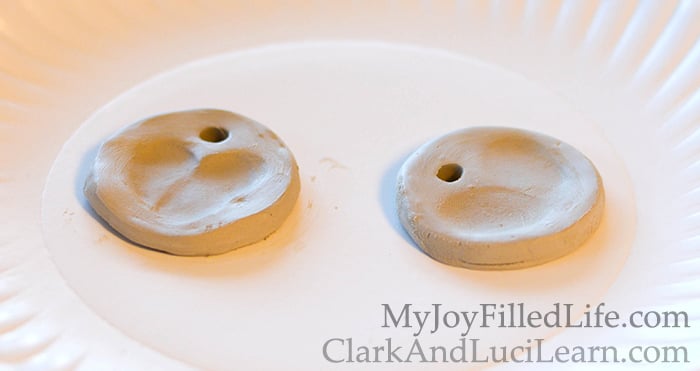
We let our clay dry overnight and that was plenty. Word to the wise: see how in the image above they are drying on a paper plate? Don’t do that. They stick and you will want to smack yourself.
Once they are dried, you can set the kids loose on the painting part, which is what they were really waiting for anyway. We just use non-toxic acrylic paint, which absorbed in very nicely.


First we painted the thumb prints (or heart), then allowed it to dry. Drying goes very quickly because of the quick absorption. Then we painted around the heart. Any mistakes can be easily corrected by painting over the mistake.
When the front has dried, turn it over and paint the back.


We finished the painting portion by adding a fun little sparkly glaze. Everything is better with some sparkle. Then we let it dry over night.


The children LOOOOVED the final result! We strung some ribbon through the hole, and one was instantly claimed as a necklace. I’m planning on using one as an essential oil car diffuser. A couple of drops and the vehicle is filled with whichever scent you choose! This is fantastic for long car rides and tired children. I love that when I’m driving, the little thumb prints are a sweet reminder to me of my precious babies, waiting for me at home.

Now it’s your turn to make your own thumb print clay diffusers! How are you going to use them?


Leave a Reply