The new school year is right around the corner and while the year will most likely look different for most students and teachers (even if you homeschool; anyone’s co-ops canceled?), we can do our best to keep things as normal and as positive as possible. Be sure to keep your back-to-school traditions and make coming home extra special with fun after school snacks.
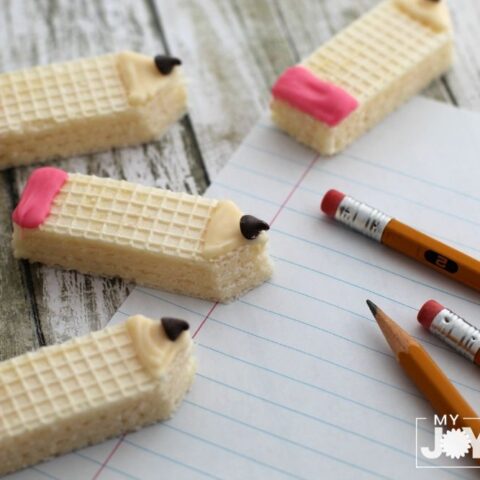
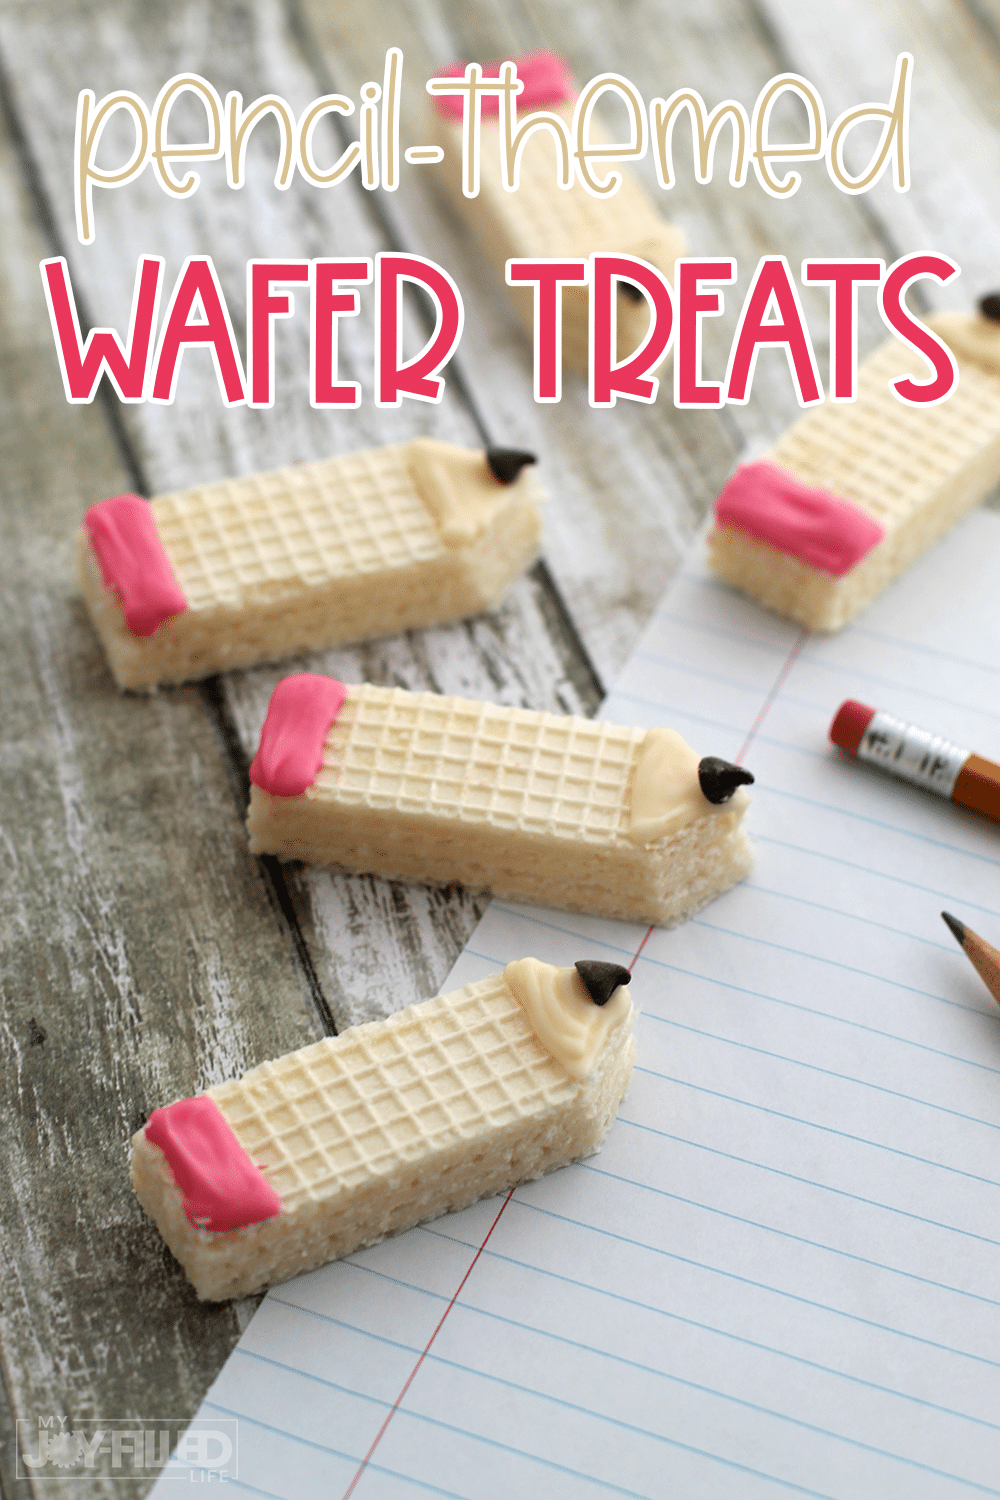
These pencil cookies made out of wafers (these ones were made with lemon, gluten-free wafers) are perfect for back-to-school treats or as an after school snack. Not only are they cute, but they are easy to make as well. You could turn it into a fun activity because I’m sure your kids would love helping you make these.
Scroll down below for the instructions on how to make this fun treat!
Ingredients needed for Pencil Cookies:
- Wafer Cookies
- White melting chocolate
- Pink melting chocolate
- Chocolate chips (Use mini chocolate chips for smaller cookies)
Other Materials Needed:
- Sandwich bags
Directions to make Pencil Cookies:
Using a serrated knife, carefully cut the squared corners off of one side of each wafer cookie so they are in the shape of a point at one end.
Melt the white and pink chocolate according to package directions.
Scoop each color of melting chocolate into its own sandwich bag. Press the chocolate all the way until it reaches the bottom of one corner of the bag. Use scissors to snip off a very small tip to allow the chocolate to slowly flow through.
Use the white melting chocolate to draw around the edge of the triangle tip of each wafer cookie to create the “pencil tip”. Fill in the triangle in with the chocolate. Place a chocolate chip on the very end (point facing out).
Use the pink melting chocolate to trace around the opposite squared end of the wafer cookie, and completely fill in a rectangular shape to create the “eraser”.
Complete this process for all cookies. Allow melting chocolate to completely cool before enjoying.
Pencil Wafer Cookie
This easy-to-make pencil cookie is perfect for a back-to-school treat or as a special after school snack.
Ingredients
- Wafer Cookies
- White melting chocolate
- Pink melting chocolate
- Chocolate chips (Use mini chocolate chips for smaller cookies)
- Sandwich bags
Instructions
- Using a serrated knife, carefully cut the squared corners off of one
side of each wafer cookie so they are in the shape of a point at one
end. - Melt the white and pink chocolate according to package directions.
- Scoop each color of melting chocolate into its own sandwich bag. Press the chocolate all the way until it reaches the bottom of one corner of the bag. Use scissors to snip off a very small tip to allow the chocolate to slowly flow through.
- Use the white melting chocolate to draw around the edge of the triangle tip of each wafer cookie to create the “pencil tip”. Fill in the triangle in with the chocolate. Place a chocolate chip on the very end (point facing out).
- Use the pink melting chocolate to trace around the opposite squared end of the wafer cookie, and completely fill in a rectangular shape to create the “eraser”.
- Complete this process for all cookies. Allow melting chocolate to completely cool before enjoying.
Recommended Products
As an Amazon Associate and member of other affiliate programs, I earn from qualifying purchases.
You might also like:













Leave a Reply