I love this time of the year! It’s spring; everything is fresh and new and starting to grow again. The weather is absolutely perfect (at least in my neck of the woods) – jeans and a t-shirt weather! Can’t beat it!!
Plus, my birthday is in the spring! But most importantly, it’s the time of year when we celebrate our Lord Jesus Christ and what He did on the cross for us. We don’t do the Easter Bunny or baskets at our house, but we do do a little Easter egg hunt with the kids. We fill the eggs with candy and little coupons for special treats, similar to what is in our Christmas coupon books.
Our focus this Easter will be about serving others, worshiping and praising our awesome God, and being with our favorite people. Our Easter will consist of some fun activities and yummy treats throughout the month of April that point to and focus on our Lord.
Easter is such an important holiday in our home, if not THE most important. It’s crucial for our children to know and understand why we celebrate this occasion.
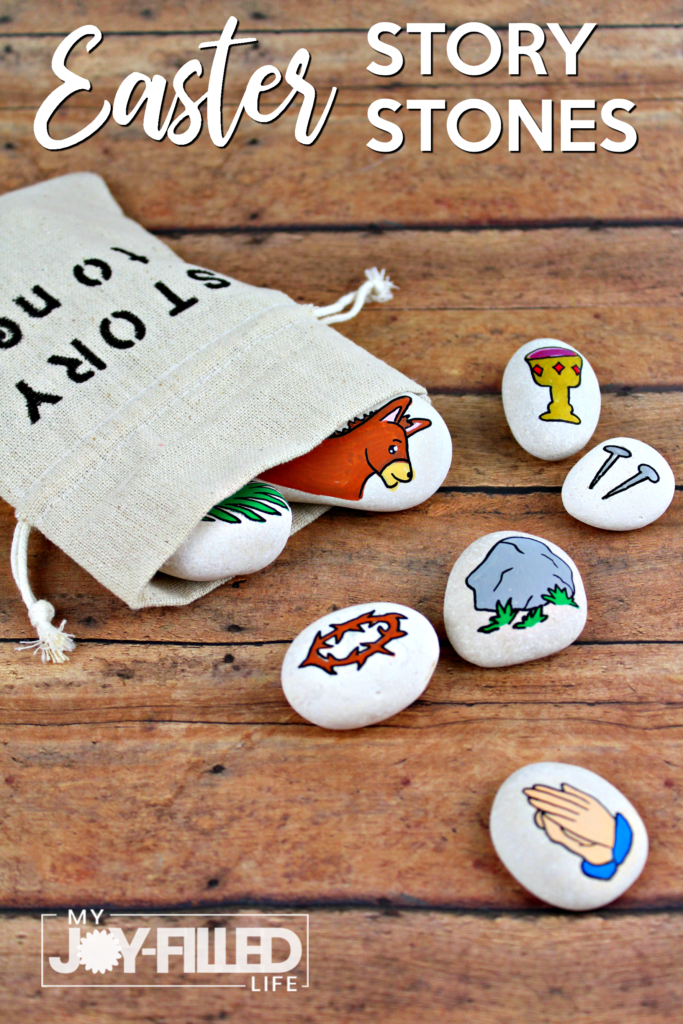
Here is a great activity you can do to help your kids learn the true reason for Easter. You can make these stones as detailed or as simple as you’d like. If your kids are really little, you might want to make the stones, but if your kids are bigger, let them try their hand at it and if you have multiple kids, they can each have their own set that they can create and cherish. There are many different ways you can use these story stones.
Be sure to check out our Nativity Story Stones too!!
Suggestions for using Easter Story Stones:
- As you read the Easter story from your favorite Bible story book or Bible, discuss what each symbol means
- Do a sequencing activity and have your kids put them in the correct order based on the events they represent
- Hide them around the house, kind of like a mini Easter egg (rock) hunt
- Use them in place of Resurrection Eggs
- Make your own Resurrection Eggs by putting the stones in the eggs instead of trying to scrounge up all the items for the eggs
- Make a set and give it to a friend as a gift
- You could right scripture references on the back of the rocks
- The possibilities are endless…..
Here is what you’ll need and how to make the Easter story stones –
Supplies:
- Stones/Rocks
- Paint Pens
- Pencil (my favorite pencils, EVER)
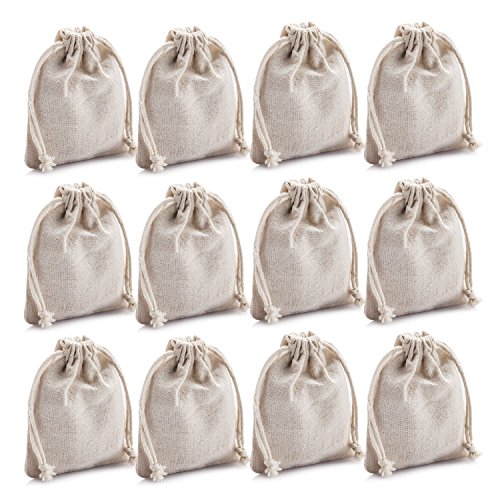
- Canvas Bag (optional)
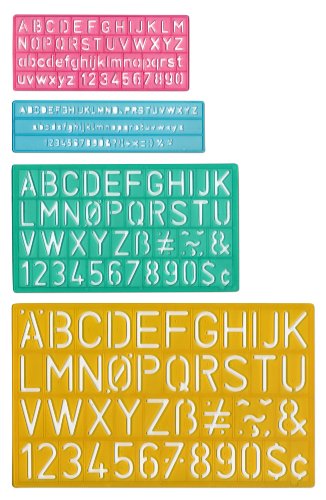
- Alphabet Stencil (optional)
- Spray sealer or Mod Podge (optional)
Large Caribbean Beach Pebbles


Directions:
Gather all of your supplies. Rinse the stones in warm water until all of the powder has been removed. Allow the stones to dry completely.
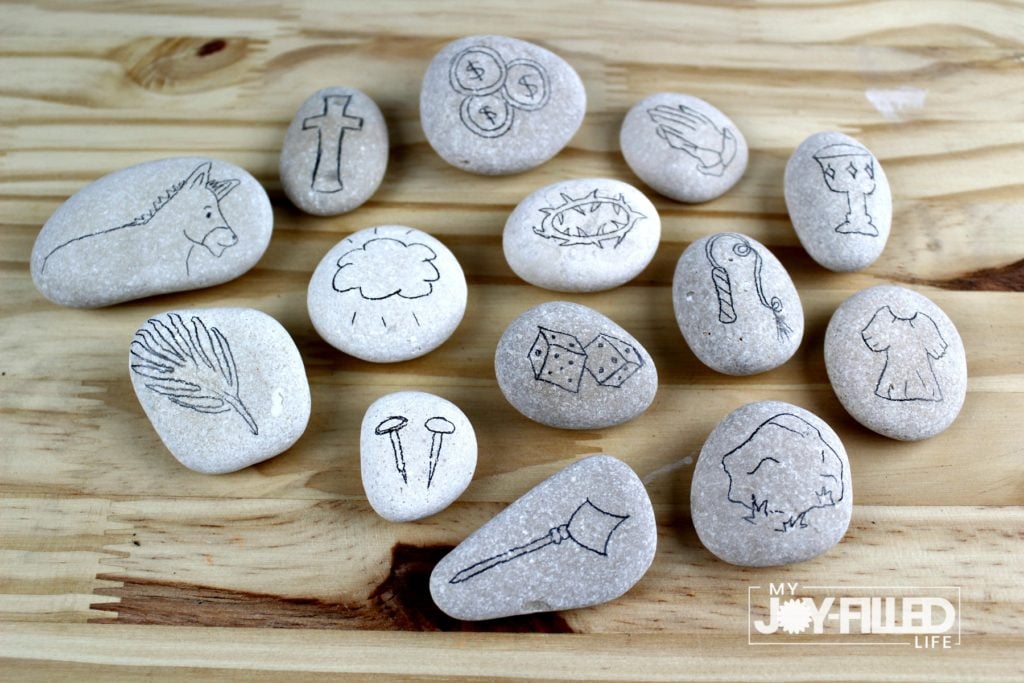
Once the stones are dry, sketch the designs you’d like onto the stones.
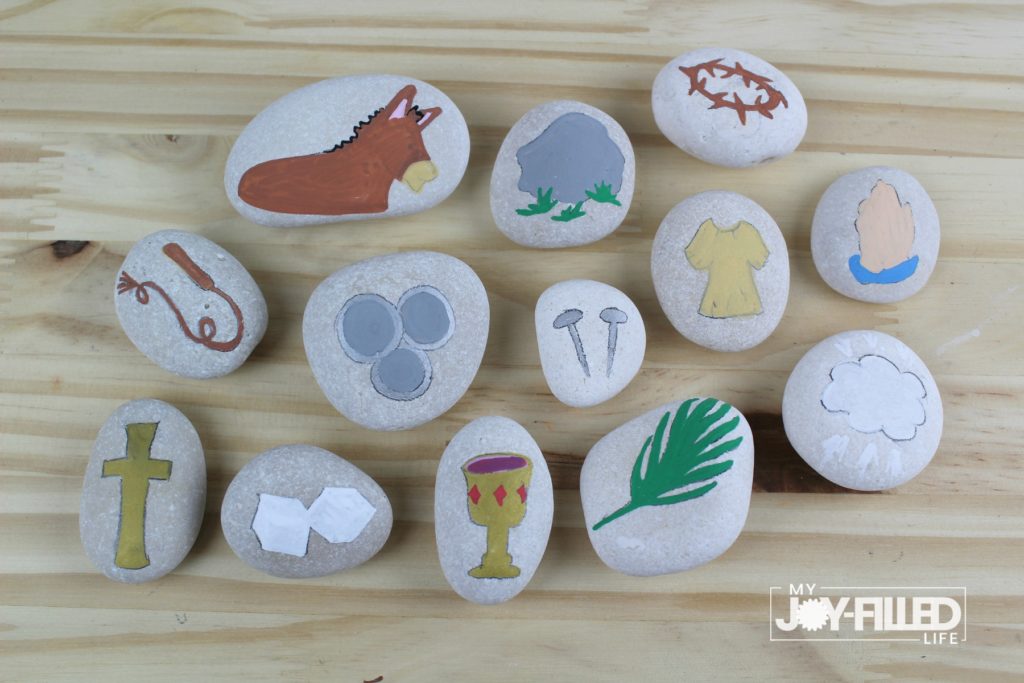
Use the paint pens to color in your drawings.
Use a black paint pen to outline your drawings on the stones; this really helps to make the drawings pop.
Allow the paint to dry completely. If you’d like to protect your stones for many uses, use a spray sealer or Mod Podge.
You are now ready to use your stones to narrate the Easter story. You can even flip them over and write words, scriptures, or scripture references on the back of the stones.
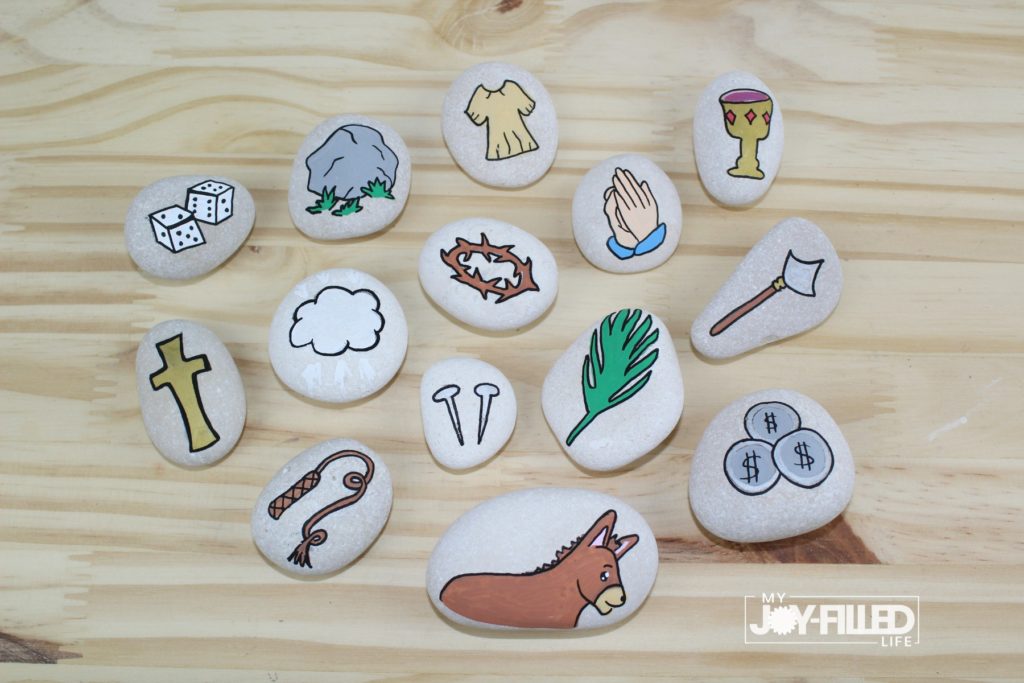
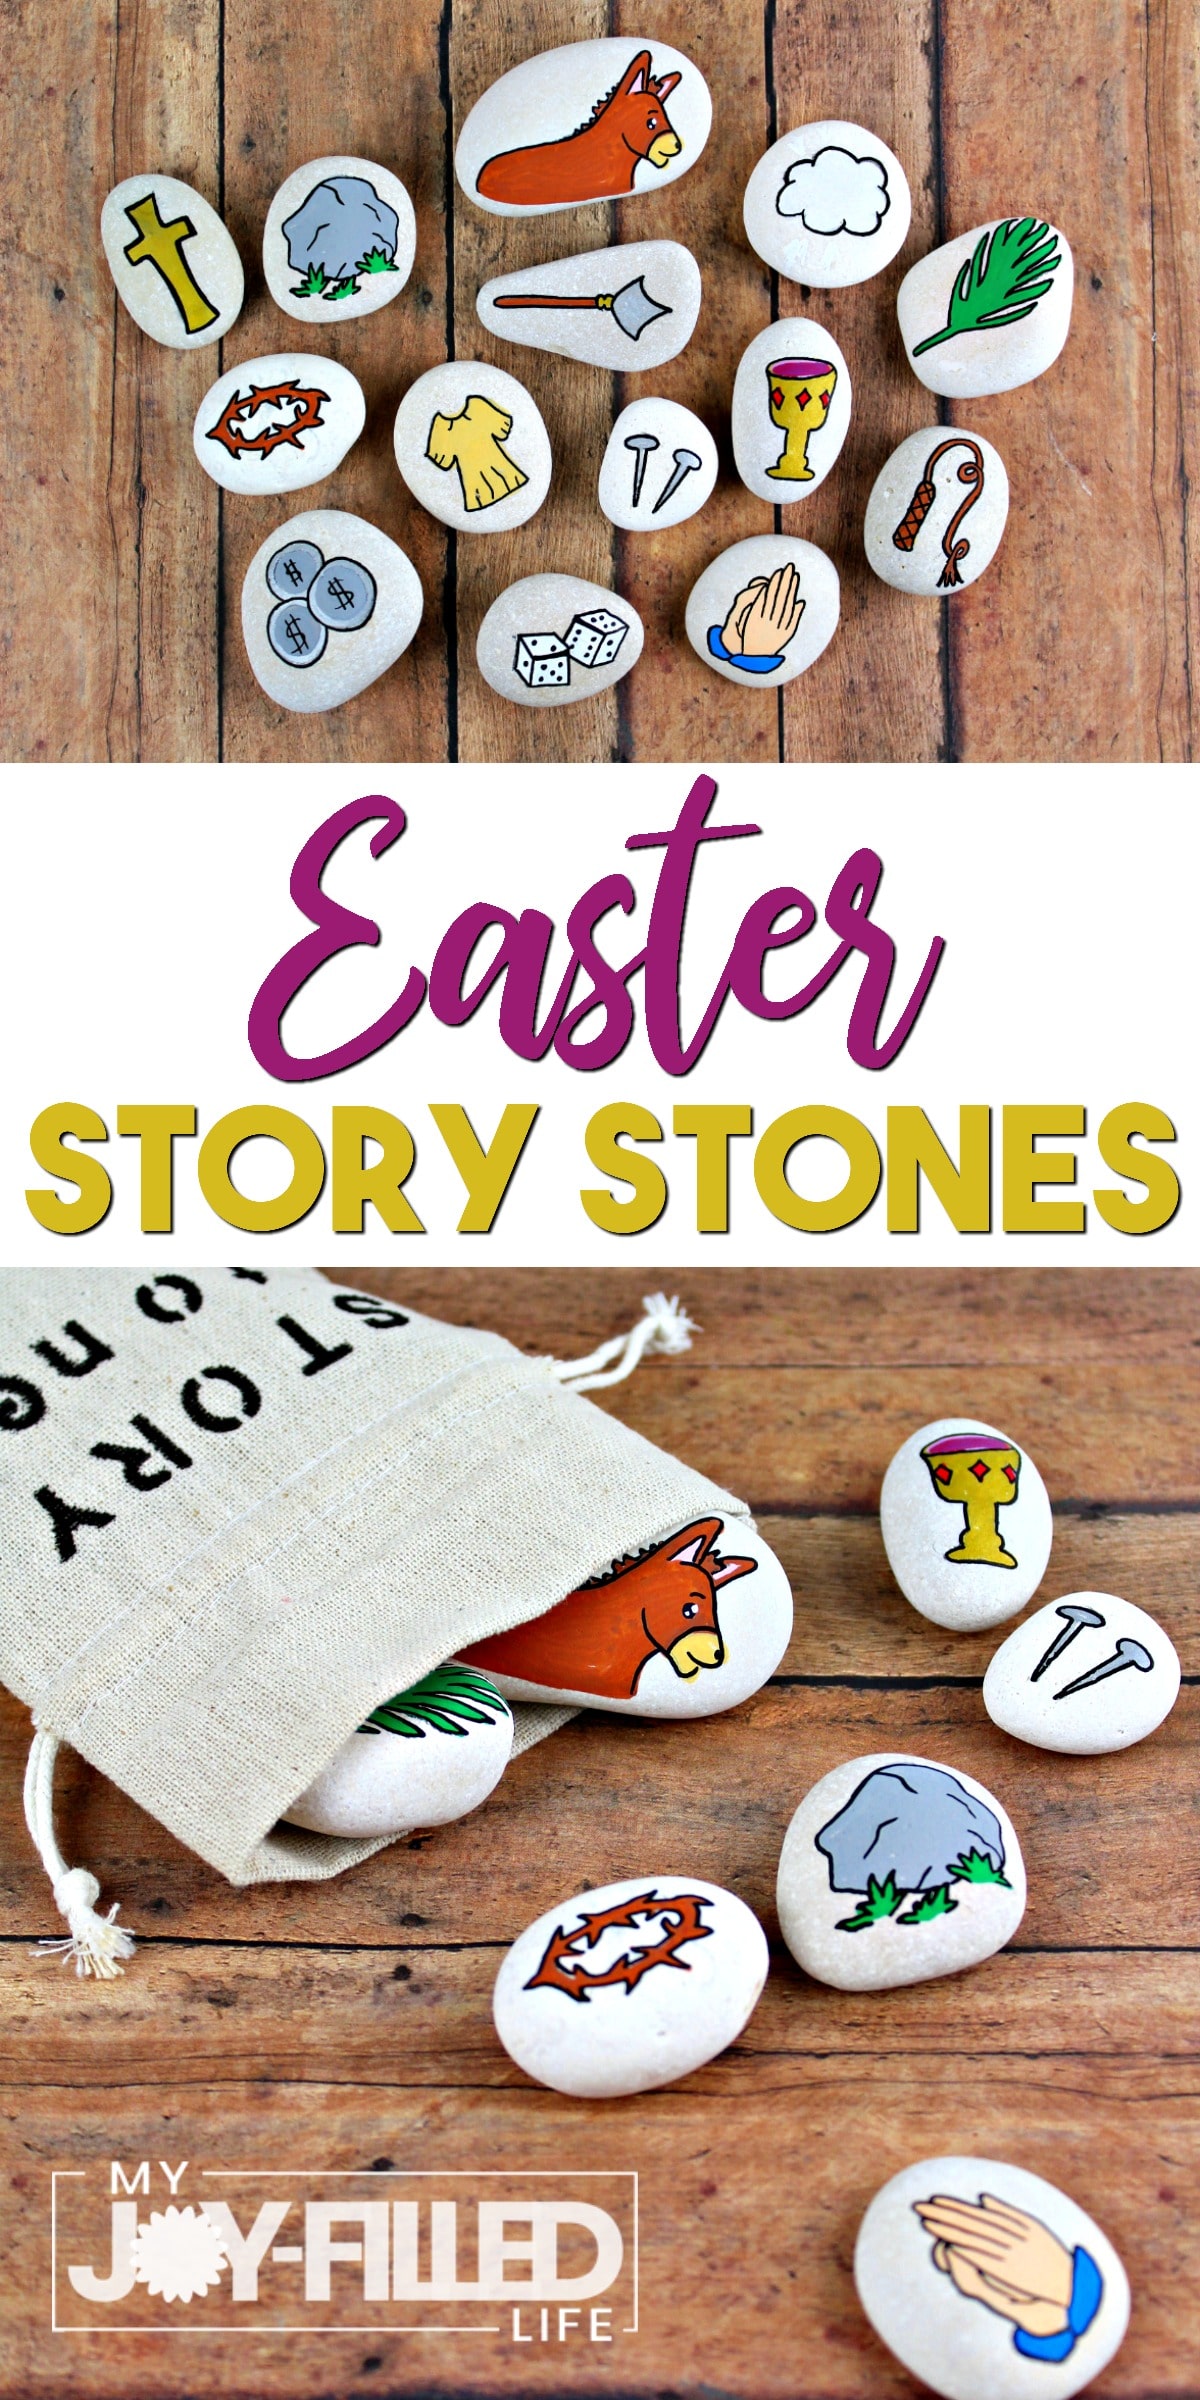
Here are the stones that I included in our set of stones (along with scripture references that correlate), but you can really make them with whatever symbols or drawings you’d like, and make however many you’d like:
- Donkey – Matthew 21:1-11
- Palm branch – John 12:12-13
- Coins – Matthew 26:14-16
- Cup – Matthew 26:27-29
- Praying hands – Mark 14:32-36
- Whip – Matthew 27:26
- Crown of Thorns – Matthew 27:28-29
- Cross – Matthew 27:32
- Nails – John 19:16-22
- Dice – Matthew 27:35-37
- Spear – John 19:34
- Linen – Matthew 27:57-59
- Rock – Matthew 27:65-66
- Cloud – Matthew 28:5-7
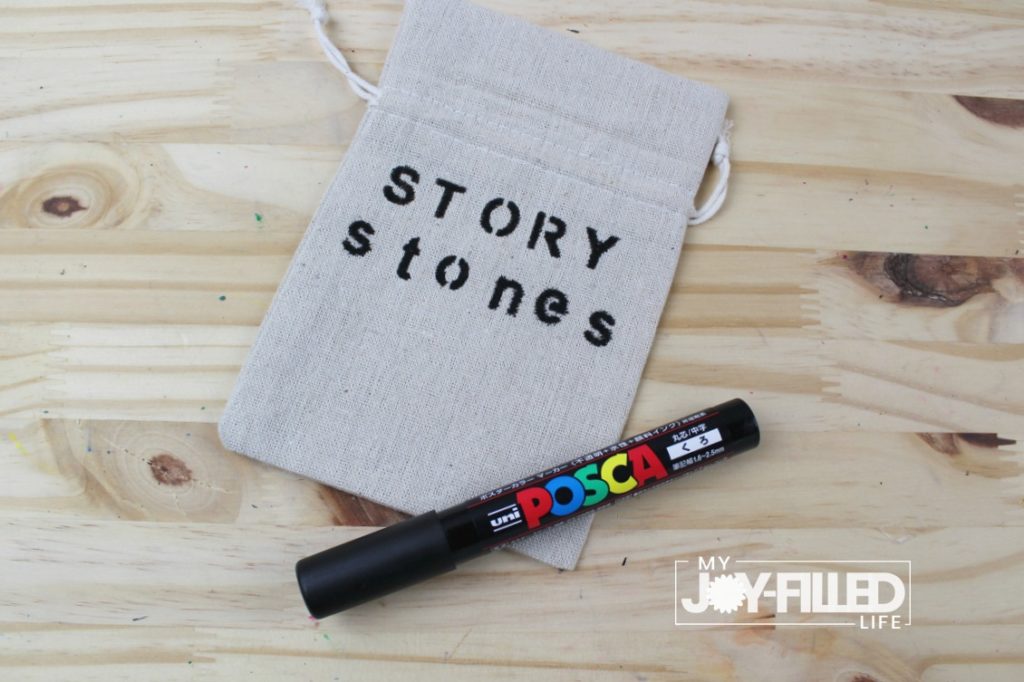
If you’d like, create a small canvas bag to store your story stones in. Use an alphabet stencil to paint words onto the bag, or you can just free-hand it. Allow to dry completely before storing your stones inside.
You might also like:

