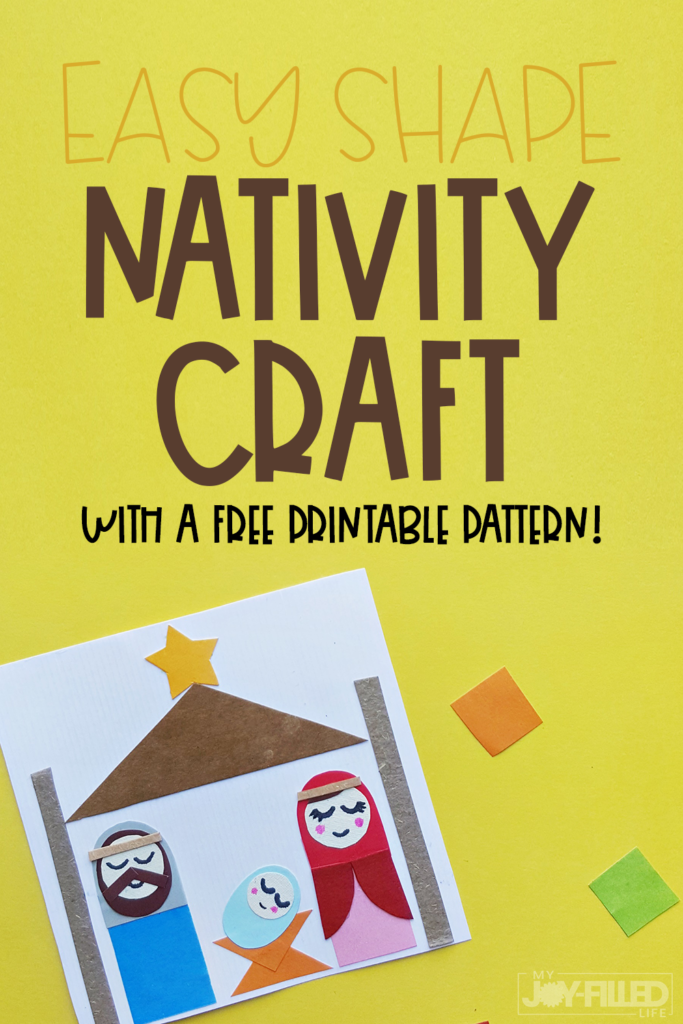
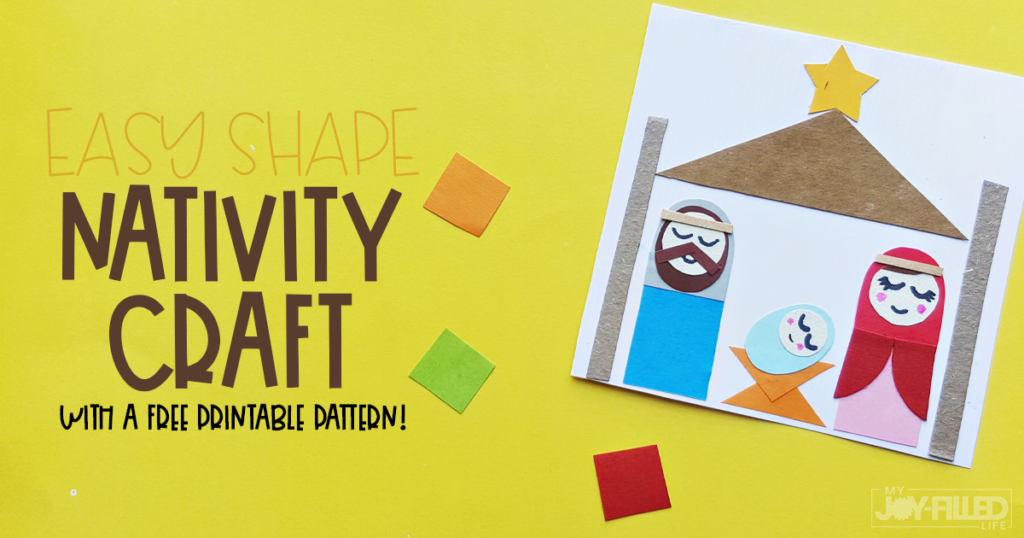
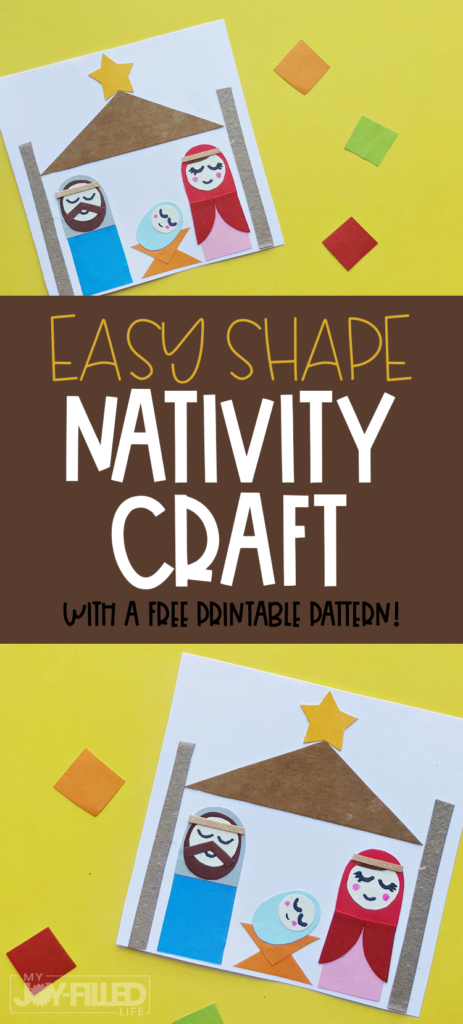
With Christmas sneaking up on us, it’s time for another nativity craft for kids! You and your kids will really enjoy putting together this nativity art during the holiday season. It’s a simple craft that you can use as a decoration, give as a gift, or make into a homemade card – a great reminder of the true reason for the season.
We have even included a printable pattern for FREE to make this nativity craft even easier. Just scroll down below to get started making your own easy shape nativity craft.
What we really love about this nativity craft is how it works for kids of all ages! Younger littles will need some extra help as they put it together and work on shape recognition. Whereas, older kids will enjoy putting this nativity together much like a puzzle.
Scroll down below to get started making your own easy shape nativity craft for kids!
Nativity craft supplies
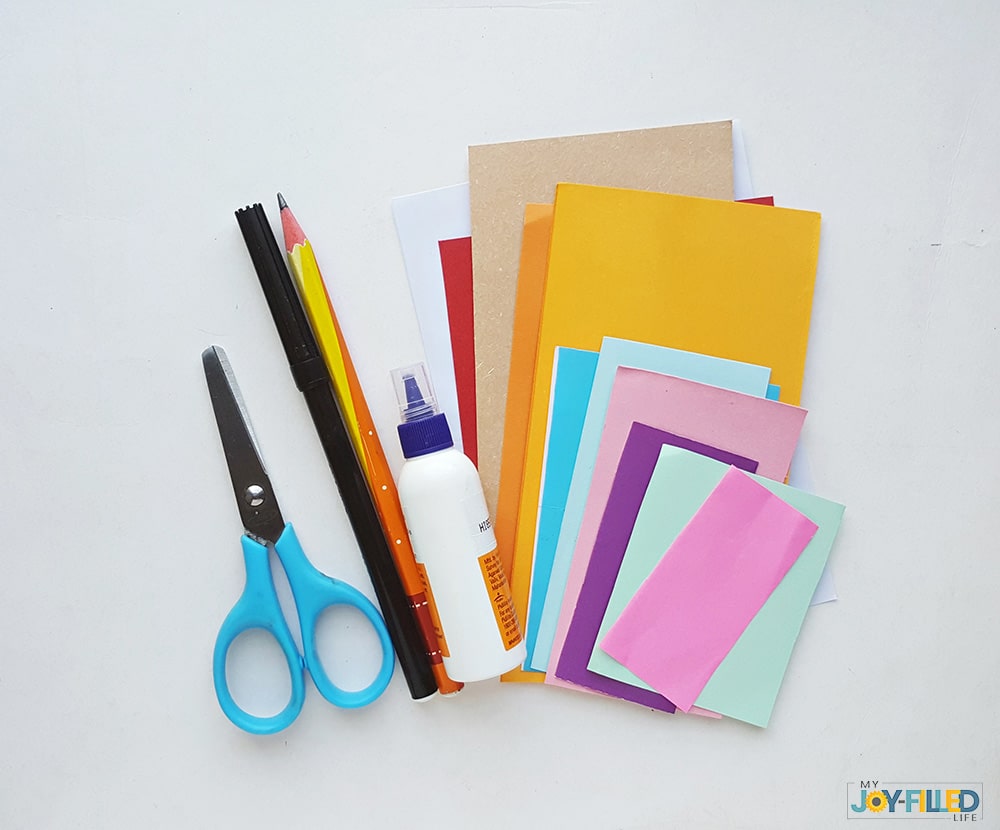
- Colored craft papers
- Pencil or pen (for tracing the template)
- Scissors
- Craft glue or glue stick
- Black marker
- printable template
How to make a nativity craft
Before you get started, get everything you need out in front of you. This makes the process much easier with nativity crafts like these!
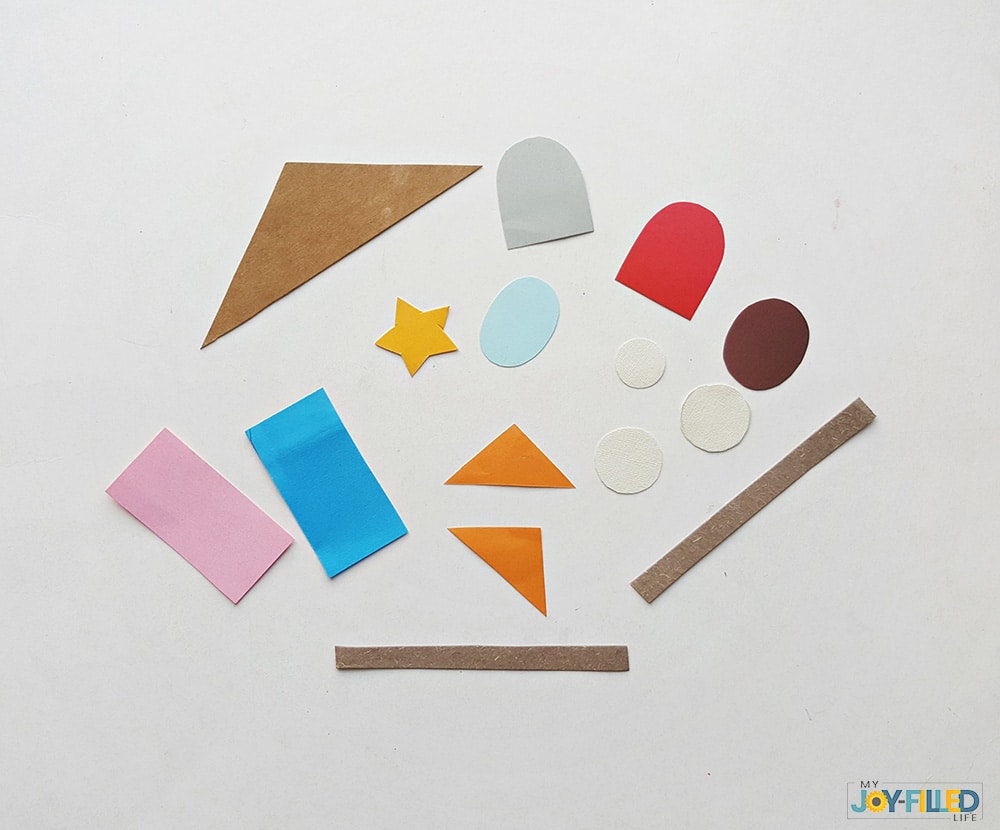
To begin, download and print the template. Then, select the color craft papers you’d like to use, trace the template, and cut out the different shapes for your nativity craft.
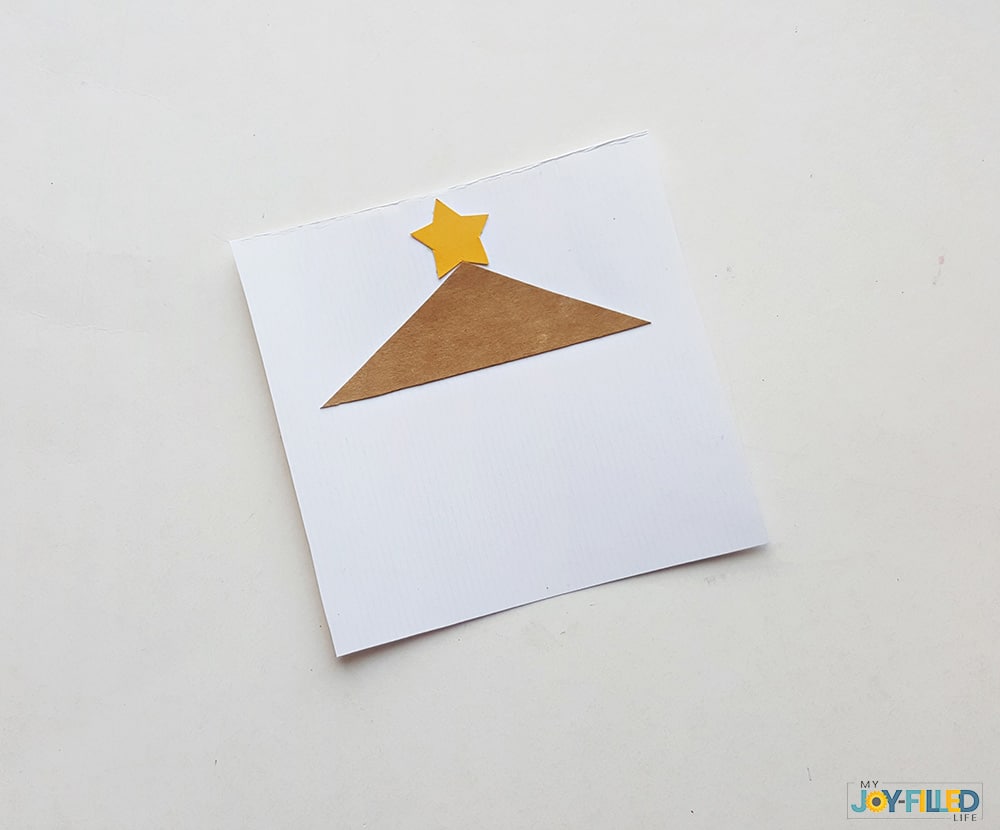
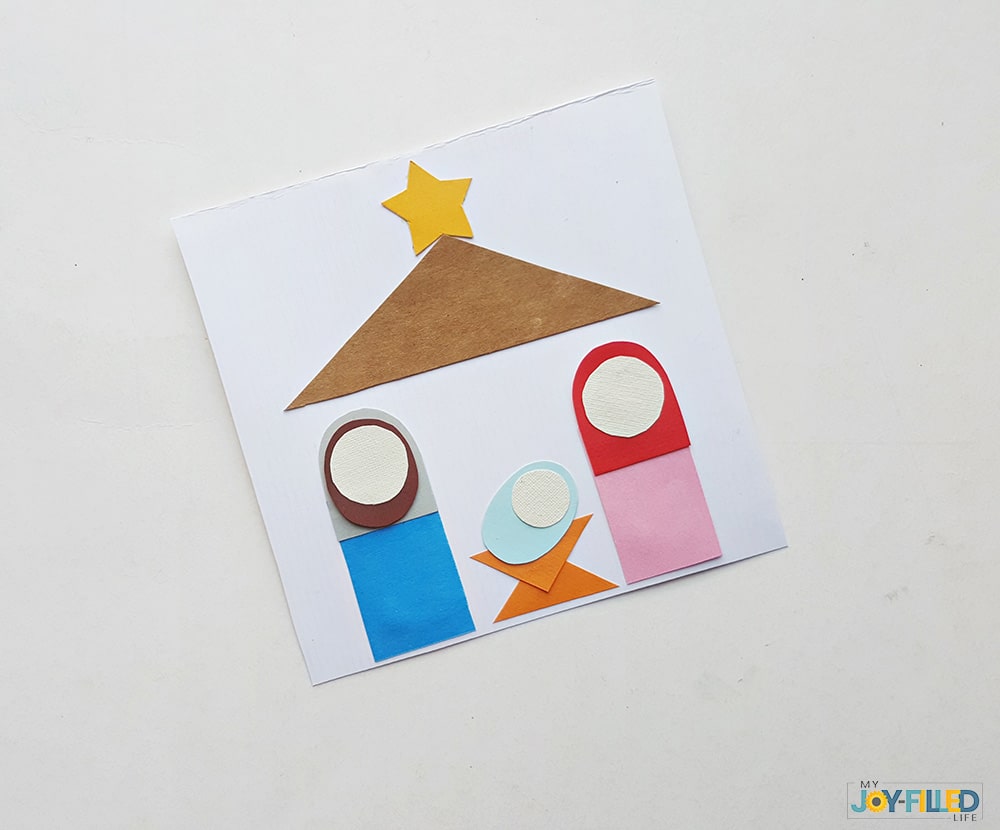
Grab a white stationery paper to use for the canvas and start gluing the big triangle down at the top for the roof. Then, glue the star at the top of the roof shape, as you see below.
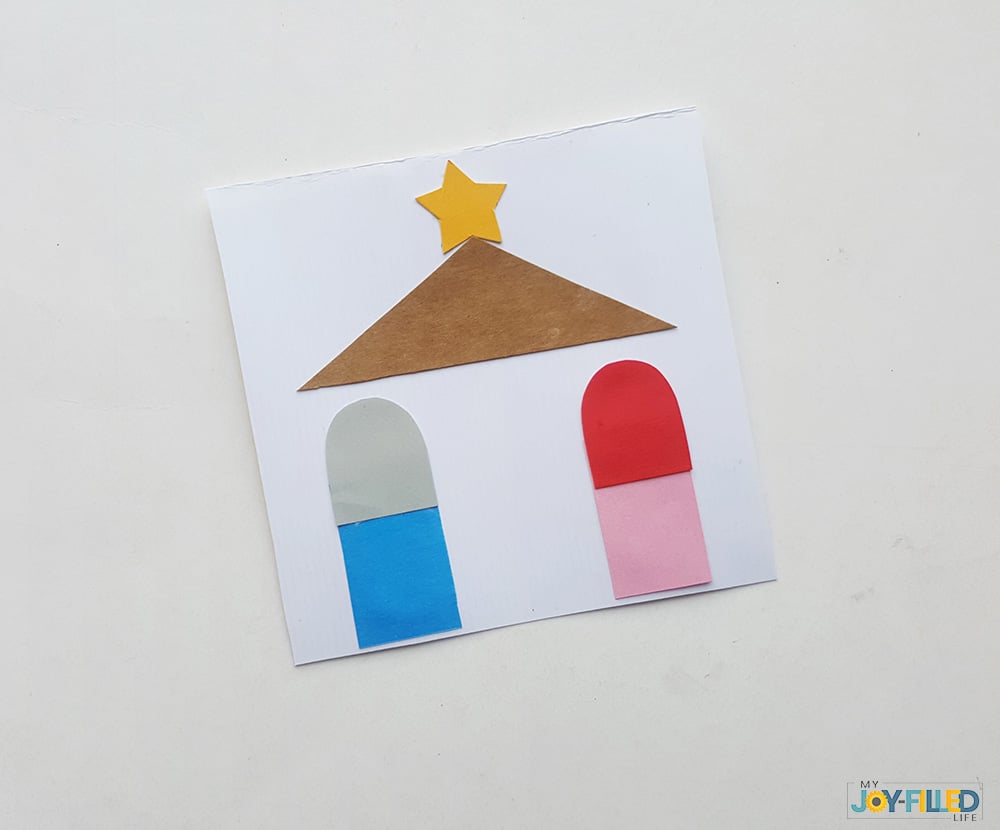
Next, grab the big pink and blue rectangle shapes and glue them on opposite sides of the canvas, as shown below. These will represent Joseph and Mary. Be sure to leave enough space for baby Jesus to be glued down between them.
Once you’ve done that, attach the 2 arch shapes on the top side of the rectangles.
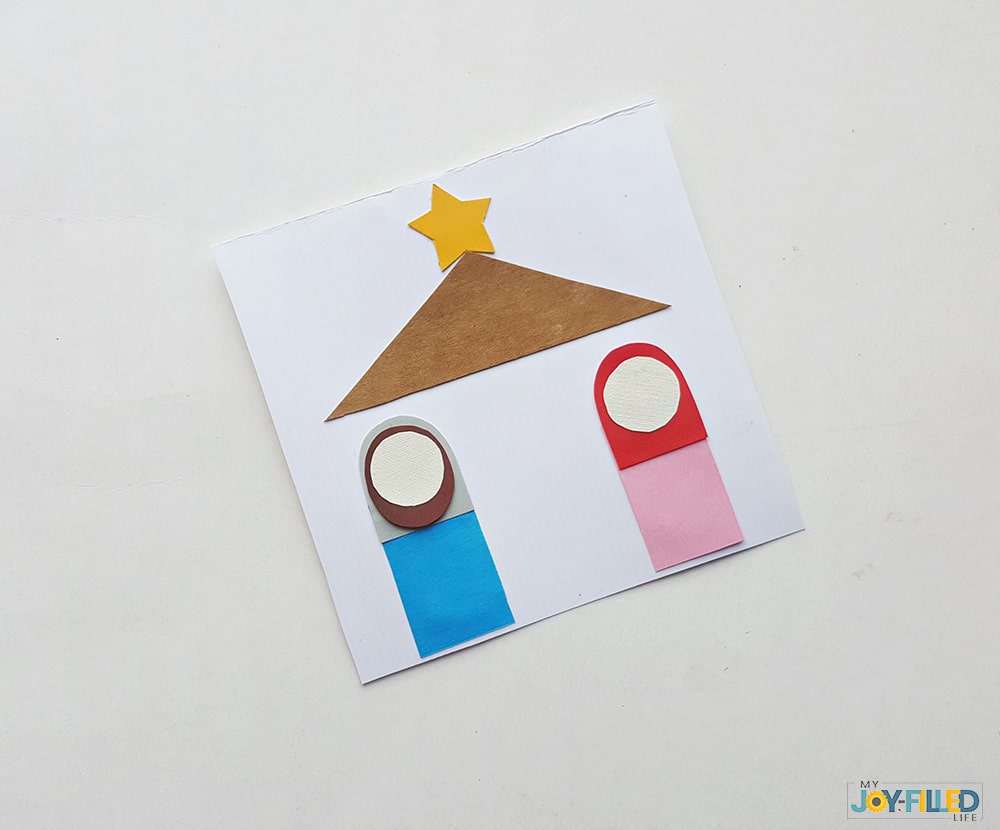
Now to form the faces! Glue the round shape on the top side of the arch shape of the Mary piece. Then, glue down the oval shape prior to gluing down the round shape on the Joseph piece.
Time for the baby Jesus! Start by gluing the two triangles down between Joseph and Mary to form the manger. Lay the first triangle so the tip is pointing towards the top of the page and then glue the other one down by flipping it the opposite direction and allowing the triangles to overlap, slightly.
Once you’ve done that, glue down the oval and round shapes to form baby Jesus.
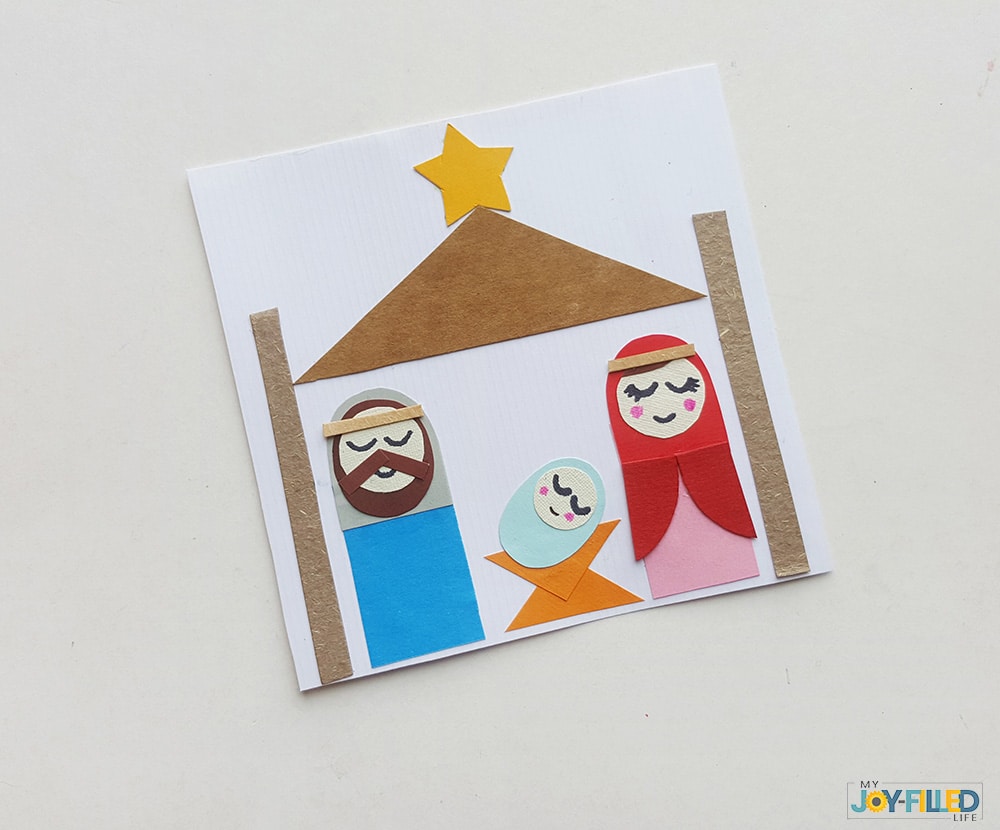
Grab a black marker to draw on the faces of each one, and then glue down the brown strips to form Joseph’s mustache.
Next, glue down the semi circular shapes onto Mary and baby Jesus’ faces. Then, glue down the 2 strips on the top side of Mary and Joseph’s head to form their headbands. Finish it off by gluing the semi-circle shapes at the bottom of the arch shape on Mary to form the rest of her dress.
Allow time to dry and you’re done! You could also try different color combinations to make your nativity craft even more fun!
You may also like:




Leave a Reply