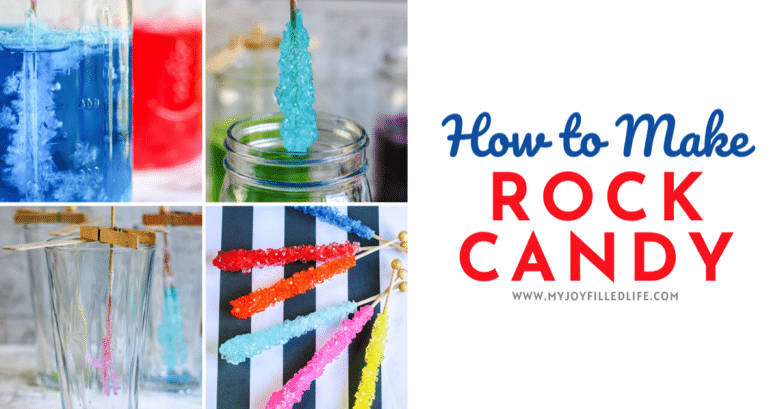
If your kids love science, then they’ll go crazy for this homemade rock candy experiment! Plus, they’ll learn how to make their own edible rock candy on a stick!
(You might also enjoy these Homeschool Science Projects Using Snow. And be sure to check out our huge archive of other Recipes and Activities for Kids!)
Science meets delicious in this fun Homemade Rock Candy Experiment for kids! This is such a great activity on a “boring” winter (or summer) day at home, when the kids are complaining that there’s nothing to do. It’s also a great way to incorporate some hands-on fun in your homeschool classroom!
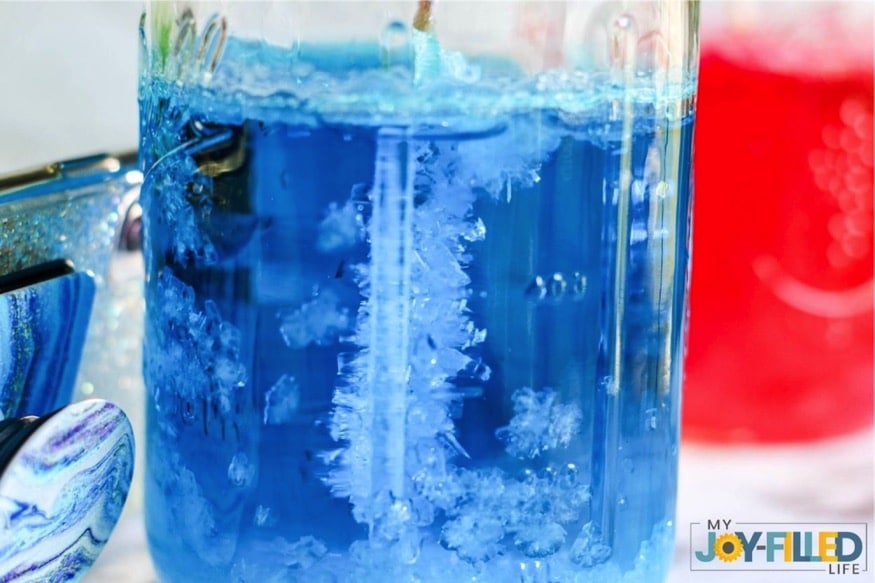
This recipe yields actual homemade rock candy on a stick that is edible, but it also gives your kids a chance to explore the science of crystal formation. In this fun project, kids will learn how a supersaturated solution (the hot sugar water) is unstable because it has too much solute in the solution. Because of that, the sugar leaves the solution as it cools — forming crystals! As the temperature gets lower and lower, more molecules join together to form even more crystals. As a result, you get Rock Candy. It’s pretty cool science stuff — even as a parent! 😉
This is definitely an activity that requires parental supervision and involvement since you have to use a stovetop, boiling water, and food coloring. But the actual process doesn’t take too long, because most of the time for this Rock Candy Experiment is actually in the 5-day wait period afterwards as the crystals are forming. (Did I mention this also might be a great lesson on patience for your kids?!)
Okay, let’s get to the instructions on how to make this festive and impressive Homemade Rock Candy!
Homemade Rock Candy Experiment
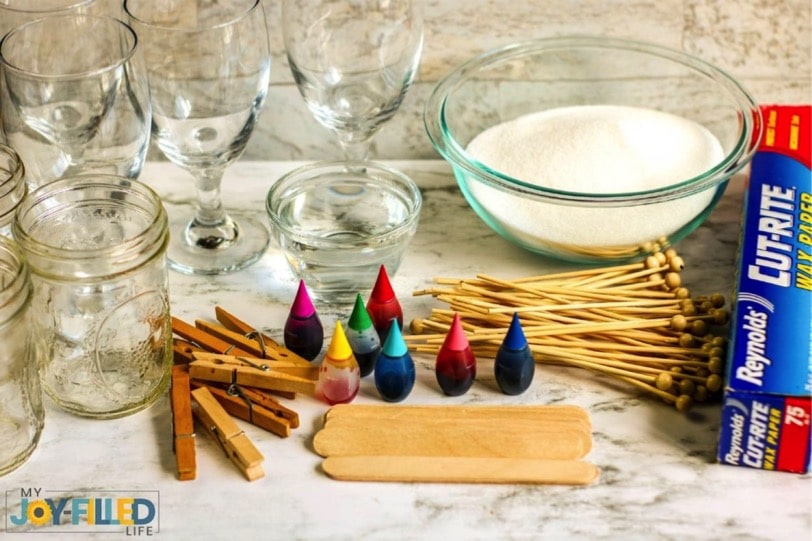
Supplies:
- Wooden lollipop sticks
- Popsicle sticks
- Clothespins
- Wide mouth, quart size mason jars
Sugar Solution Ingredients:
- 1 cup water, plus extra for seeding the sticks
- 3 cups sugar, plus extra for seeding the sticks
- Food coloring (we used gel for deeper colors)
- Flavor extract, if desired (use clear extracts for better coloring on the final product)
Directions:
Important Note Before Beginning: Sugar crystals will cling to anything inside the jars, potentially ruining this experiment. Make sure the jars are perfectly clean with smooth inner walls before beginning!
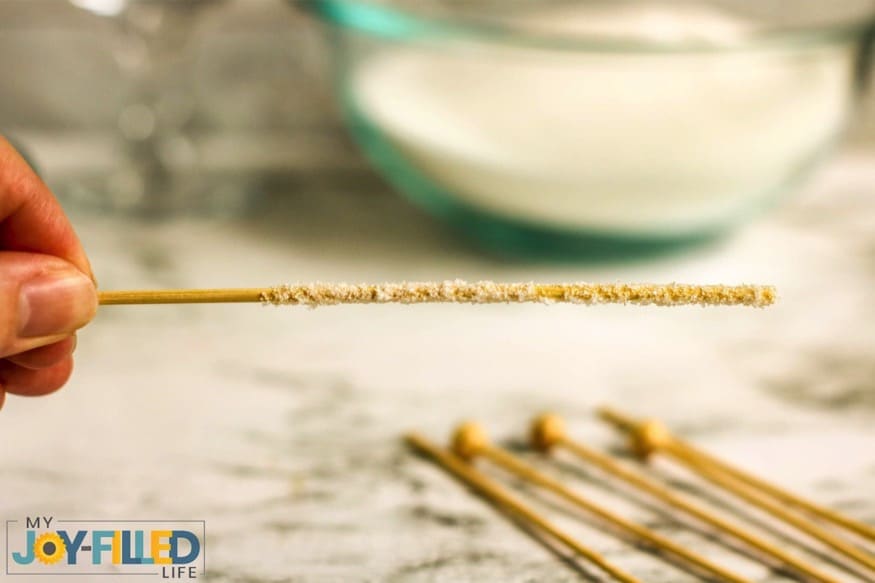
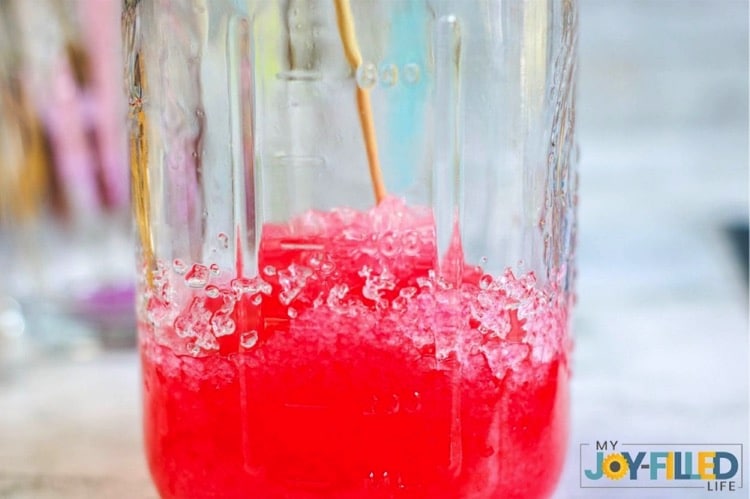
First, you’ll start by seeding the sugar crystals. To do this, simply dip the wooden sticks into water and then roll each of them in sugar.
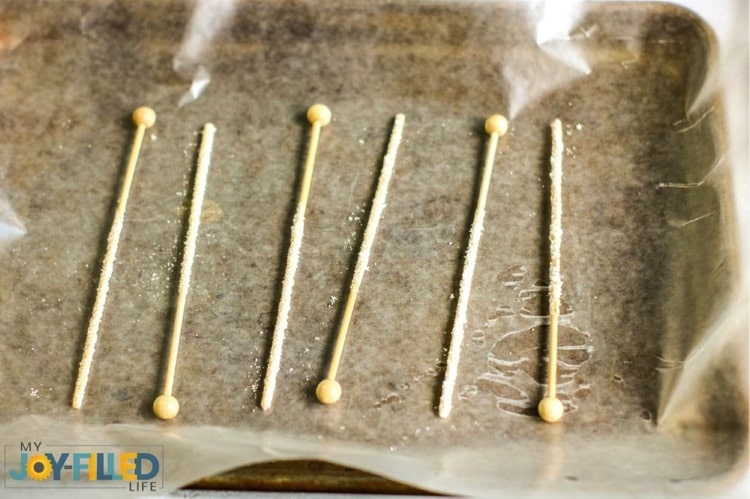
Be sure to only allow sugar where you want candy to grow on each stick. When you’re finished with the seeding, place the wooden sticks on a flat surface to dry.
Next, bring the sugar and water to a boil in a large pot over medium heat, stirring constantly. Add any color or flavor desired. (Flavor extracts with color can change the color of the final product. So if you want a consistent color on the final product, you might want to use only clear extracts.)
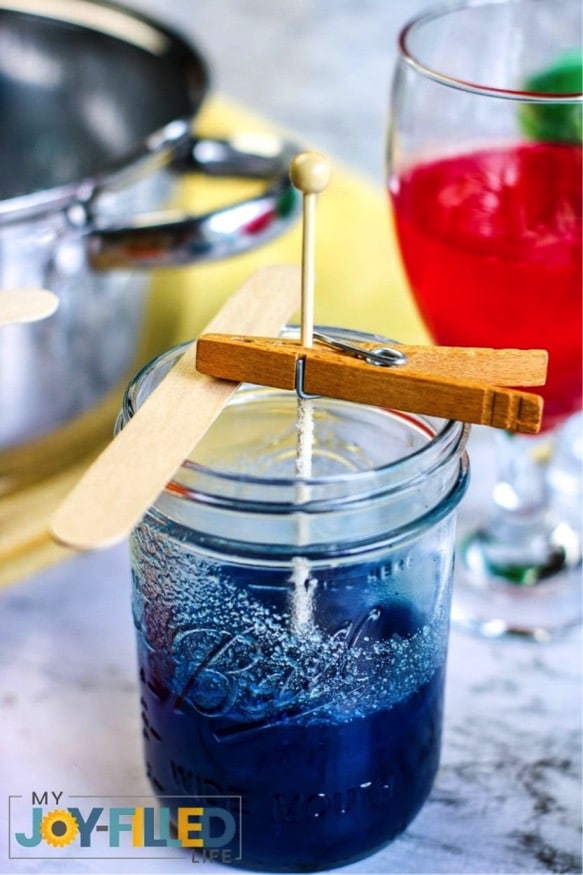
Stir well, then immediately remove from the heat. Allow the solution to rest for 20 minutes. After that, pour the sugar solution into a jar, then place a popsicle stick over the mouth of the jar.
{Note: If you’re using a jar with thin glass walls, be sure to heat the jars first by placing them under hot running water. This prevents the glass from cracking. If you have Ball canning jars at room temperature, they don’t require pre-heating.}
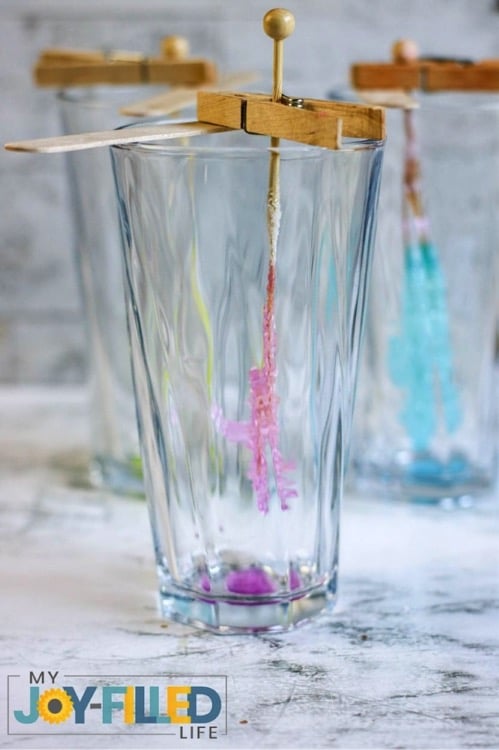
Check the depth needed to submerge the seeded part of your wooden lollipop stick, leaving AT LEAST one inch between the bottom of the stick and the bottom of the jar. This is very important, so that the crystals don’t end up sticking to the bottom of the jar.
Then, clamp a clothespin on to the wooden lollipop stick and place it into the sugar solution with the seeded side down. Carefully place the jar in a location where it can remain undisturbed for five days.
Repeat with all jars and seeded wooden lollipop sticks. If you want to do multiple colors, then you’ll need a different batch for EACH color. This recipe makes 4-6 jars of one color.
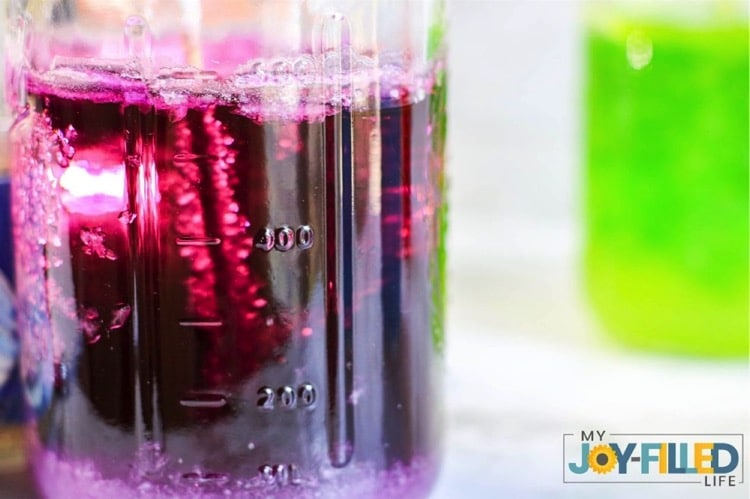
To check the growth on the sugar crystals, use a flashlight to shine through the jars. If the crystals are growing along the sides of the jar, then the jar may not have been completely clean.
A thick sugar layer will grow over the top of the solution. This is expected and should be left undisturbed until you’re ready to remove the candy.
When you are ready to remove the candy, use a spoon to crack the sugar crust on top and pull it away from the stick.
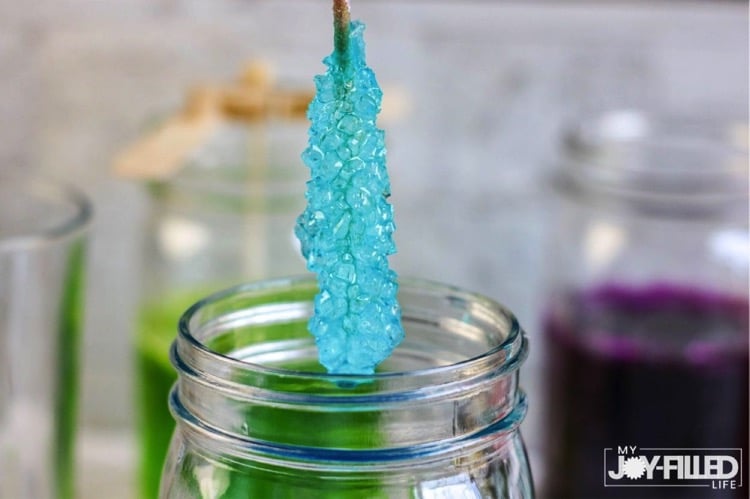
Lift the rock candy stick from the jar, then transfer it to a clean, empty jar to dry.
If the candy has attached itself to the sides of the jar, use a knife to gently chip away at the sides before lifting the candy. If the candy is attached to the bottom, chances are high that you will not be able to remove the candy from the jar.
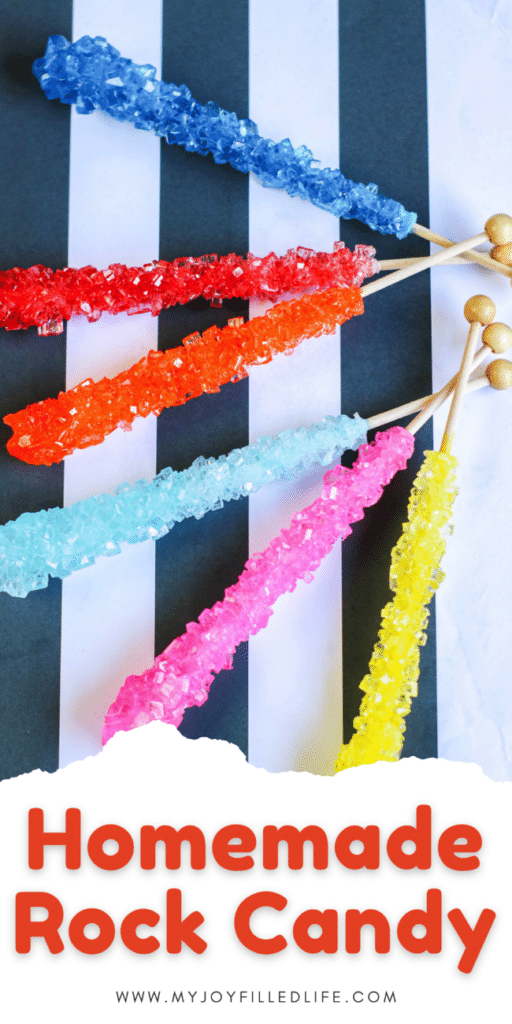
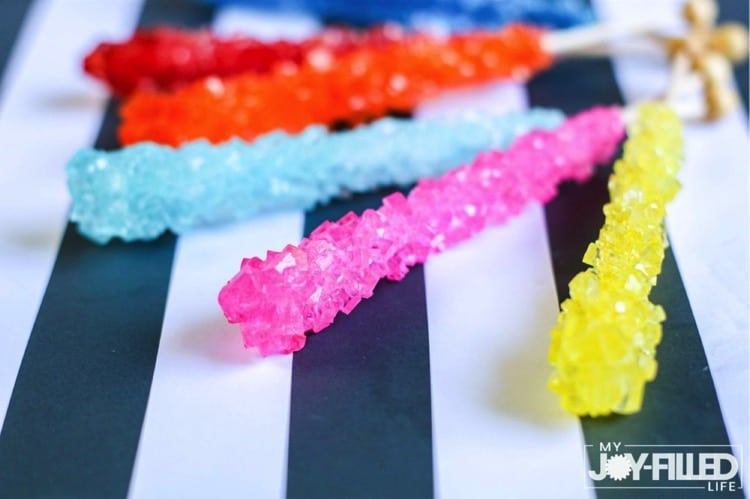
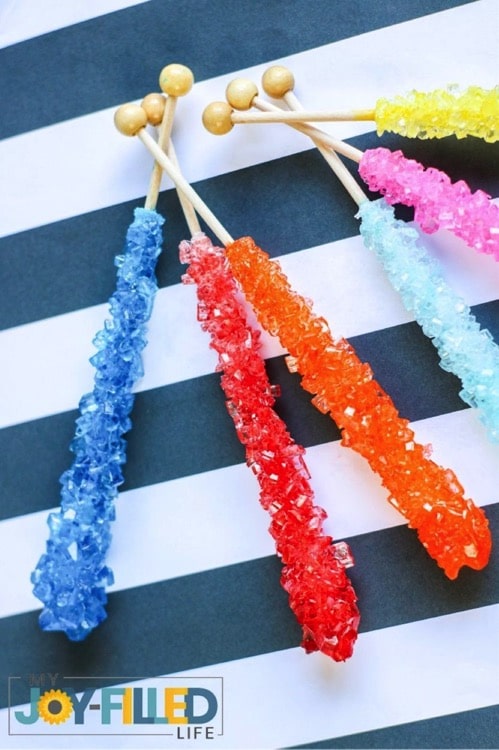
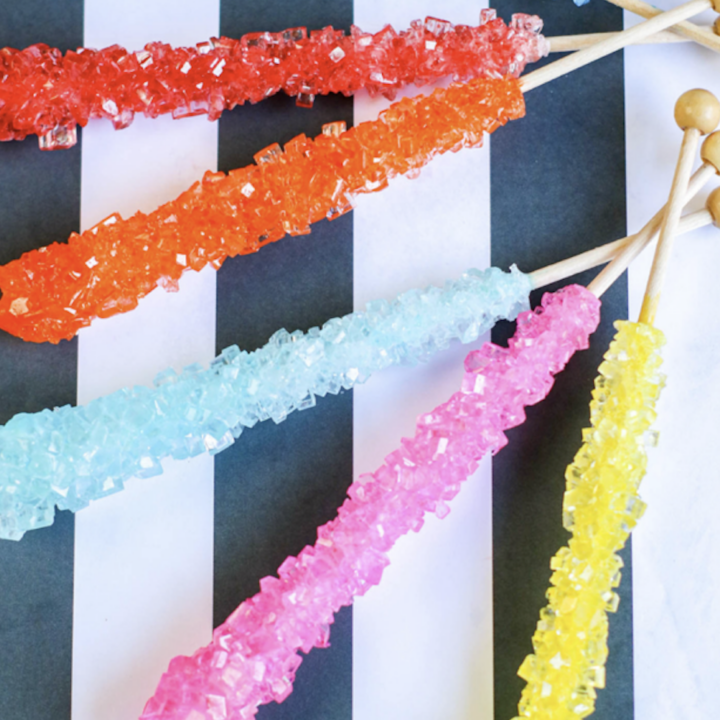
At last, the Rock Candy Experiment is complete and you have your beautiful (and edible) Rock Candy on a Stick! Enjoy!!
Some Final Tips:
Remember — do NOT touch or disturb the candy until you’re 100% ready to do so, because even cracking the crystals on top can change the final rock candy.
Not every candy will be perfect and you’ll probably have some weirdly shaped candy and possibly even a complete failure or two. However, this gives children the opportunity to be scientific and assess why the candies are different! So don’t let it frustrate or deter you from continuing or even trying again (plus, you can then do several different colors — one per batch!)
In the end, kiddos will love this fun Homemade Rocky Candy Experiment and enjoy the tasty reward afterwards!
If you’re looking for more fun activities like this, then be sure to check out all our other science activities & projects. Kids will love this hands-on science experiment that yields edible rock candy sticks! Super fun and delicious!!Homemade Rock Candy
Materials
Instructions
Have you ever tried making Homemade Rock Candy on a Stick? If so, I’d love to hear how it went!
You might also like:






Leave a Reply