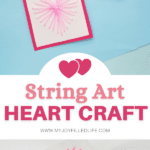
This heart string art craft is perfect for Valentine’s Day, sure, but you can use it throughout the year for a thoughtful gift!
I have wanted to do a string art craft for a long time. They look fun to do, and the outcome is beautiful! I’ve seen the very elaborate ones using nails and wood on Pinterest, but I wanted something simpler.
Hence this Heart String Art craft!
You can give one of these cute designs with our Heart Shaped Brownie Sandwiches or a Thumbprint Clay Diffuser.
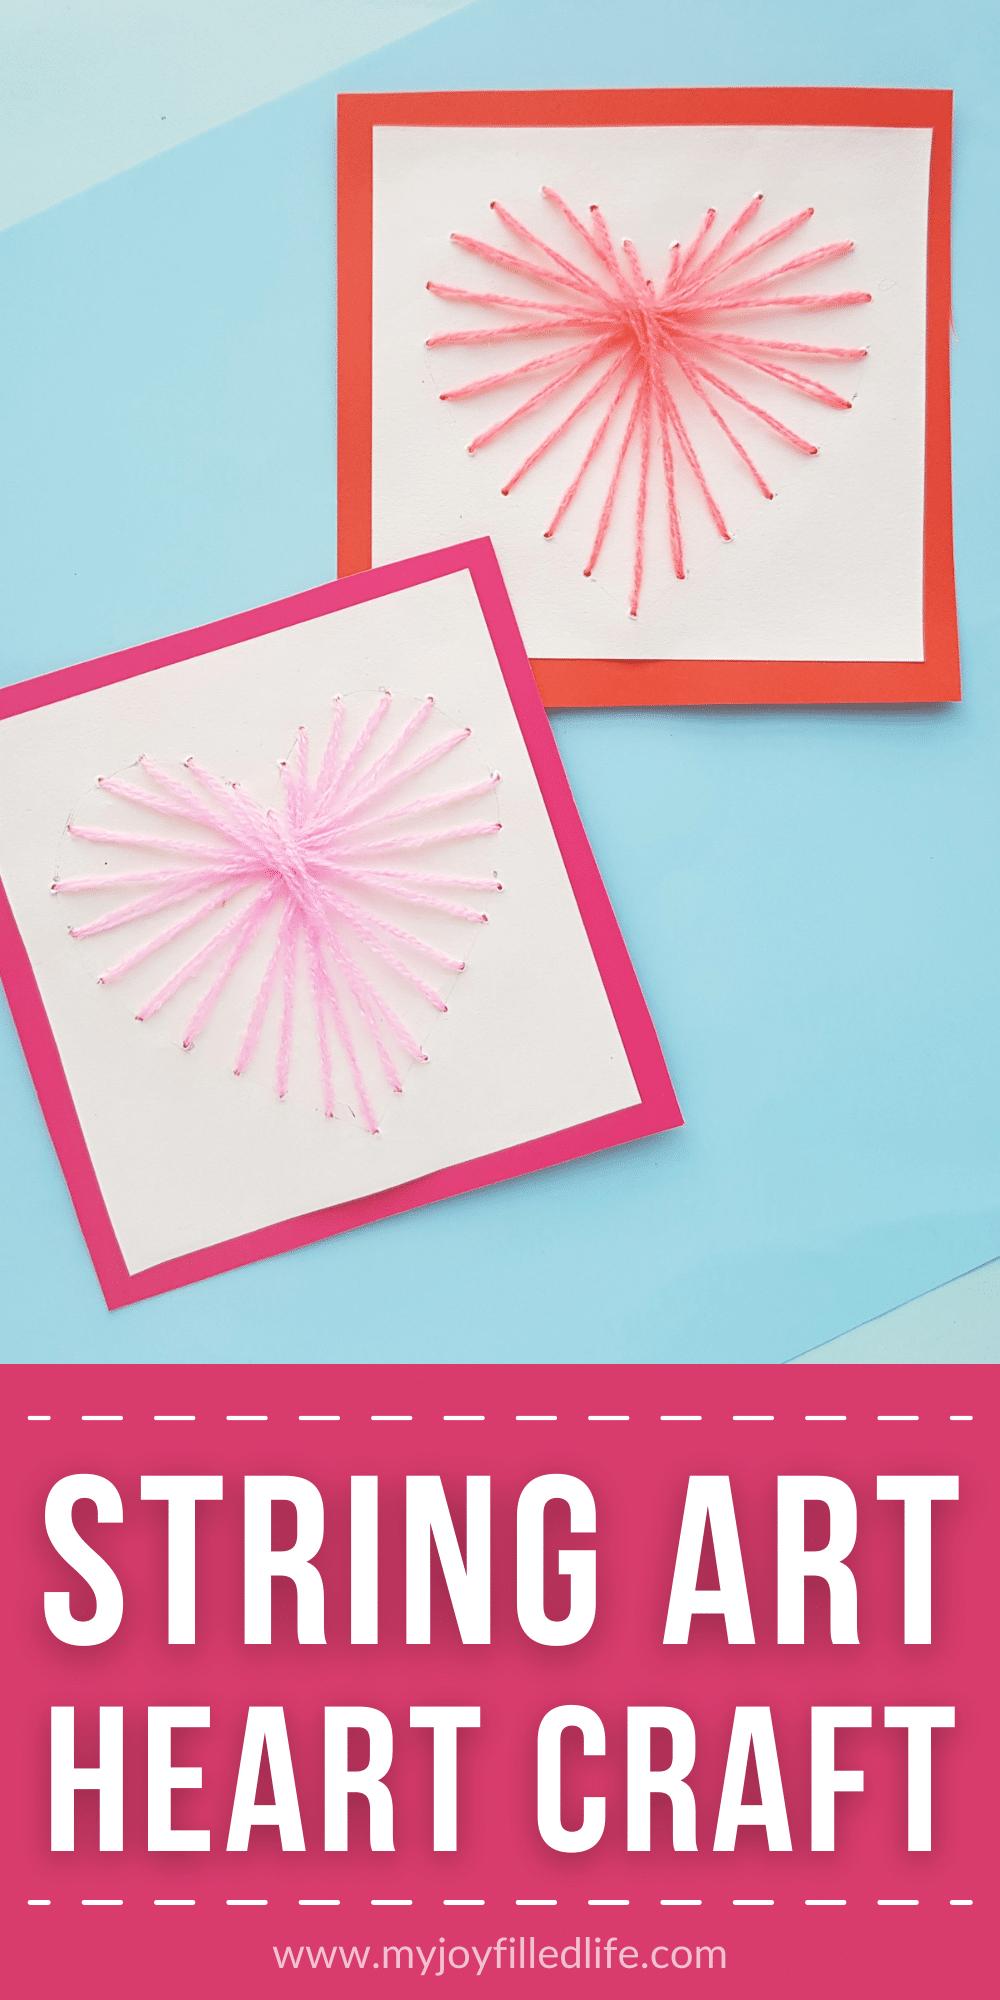
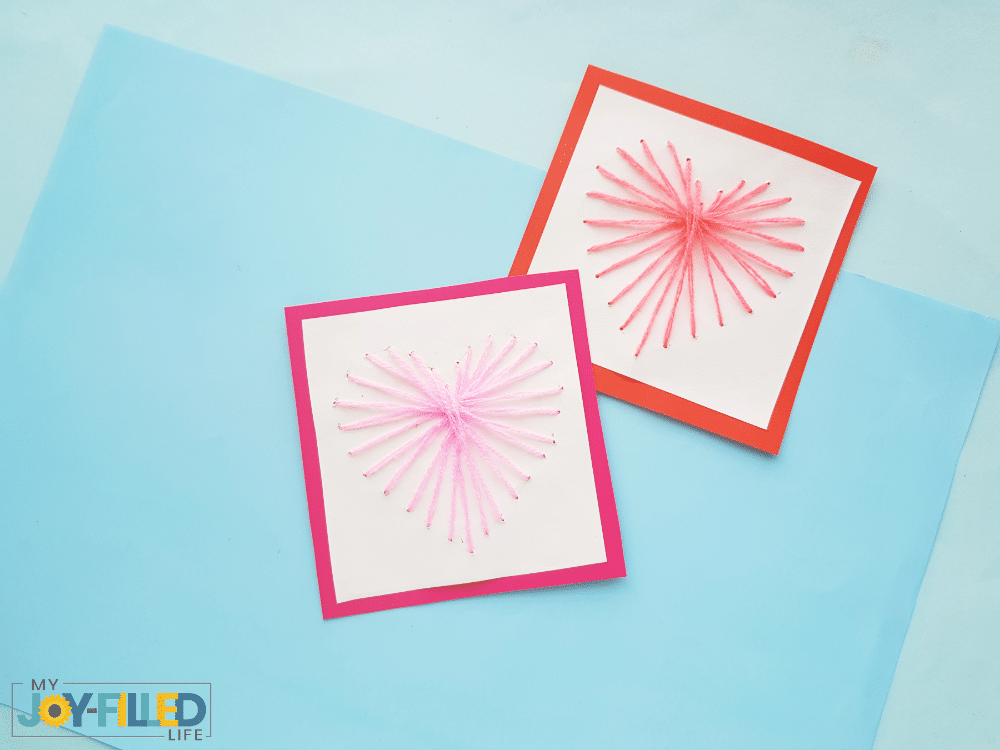
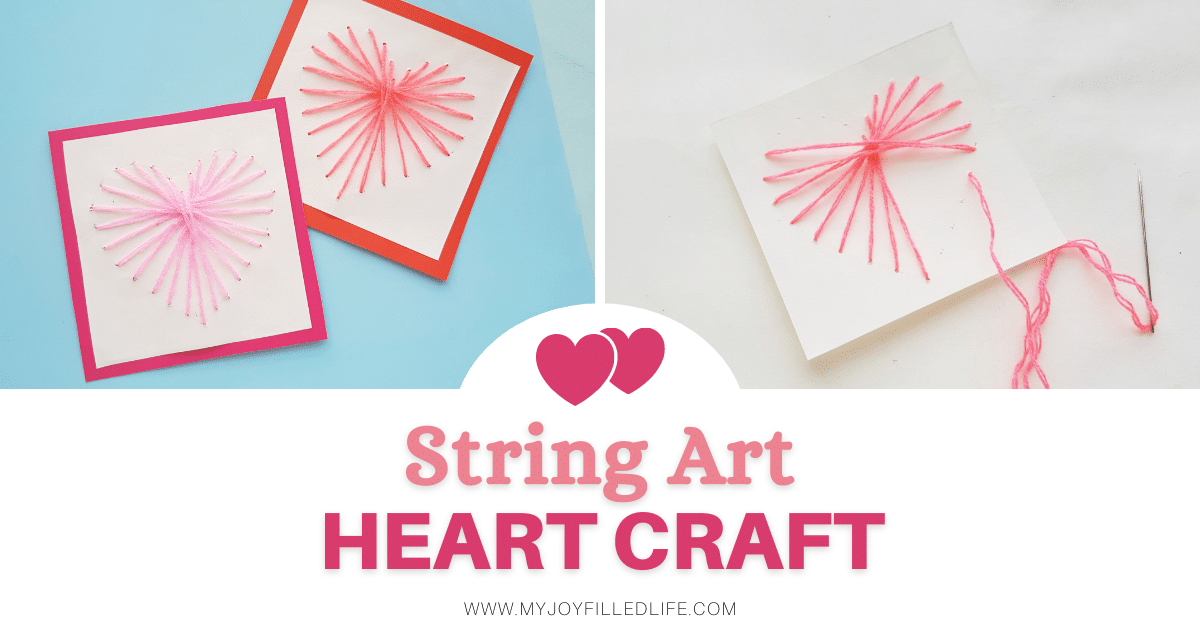
Heart String Art Craft
I like this simple string art because you can use materials that you probably already have at home. I didn’t have to get specific craft supplies for my pretty little heart design. Though this craft works great for Valentine’s Day, it can be used all year long for handmade gifts.
You could pair it with a handprint for a Mother’s Day craft. Or create multiple hearts with different color string to hang in your home for every holiday of the year.
Can you string art without nails?
I’m here to tell you, you definitely can! With this super easy heart string art, you sew the string into the paper rather than wrapping it around nails in wood. I find this is much easier for beginner crafters and for kids.
What type of string do you use for string art?
I actually used a needle and thread for this craft. I already had plenty on hand, and it worked well with the craft paper I used. I LOVE the way my finished product turned out.
Heart String Art Craft Supplies:
- Colored craft papers
- Cardstock paper
- Thread
- Needle
- Pencil
- Scissors
Instructions:
Step 1:
Prepare a piece of square paper. The color of the paper would depend on the selected thread for the string art, use contrasting colors for the paper and thread.
Draw a heart pattern on the paper and use a pencil to trace dots along the heart layout. Keep even gaps between the dots. I’m keeping a 1 cm gap between every 2 dots. Prepare the needle with thread. Tie a knot at the open end of the thread.

Step 2:
Draw the needle from the backside of the paper through any one point along the heart layout.

Step 3:
Draw the needle all the way to the opposite dot and pull it to the backside.

Step 4:
Draw the needle to the front side again through the dot next the current one (move clock-wise).

Step 5:
Draw the needle to the back again through the opposite dot to the current dot. Continue to do the same. Simply stitch through opposite dots and move in clock-wise direction.

Step 6:
Don’t worry if there’s a dot left at the end, you can simply adjust the last stitch with the dot next to it.

Step 7:
When the stitching is complete, draw the needle to the backside of the paper. Tie a knot with any random stitch on the backside and cut off extra thread.

Step 8:
Cut out another piece of paper slightly bigger than the stitched one and stick tit on the backside of the heart stitched paper. This will cover the stitched backside of the heart string art.

You can use this heart string art as wall décor, scrapbooking or card making.



Leave a Reply