Paper quilling can be a fantastic and enjoyable activity for kids! It’s perfect for your creative child, or any child that loves arts and crafts. The possibilities are endless for what you can create with paper quilling. And whether you go all out with your design or keep it simple, everything you create will be a colorful 3D masterpiece.
What is paper quilling?
Paper quilling is a neat art form that involves rolling up, or coiling, narrow strips of colorful paper and arranging them into different shapes or patterns. Once your design is arranged, you can glue down the rolled up paper onto a piece of cardstock. It’s kind of like sculpting with paper!
What supplies do you need for paper quilling?
While you probably could start quilling with just some paper and scissors, it would be much easier if you started out with some basic supplies that are specific to paper quilling. You could even get a starter kit that includes most of these supplies.
- Paper strips for quilling – You can cut your own, but I’d suggest getting pre-cut strips at your local craft store. You’ll also want to be sure to have a variety of colors.
- Quilling tool – This helps you roll up your paper strips into nice, tight coils.
- Craft glue – You’ll want a good quality craft glue that drys clear to glue your designs in place.
- Tweezers – These are helpful in handling the coils and placing them in just the right spot.
- Quilling board – This will help you make your coils to the shape and size you want.
- Cardstock – Cardstock is great for gluing your design to so that it has a sturdy backing once your done.
- Scissors – These are needed for cutting strips in the length you want.
- Templates or design books – These aren’t necessary, but they may help inspire you and give you ideas for designs to try.
Tips & ideas for paper quilling with kids:
Keep it simple and start with the basics. Start out by making easy shapes like circles and square.
Practice using the quilling tool by exploring various quilling techniques, such as tight coils, loose coils, and shapes like teardrops and hearts.
Quilling projects make great gifts. They are also perfect for turning into greeting cards for loved ones and friends.
Be patient and encouraging and be sure your child understands that this is a learned art and will take some time to get the hang of. The key is to keep it fun, enjoyable, and focused on their creativity and learning something new.
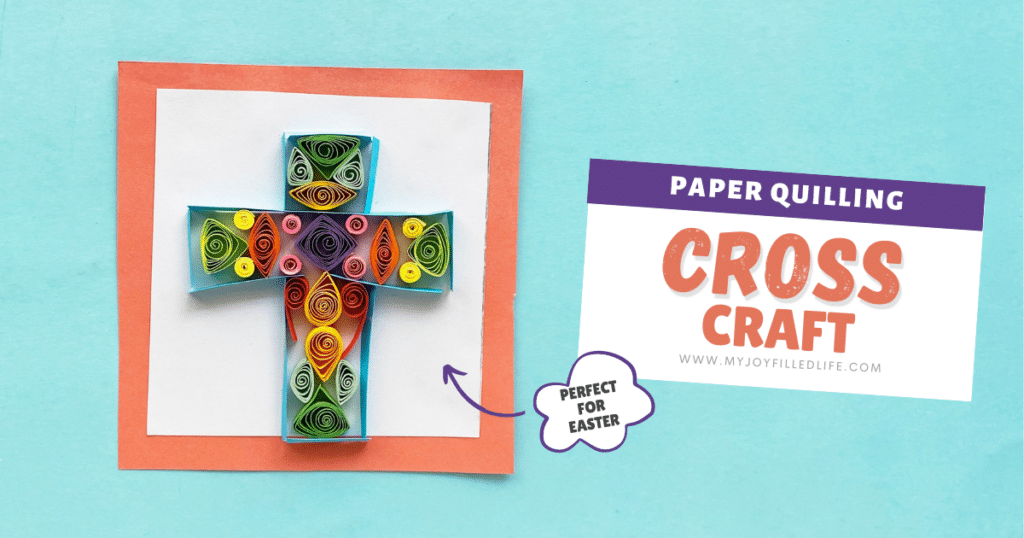
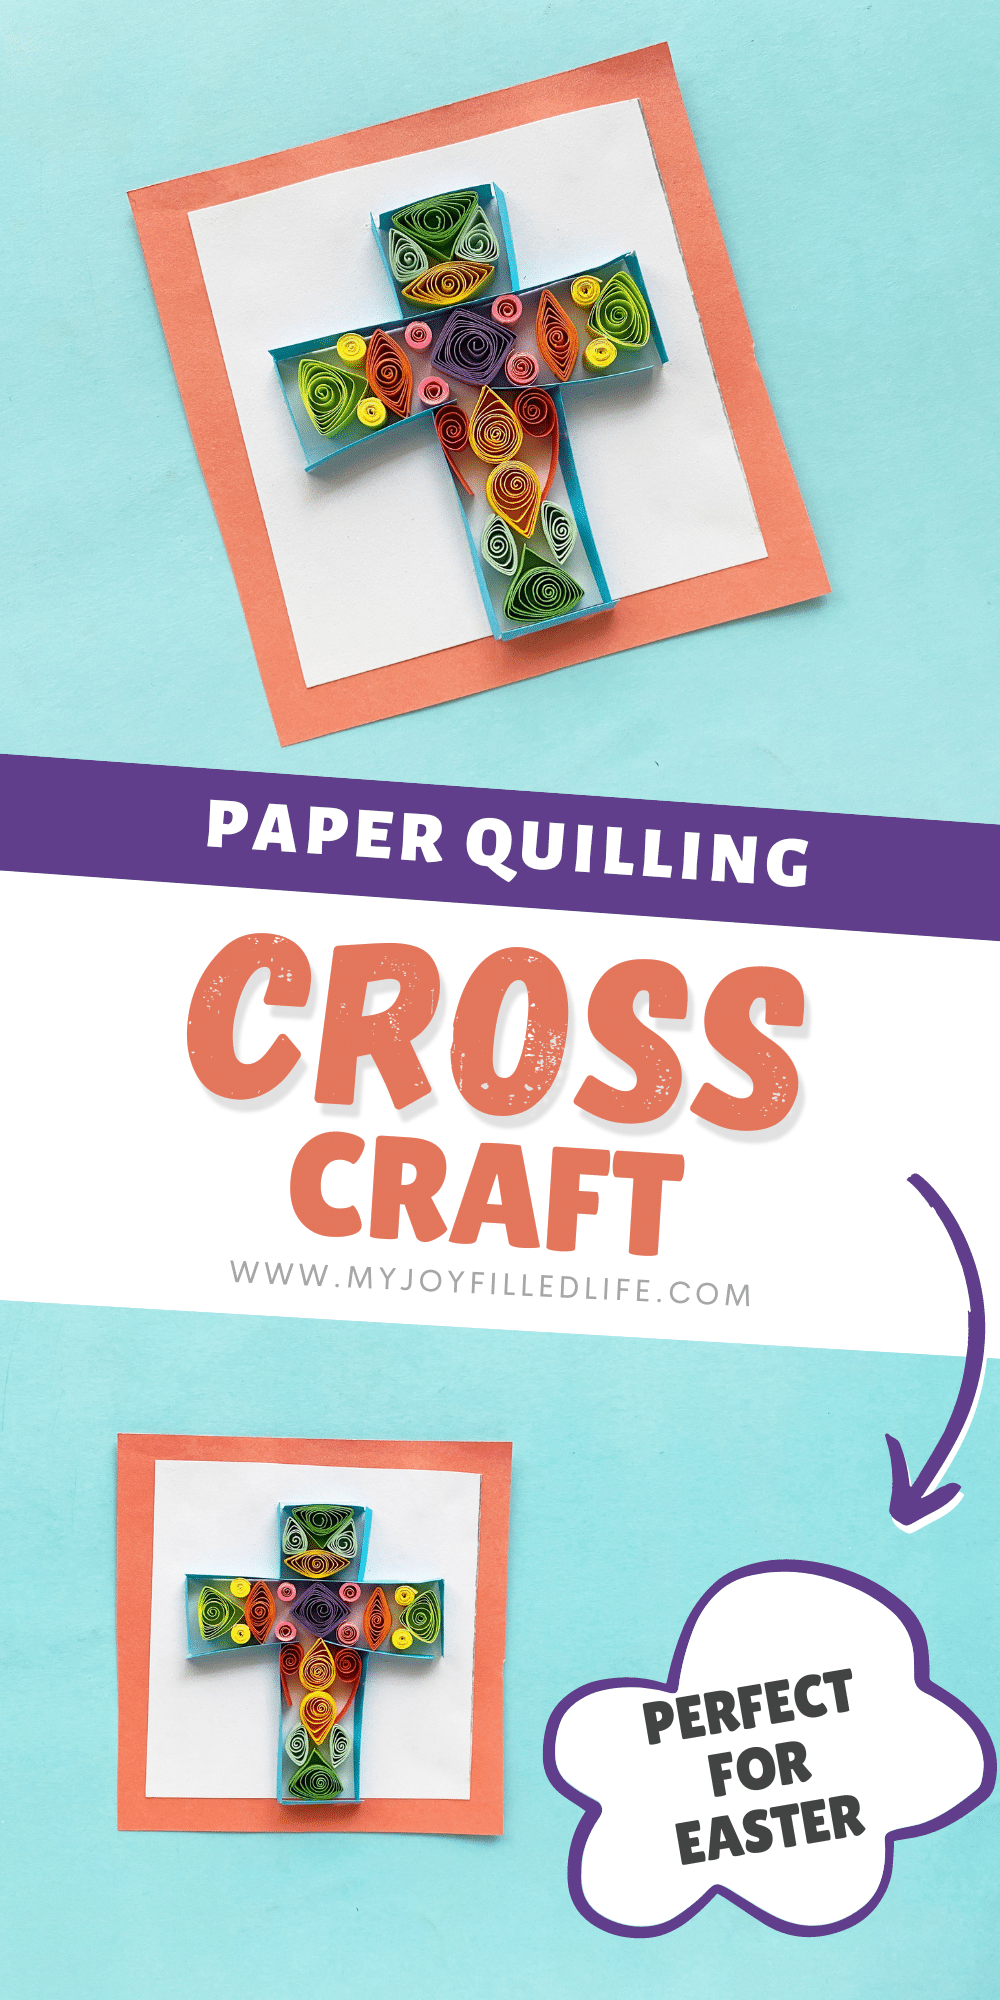
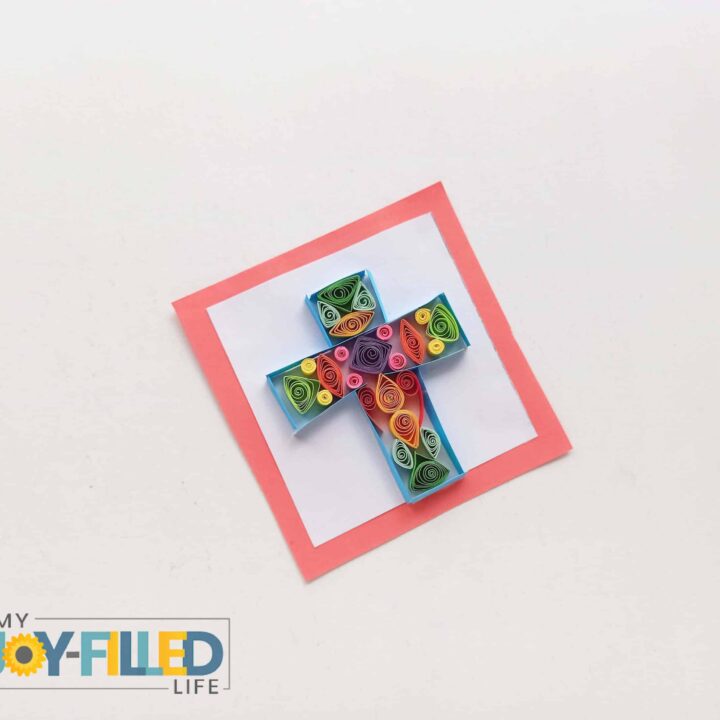
A cross is an ideal quilling project to start with, as it’s a simple shape to make. This quilled cross is a great one to make at Easter time too.
Be sure to check out all of our beautiful cross crafts!!
How to make a quilled paper cross for Easter:
If you want more quilled craft ideas, check out this Quilled Nativity Craft.
Step 1:
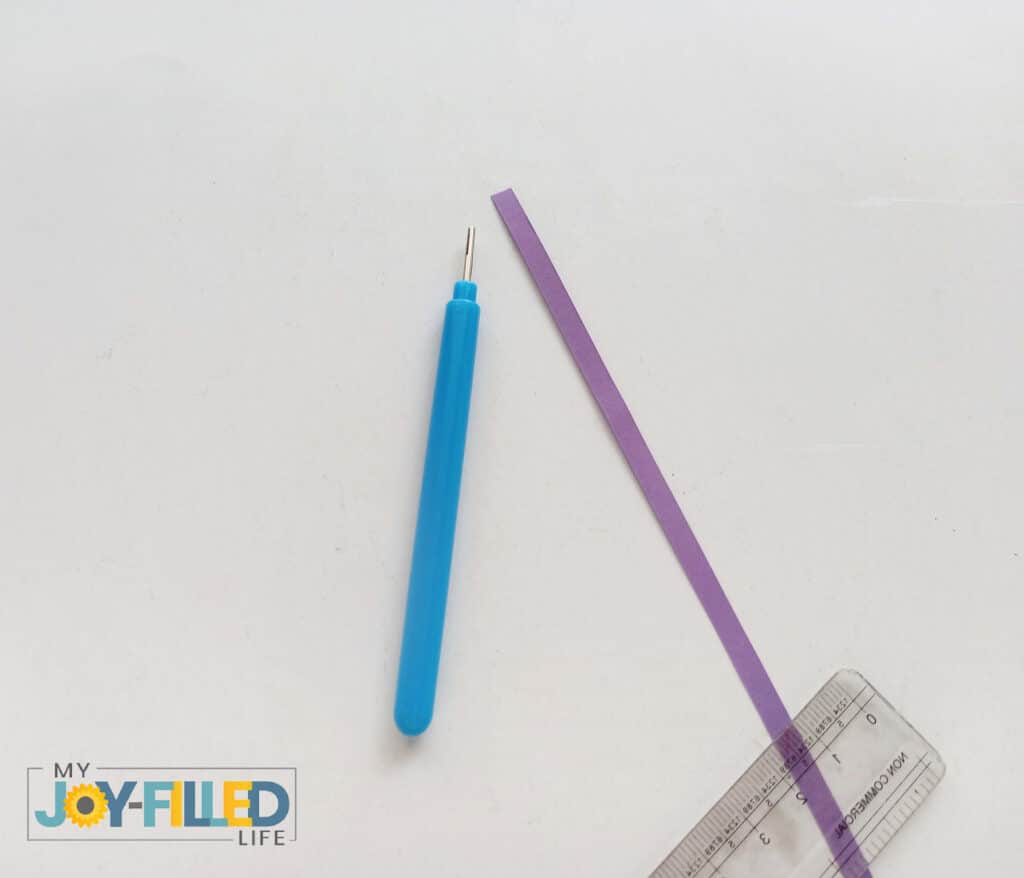
Select a 5-6 inch quilled paper strip and grab your quilling tool.
Step 2:
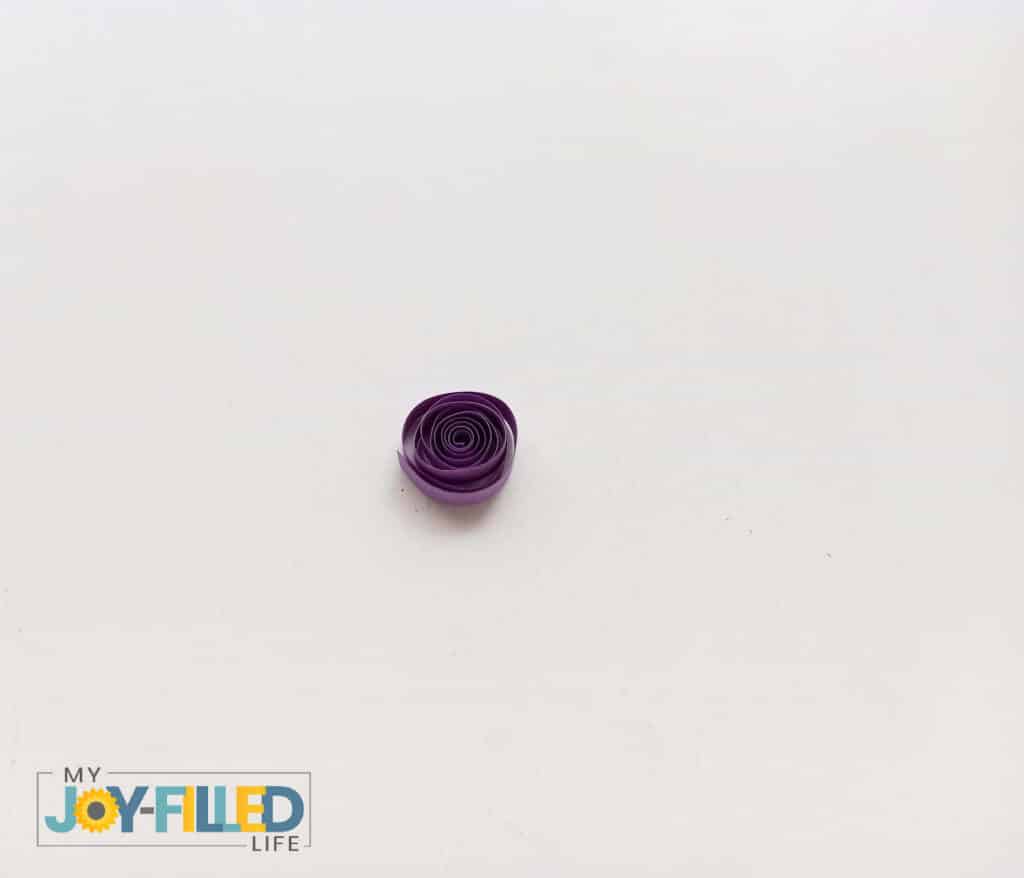
Roll quilled strip into a slightly loose coil.
Step 3:
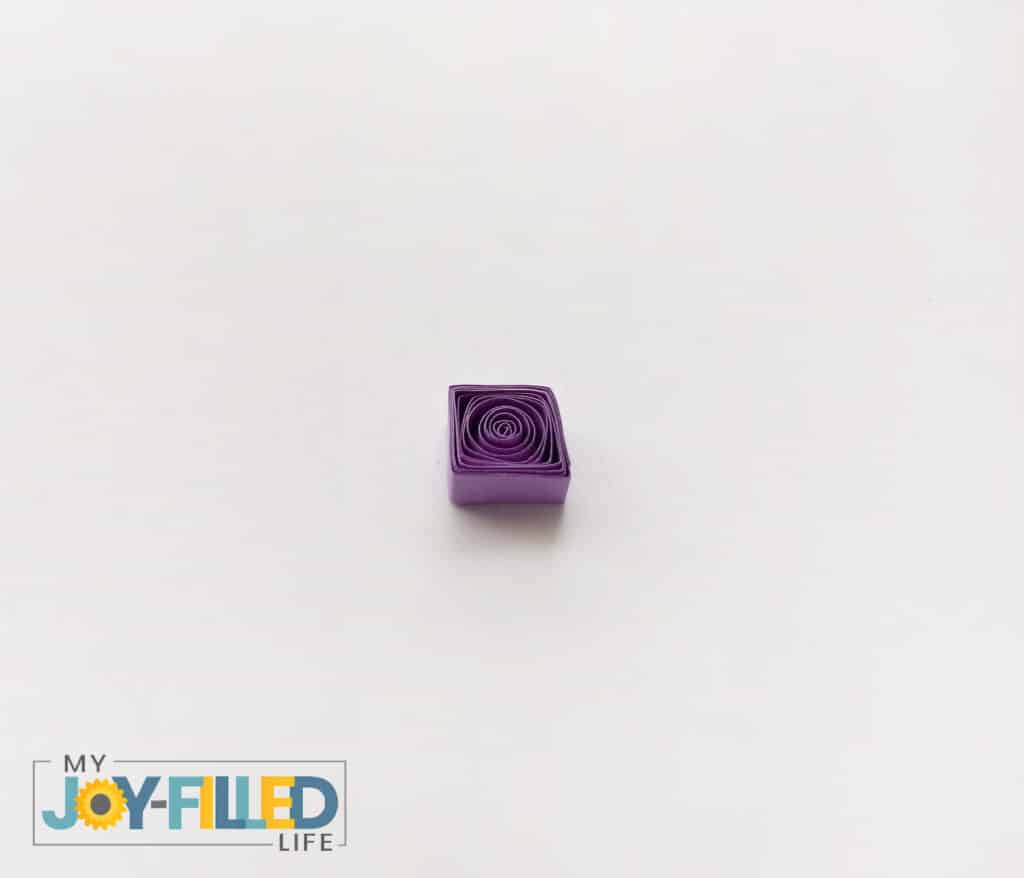
Press in the sides of the coiled circle to give the coil a square shape, and pinch to form the corners of the square.
Step 4:
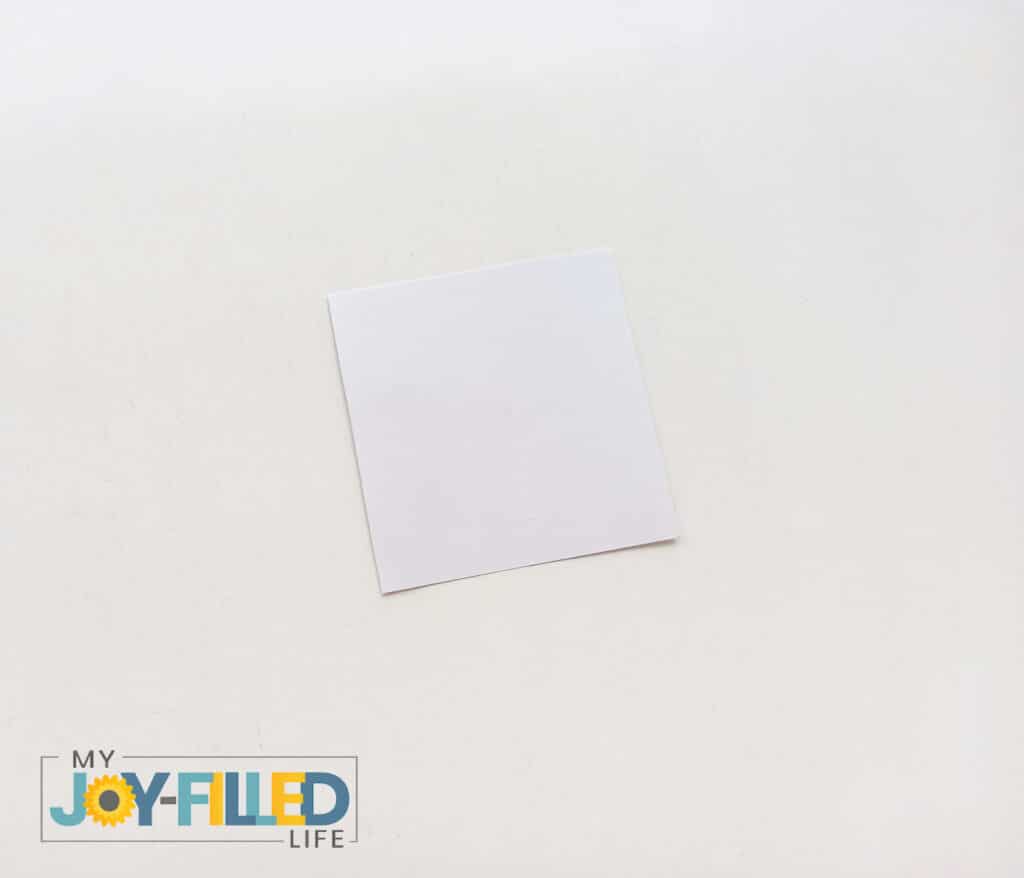
Select your piece of cardstock.
Step 5:
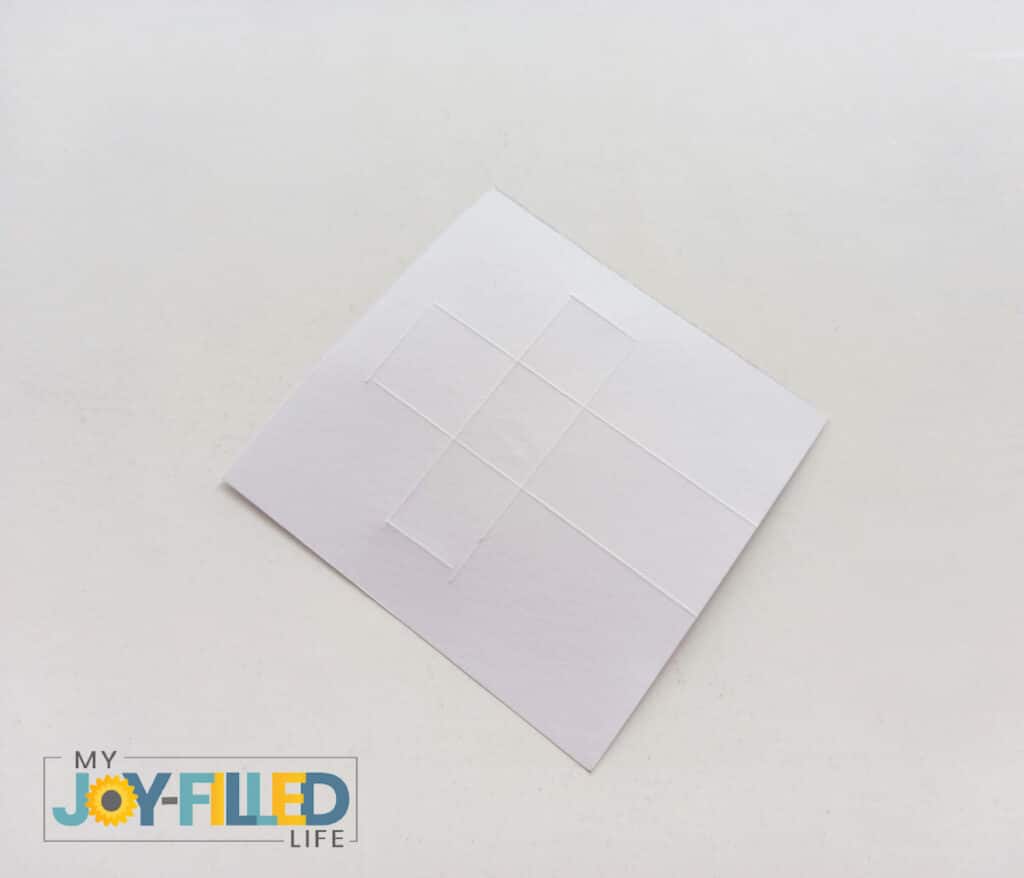
Use a pen or pencil to draw the cross’s outline on the cardstock. You could also use a white colored pencil (or the same color of the cardstock you are using) so that lines don’t show in your finished project. This will work as a guide to make our craft.
Step 6:
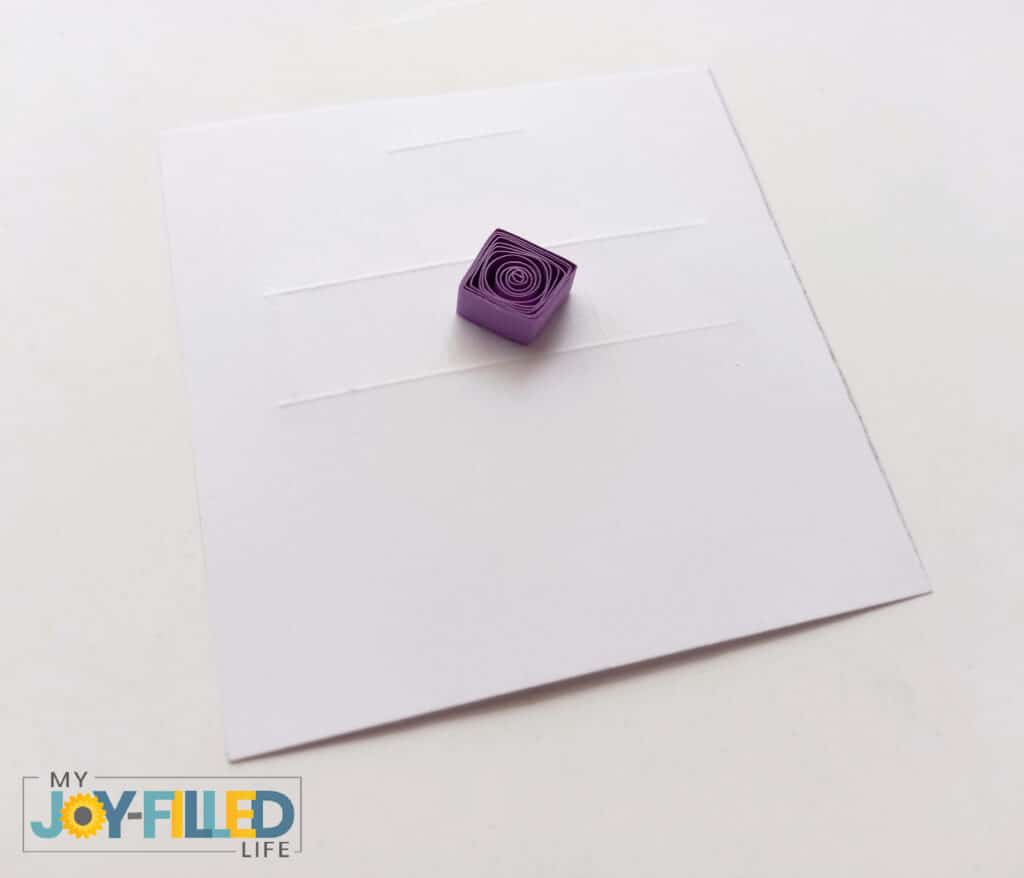
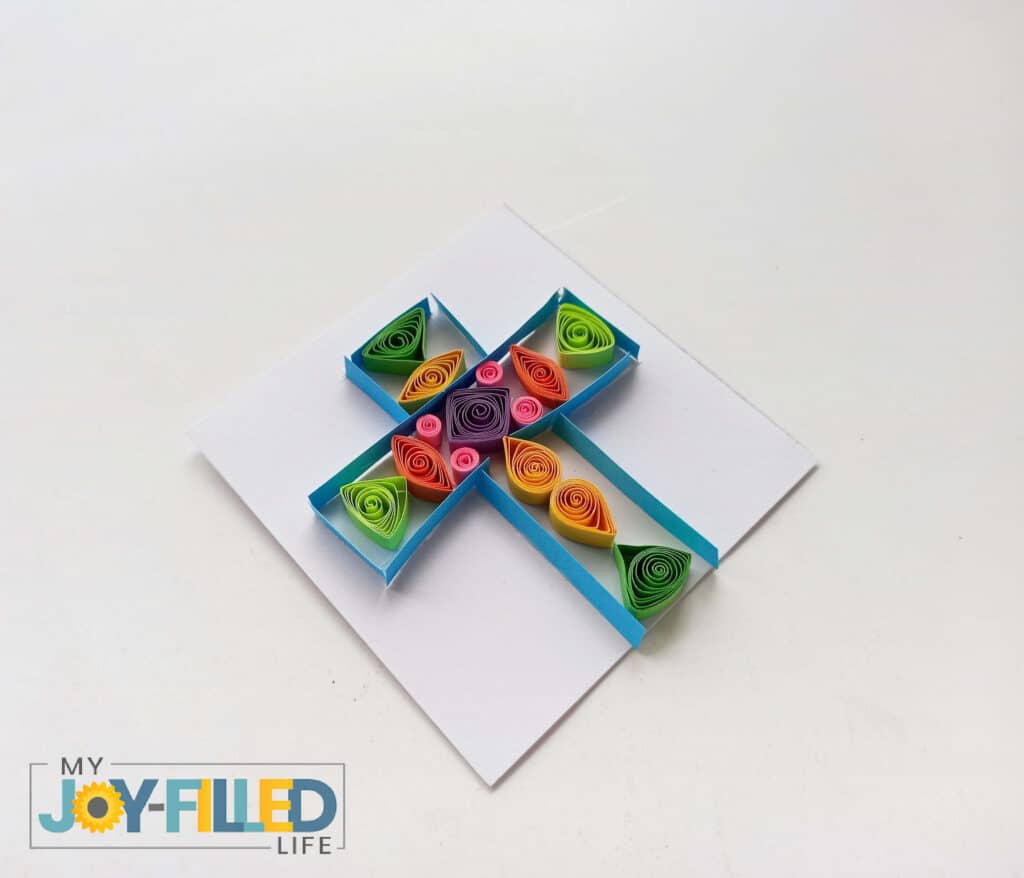
Glue the square quilled piece on the center of the cross outline as shown.
Step 7:
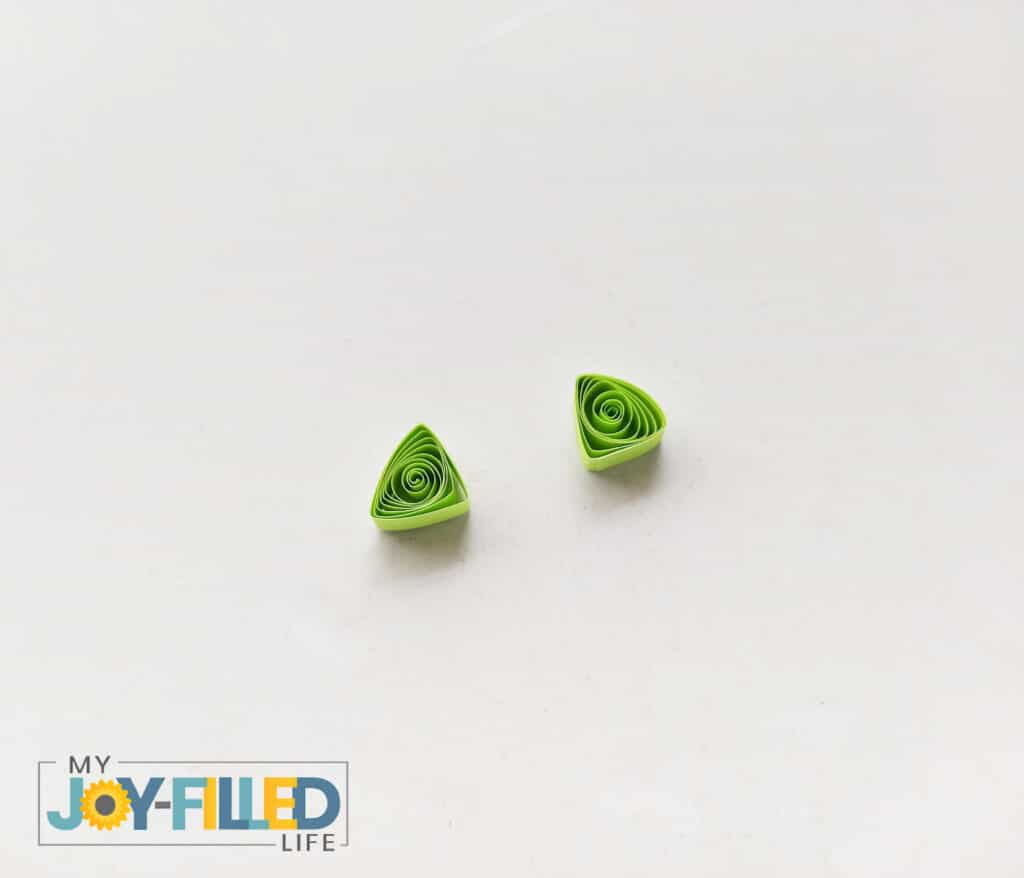
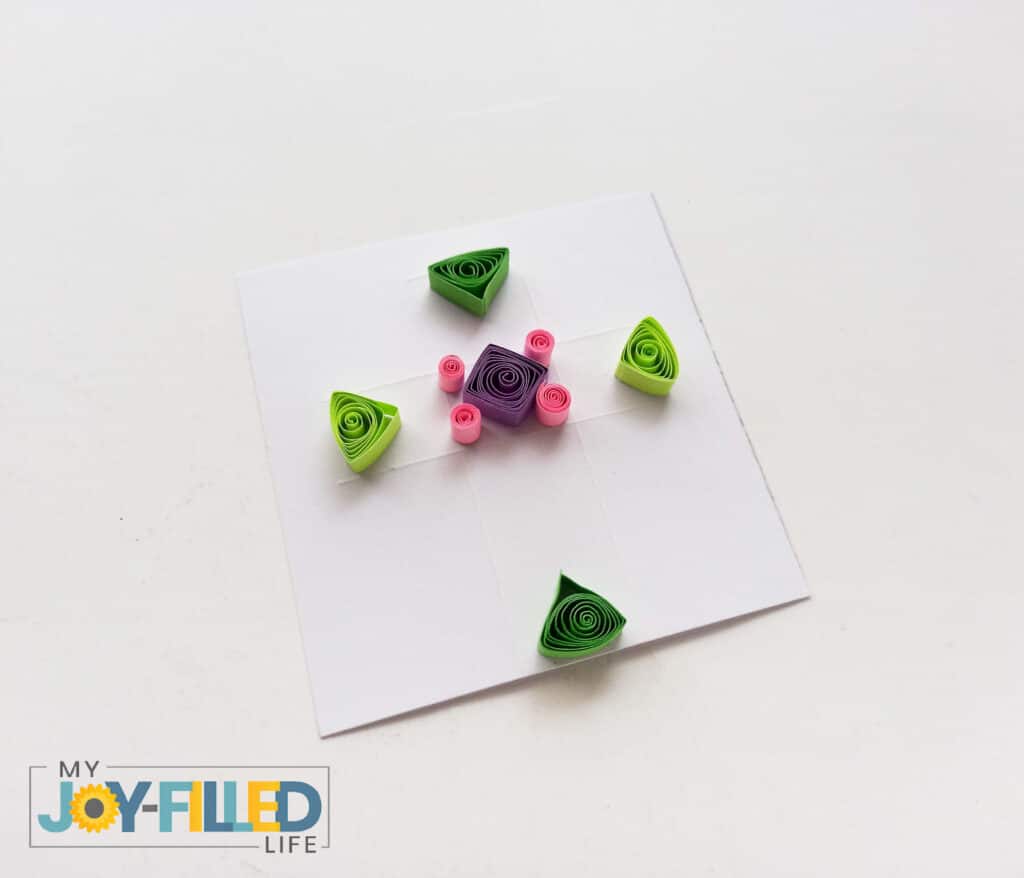
Make four triangular quilled shapes using a different color. You can use two different shades of this second color, two triangular coils for each shade. To make a triangular coil, pinch a circular coil in three different spots to form a triangle.
Step 8:
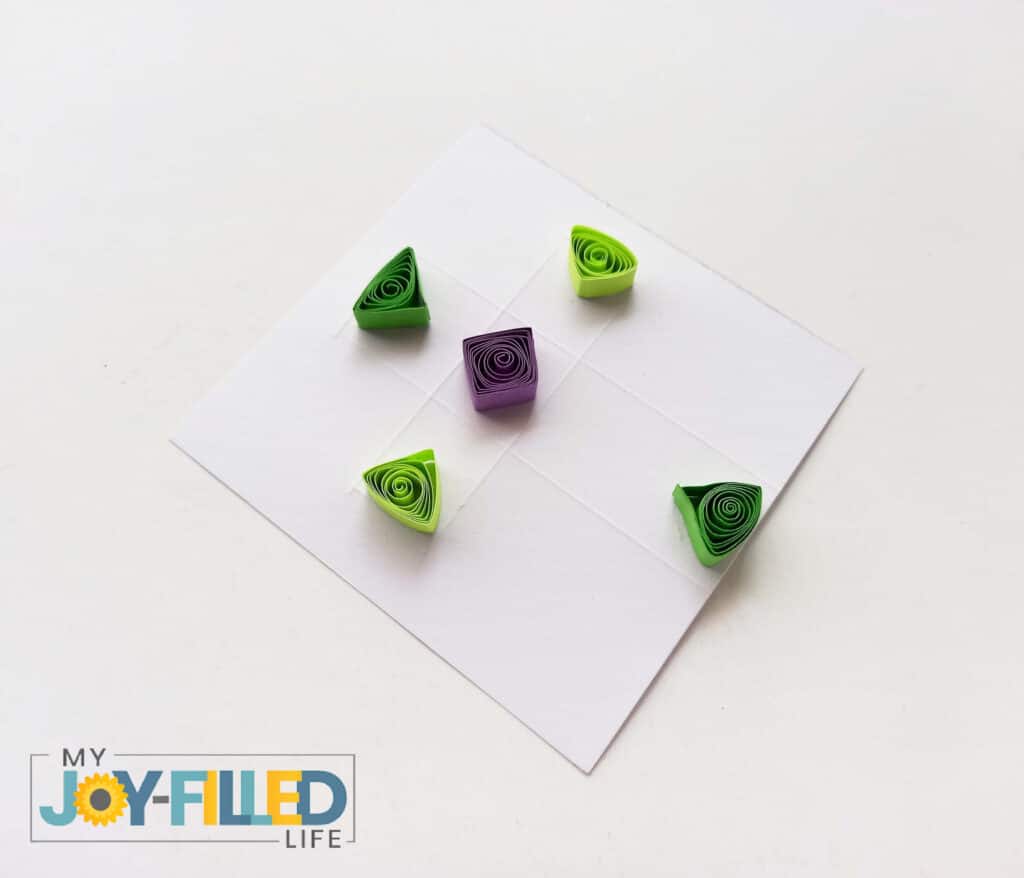
Glue the triangular pieces on each end of the cross as shown.
Step 9:
Make and glue four tiny coils around the four corners of the square shape in the center as shown. Use a third color here.
Step 10:
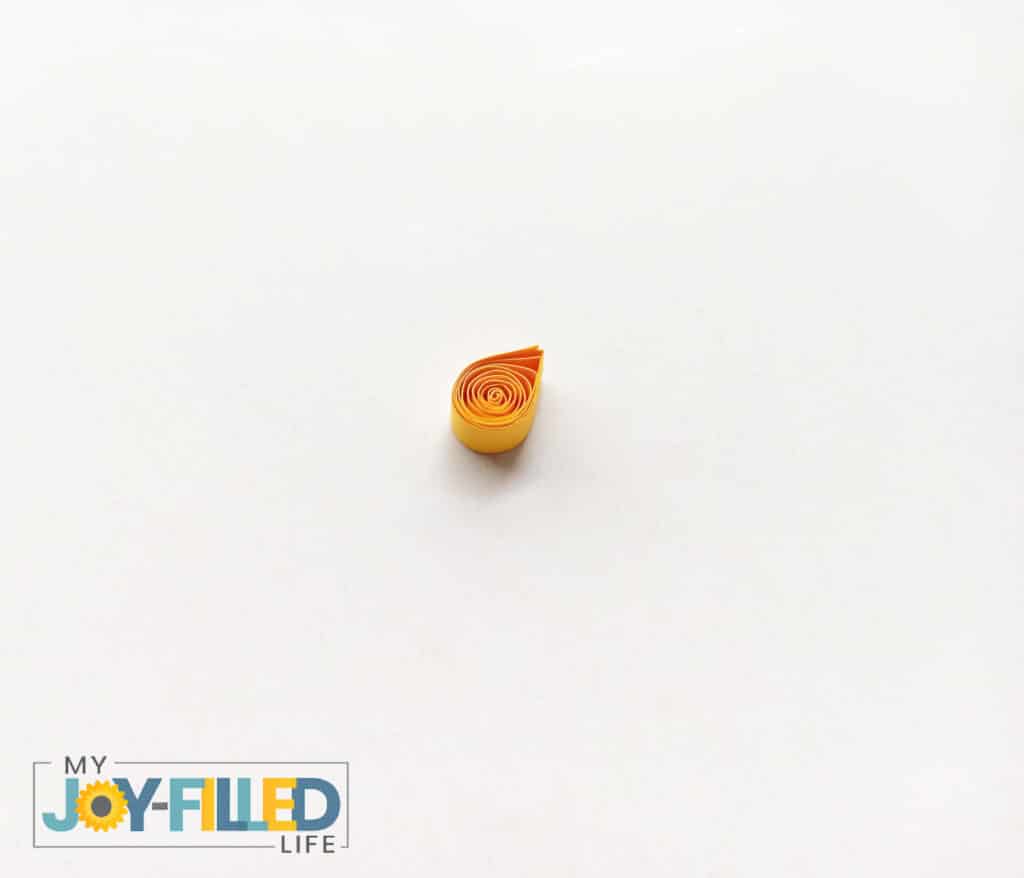
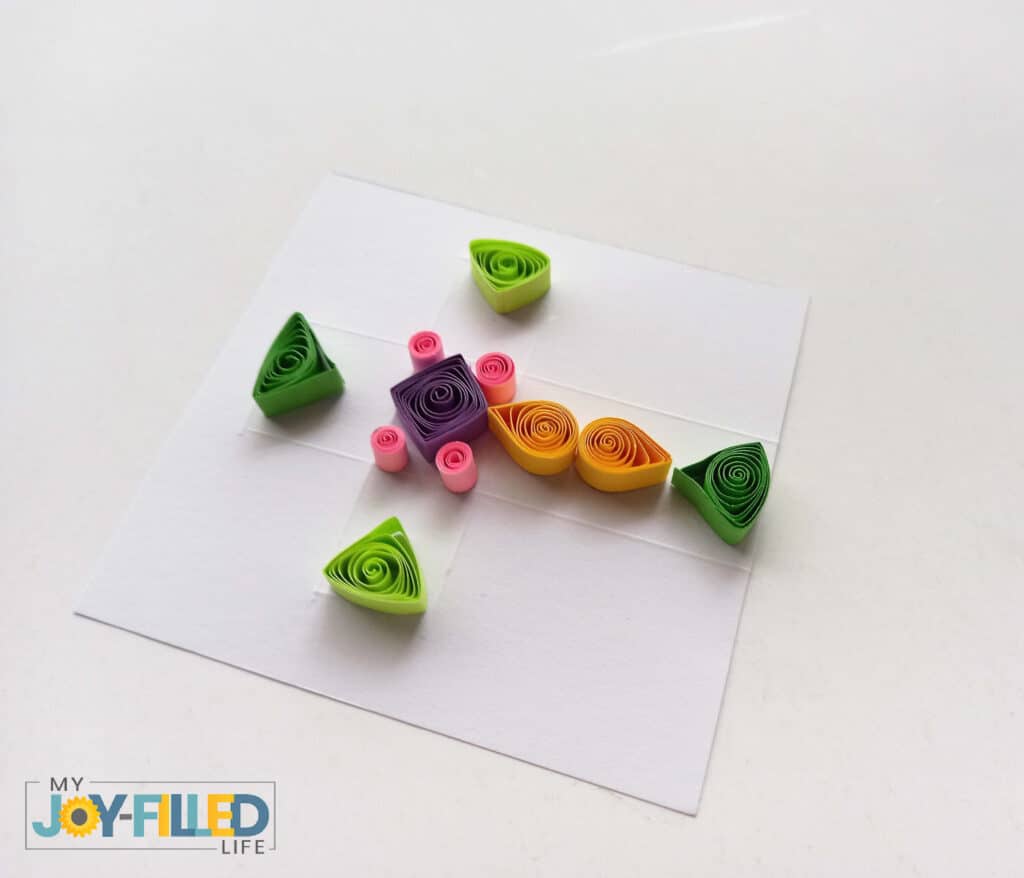
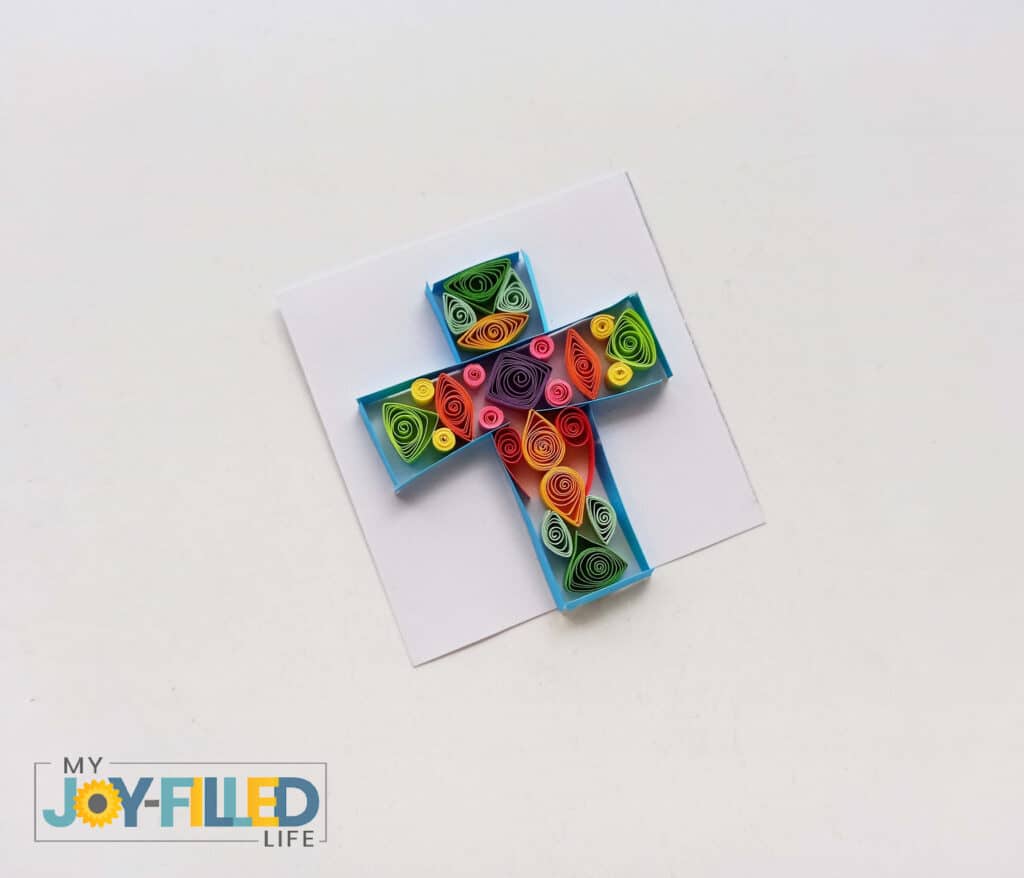
Make two teardrop-shaped pieces in a fourth color. To make a teardrop, first make a circle and then pinch on one side.
Step 11:
Glue the teardrop-shaped coils on the bottom half of the cross vertically as shown.
Step 12:
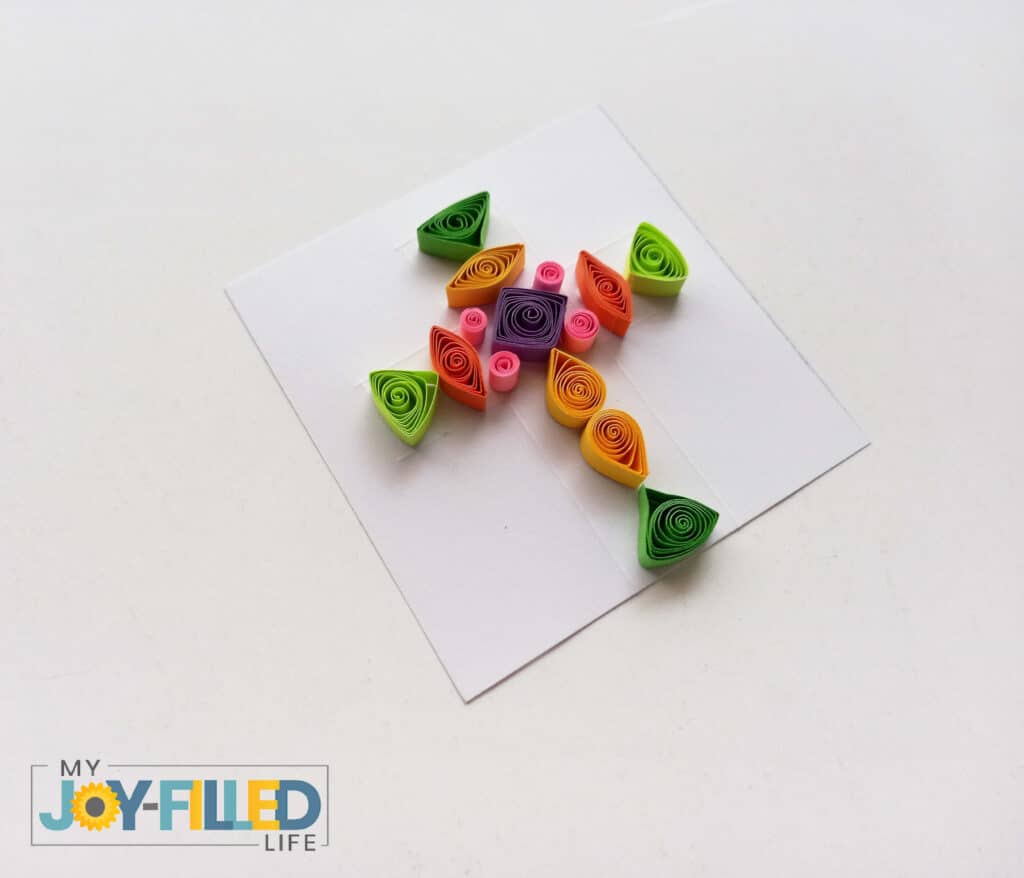
Then, make some diamond-shaped pieces with quilling strips and glue them on the upper gaps of the cross as shown. Choose different colors here. To make a diamond-shaped coil, make a circle and then pinch on one side like for the teardrop and then pinch on the opposite side.
Step 13:
Pick a color from your quilling strips that goes with your design to make the borders of the cross as shown.
Step 14:
Make and glue more small quilled coils in varying shapes to fill in the rest of the gaps inside the cross’s border.
Step 15:
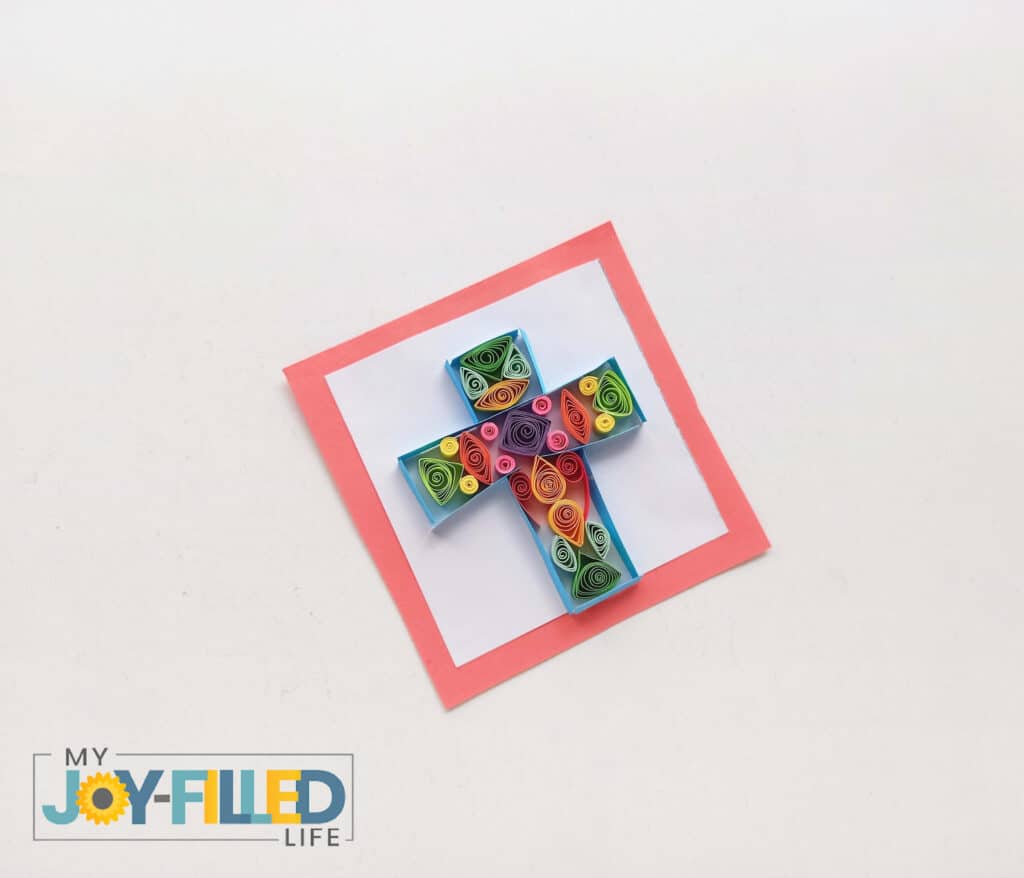
To finish your project, glue a larger piece of colored cardstock to the back, creating a framed look. You could also turn this into a card by doubling the size of the colored cardstock, folding it in half and then gluing your cross to the front.
Making a quilled cross, or any quilling project, can be an enjoyable and educational experience for you and your child. Just remember, this activity will require a little bit of patience and guidance, but no doubt your child will create a beautiful piece of art that will be cherished and enjoyed. And who knows, quilling just might become a new family favorite activity.
This paper quilling cross craft is a fantastic and enjoyable activity for kids this Easter! As an Amazon Associate and member of other affiliate programs, I earn from qualifying purchases.Quilled Cross Craft
Materials
Tools
Instructions
Recommended Products





Leave a Reply