

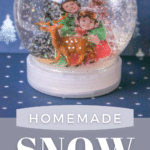
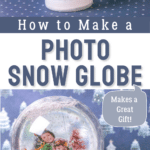
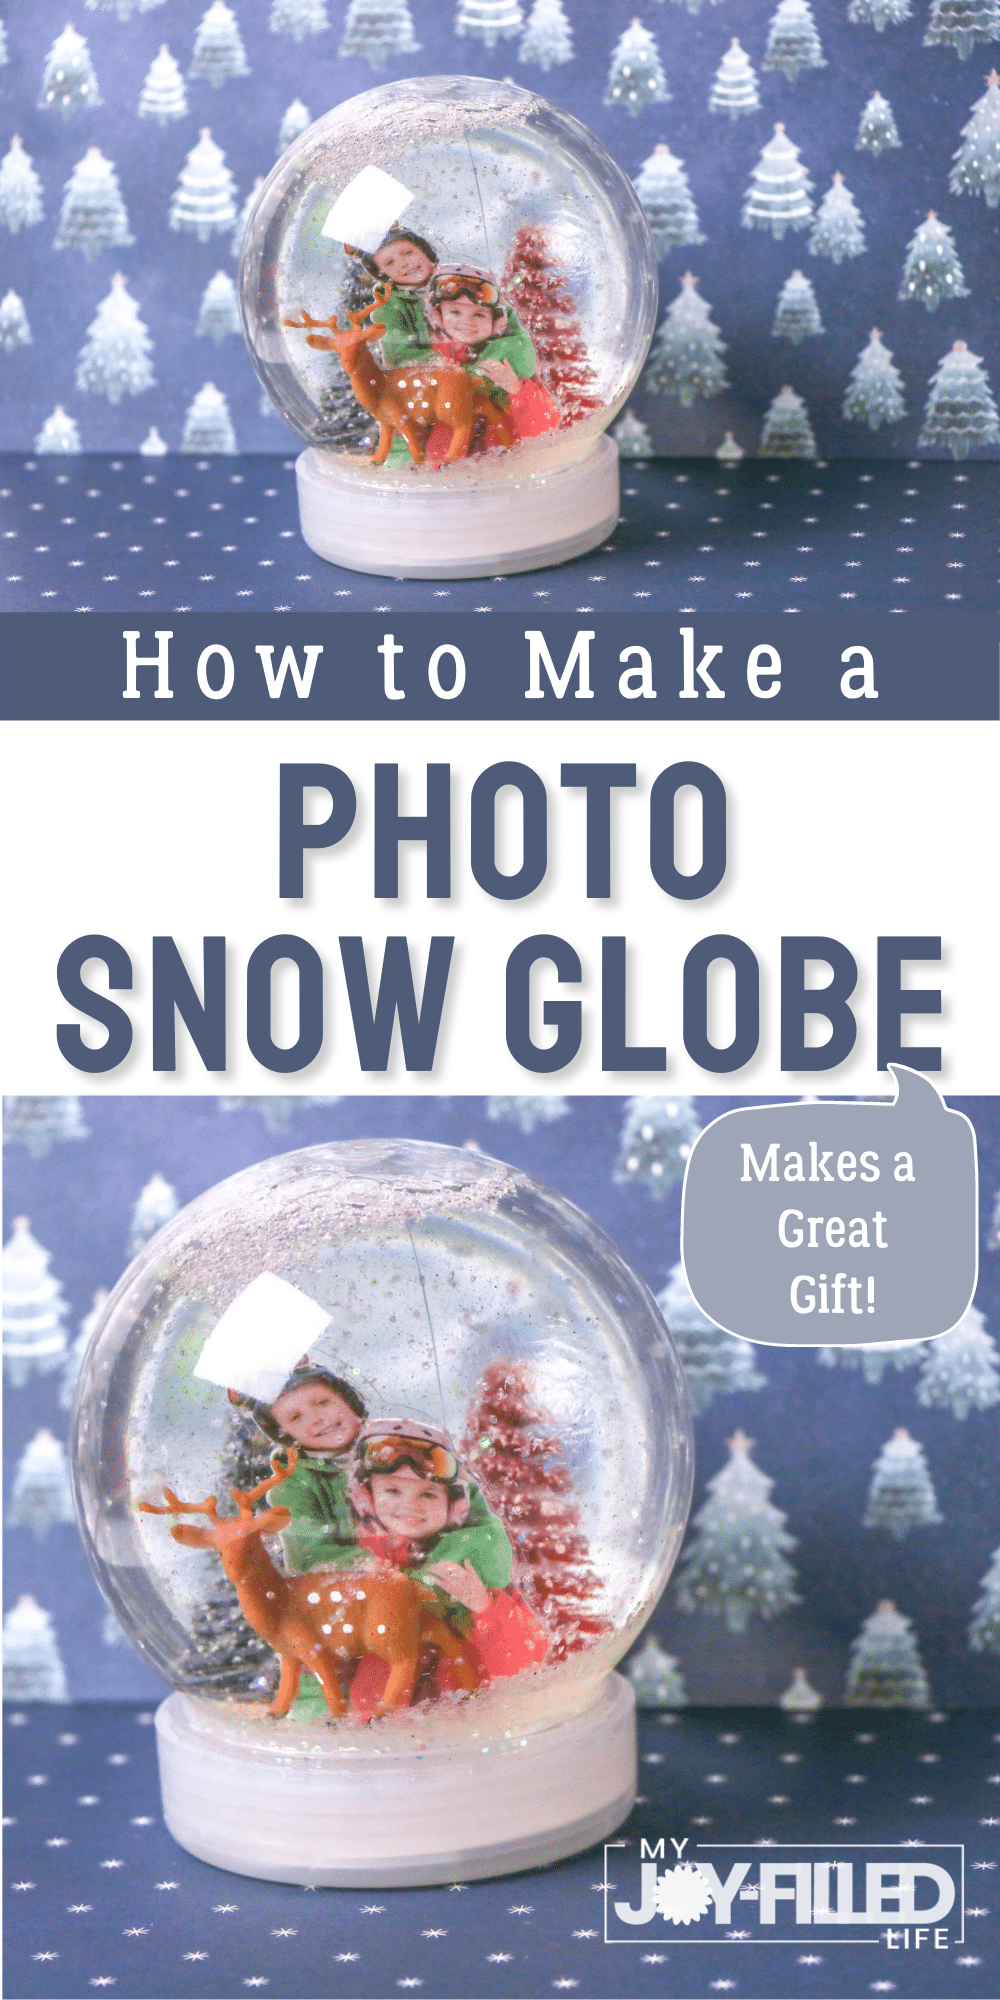
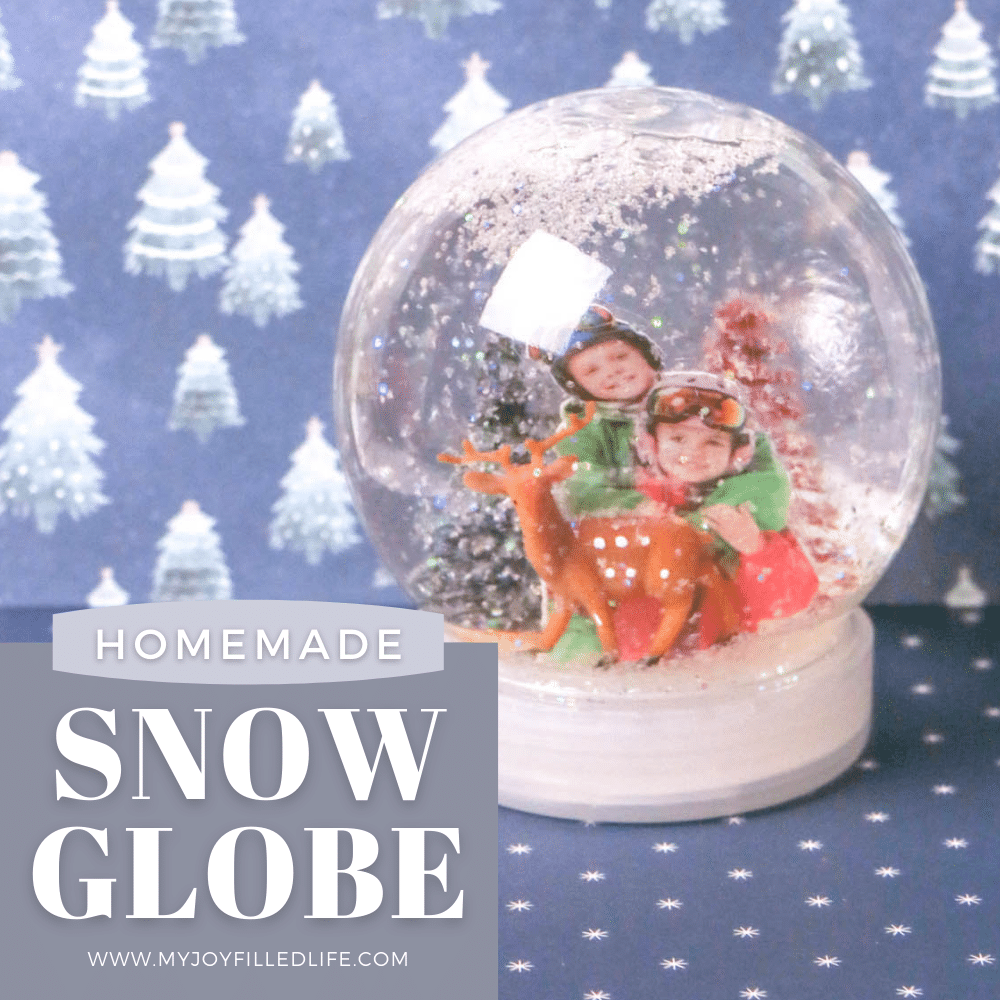
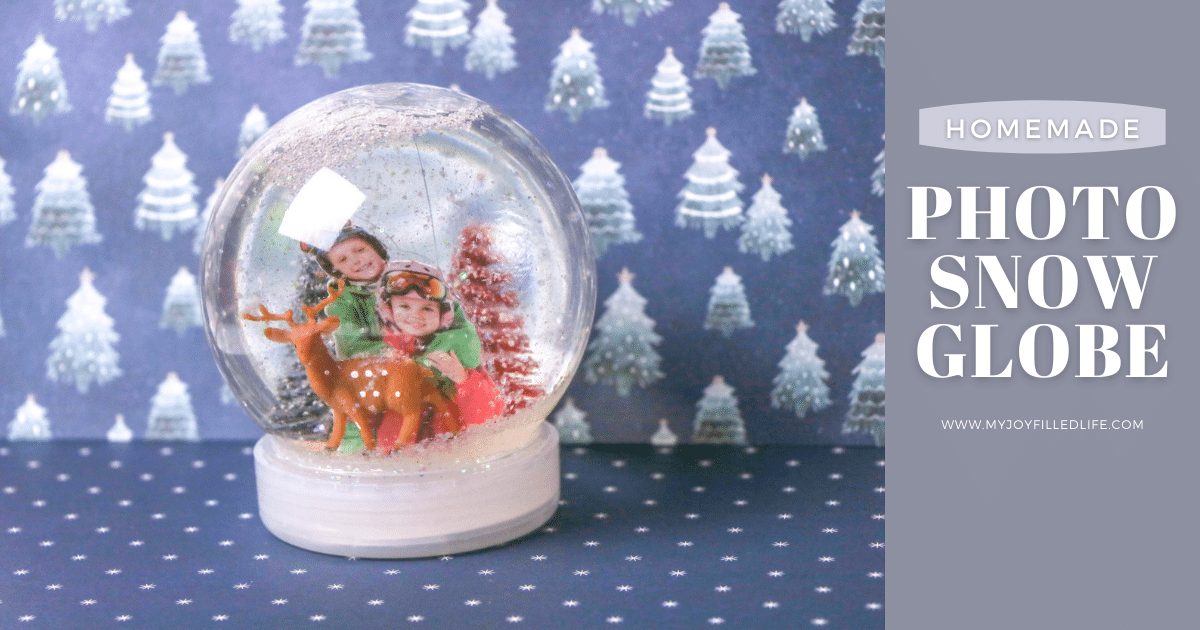
Make this DIY photo snow globe as a thoughtful gift for Christmas or any other holiday!
Sometimes, the best gifts for family and friends are those that are handmade. It’s something the recipient can treasure for years. They will take great care of it so they can enjoy it for as long as possible.
When it comes to having a large family, we love doing handmade Christmas gifts. The kids love to get involved and make gifts for grandma, grandpa, aunts, and uncles. They can also create cute DIY projects for their teachers, coaches, and other people in their lives.
DIY Photo Snow Globe
That’s why this DIY photo snow globe makes such a fun holiday activity for adults and kids alike. It’s something you can give to your loved ones that they will cherish. With the way we decorated ours, it can sit up on the mantle or a table all winter long and not just during Christmas time.
You can really have a lot of fun with this snow globe. For a coach, you can put in a team photo, edited with the team’s name and the year. For the teacher, you can include a cute note on your child’s photo along with the year the gift is given.
How to Make a Picture Snow Globe
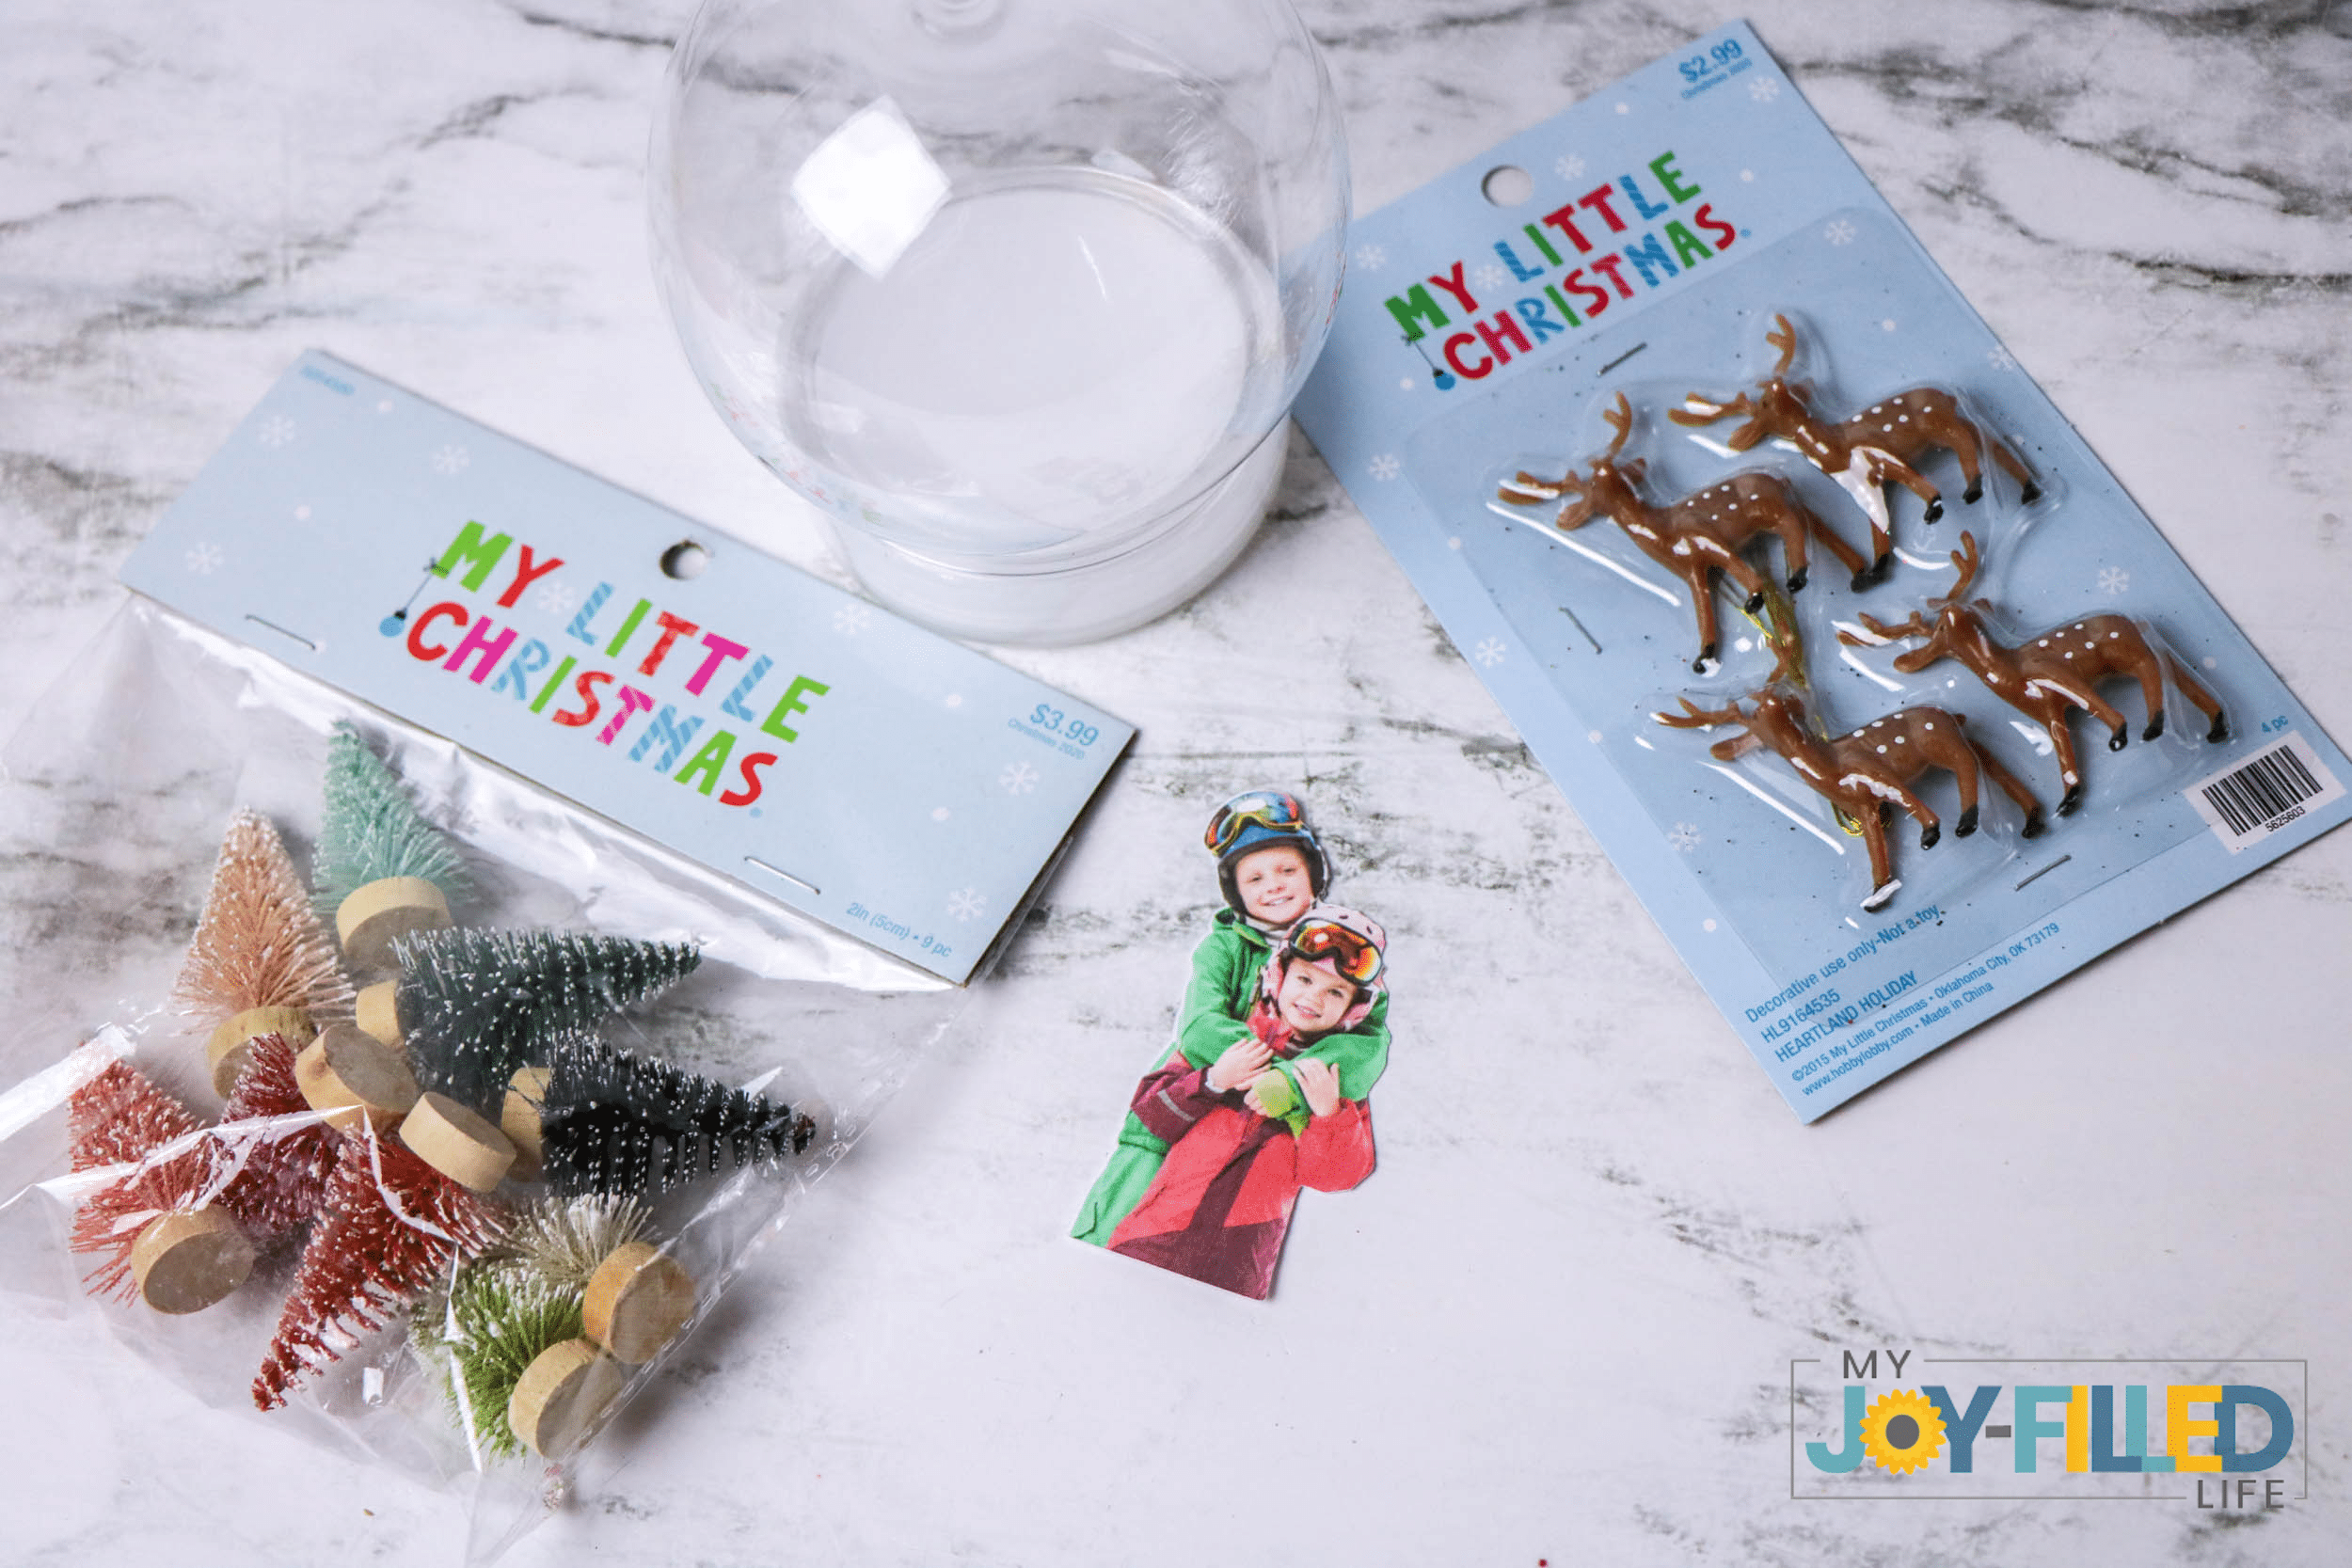
Supplies:
- Plastic snow globe
- Photograph
- Cardstock
- Self-Adhesive laminating pages
- Scissors
- Waterproof glue (hot glue will work)
- Other decorations, if desired
- Glitter
- Water
- ½ teaspoon to 1 teaspoon vegetable glycerin, if desired
Directions:
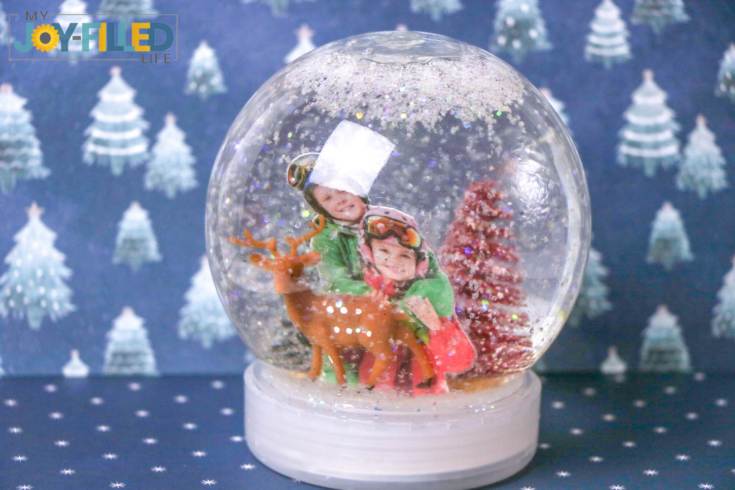
Take a picture of the children (or whatever you want inside the globe) against a white background.
Using your favorite computer program, insert the image and size it to fit the snow globe. Print the picture on card stock and then cut the picture from the paper.
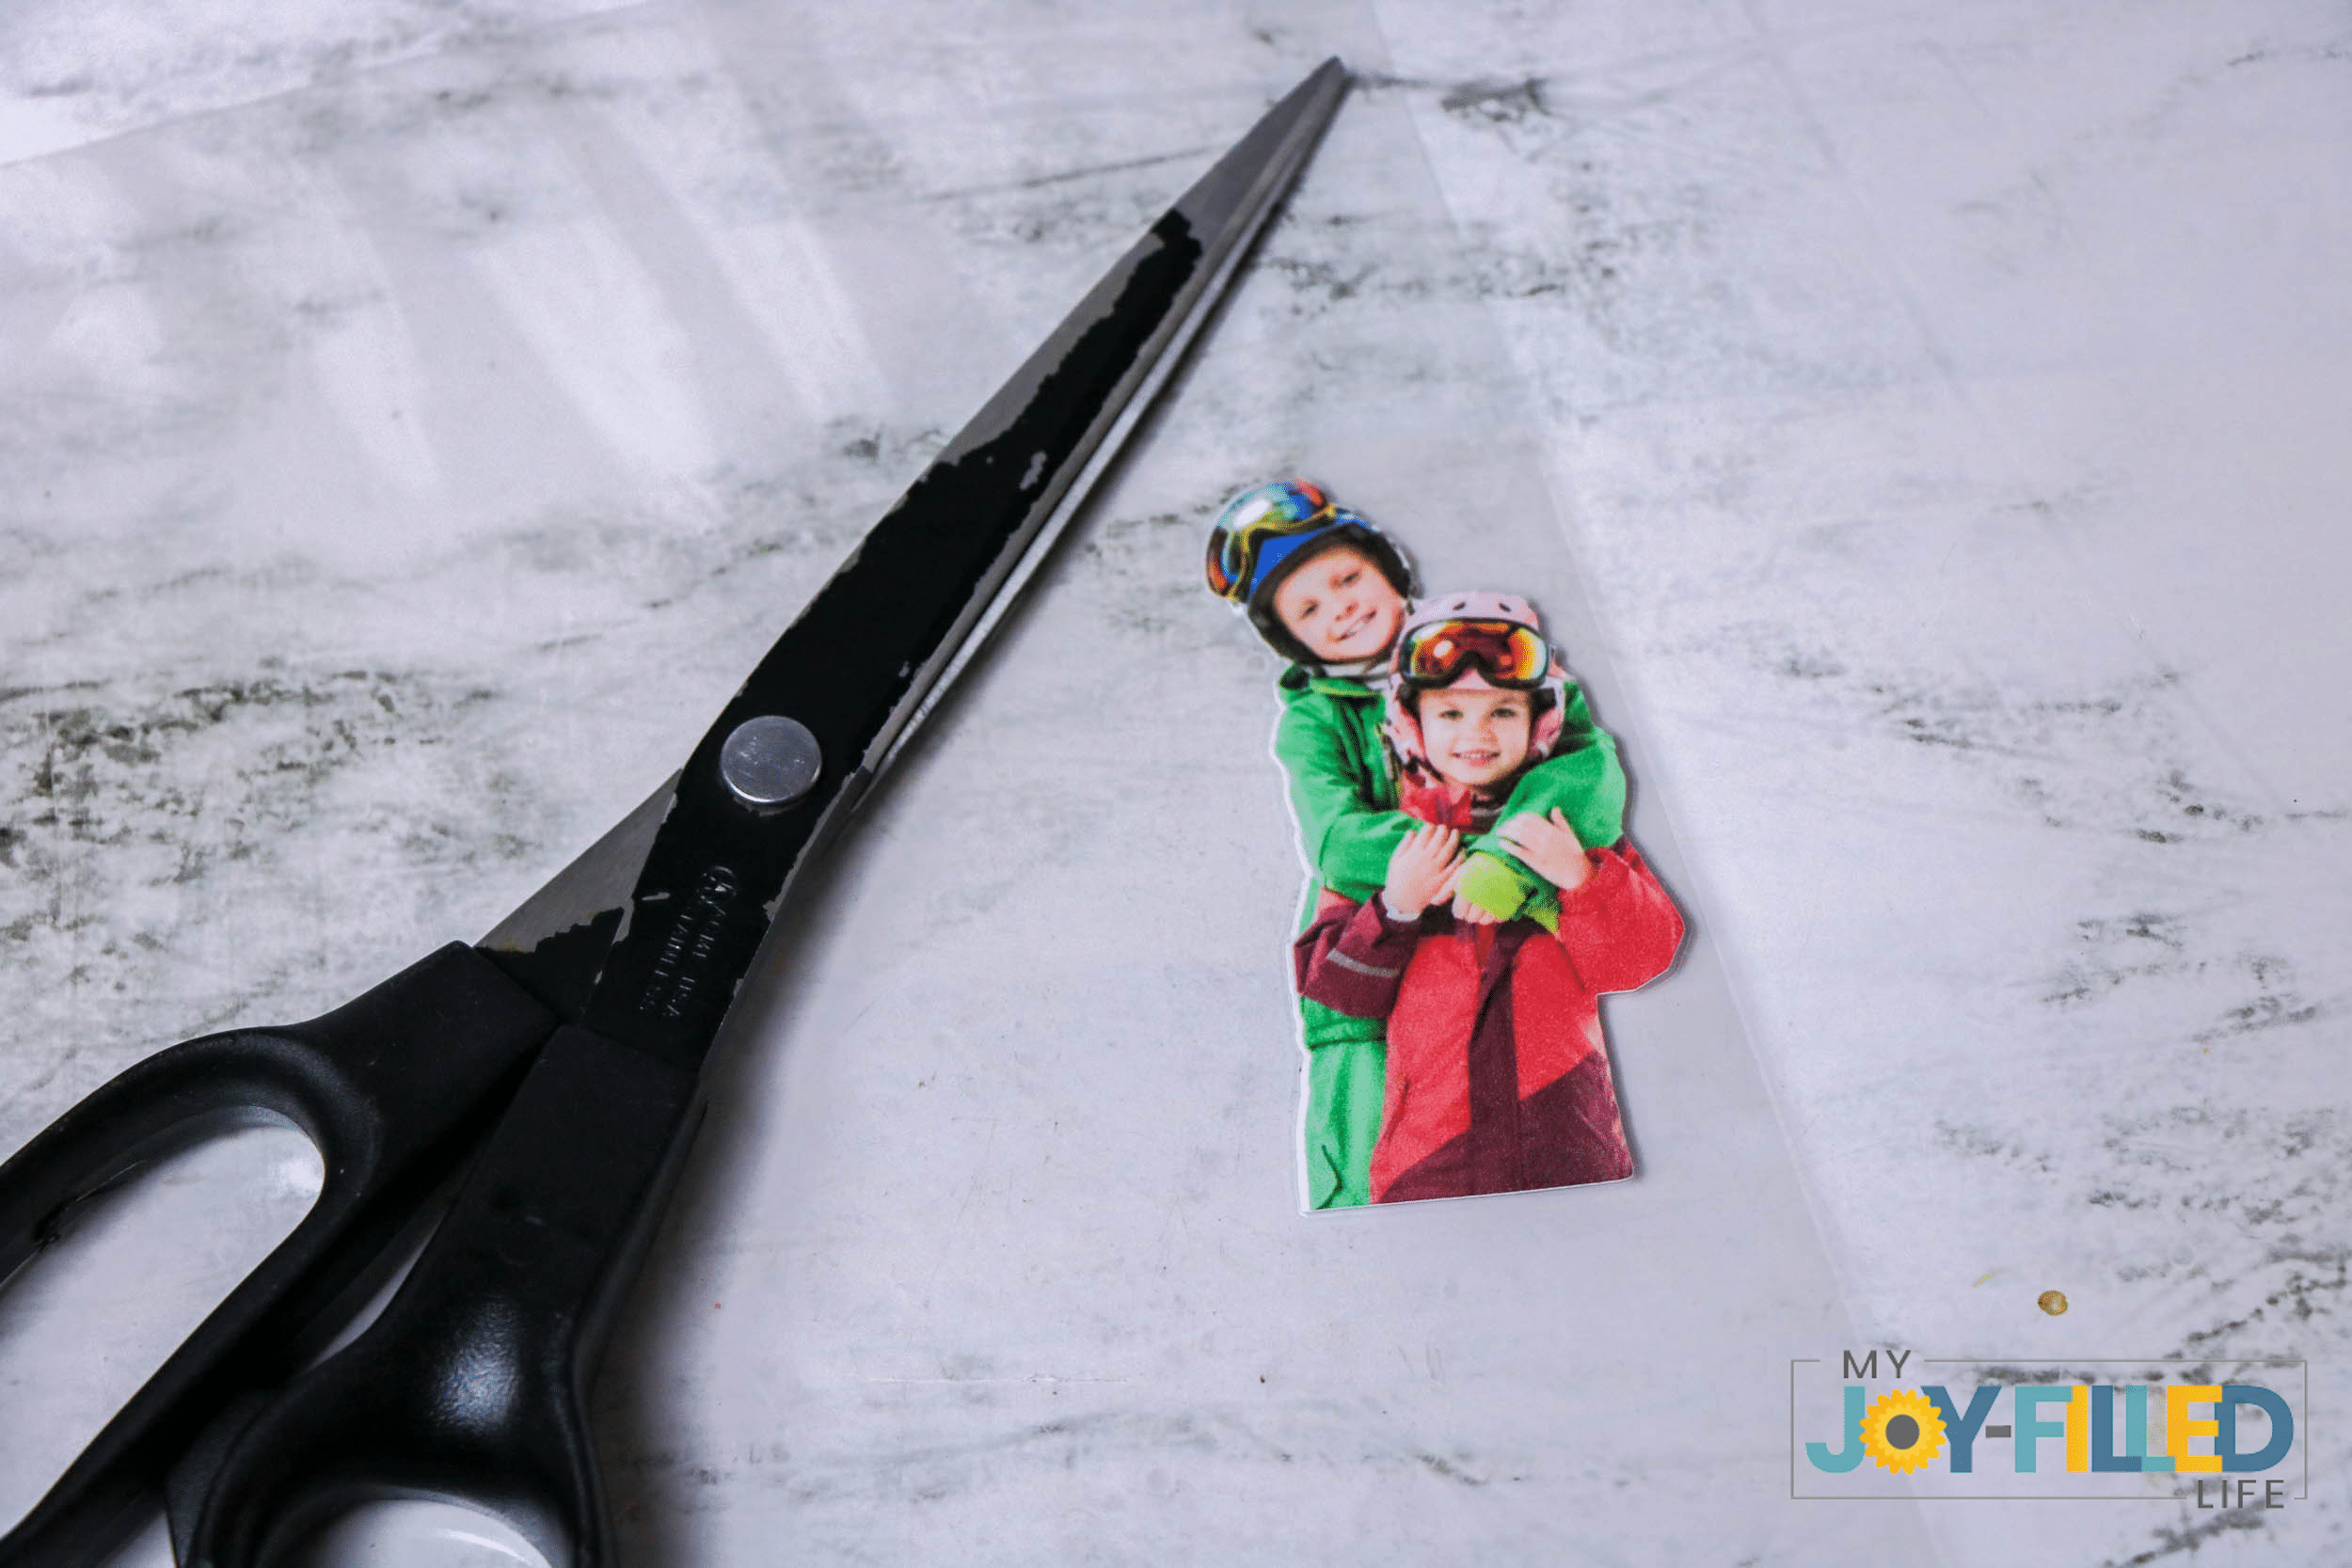
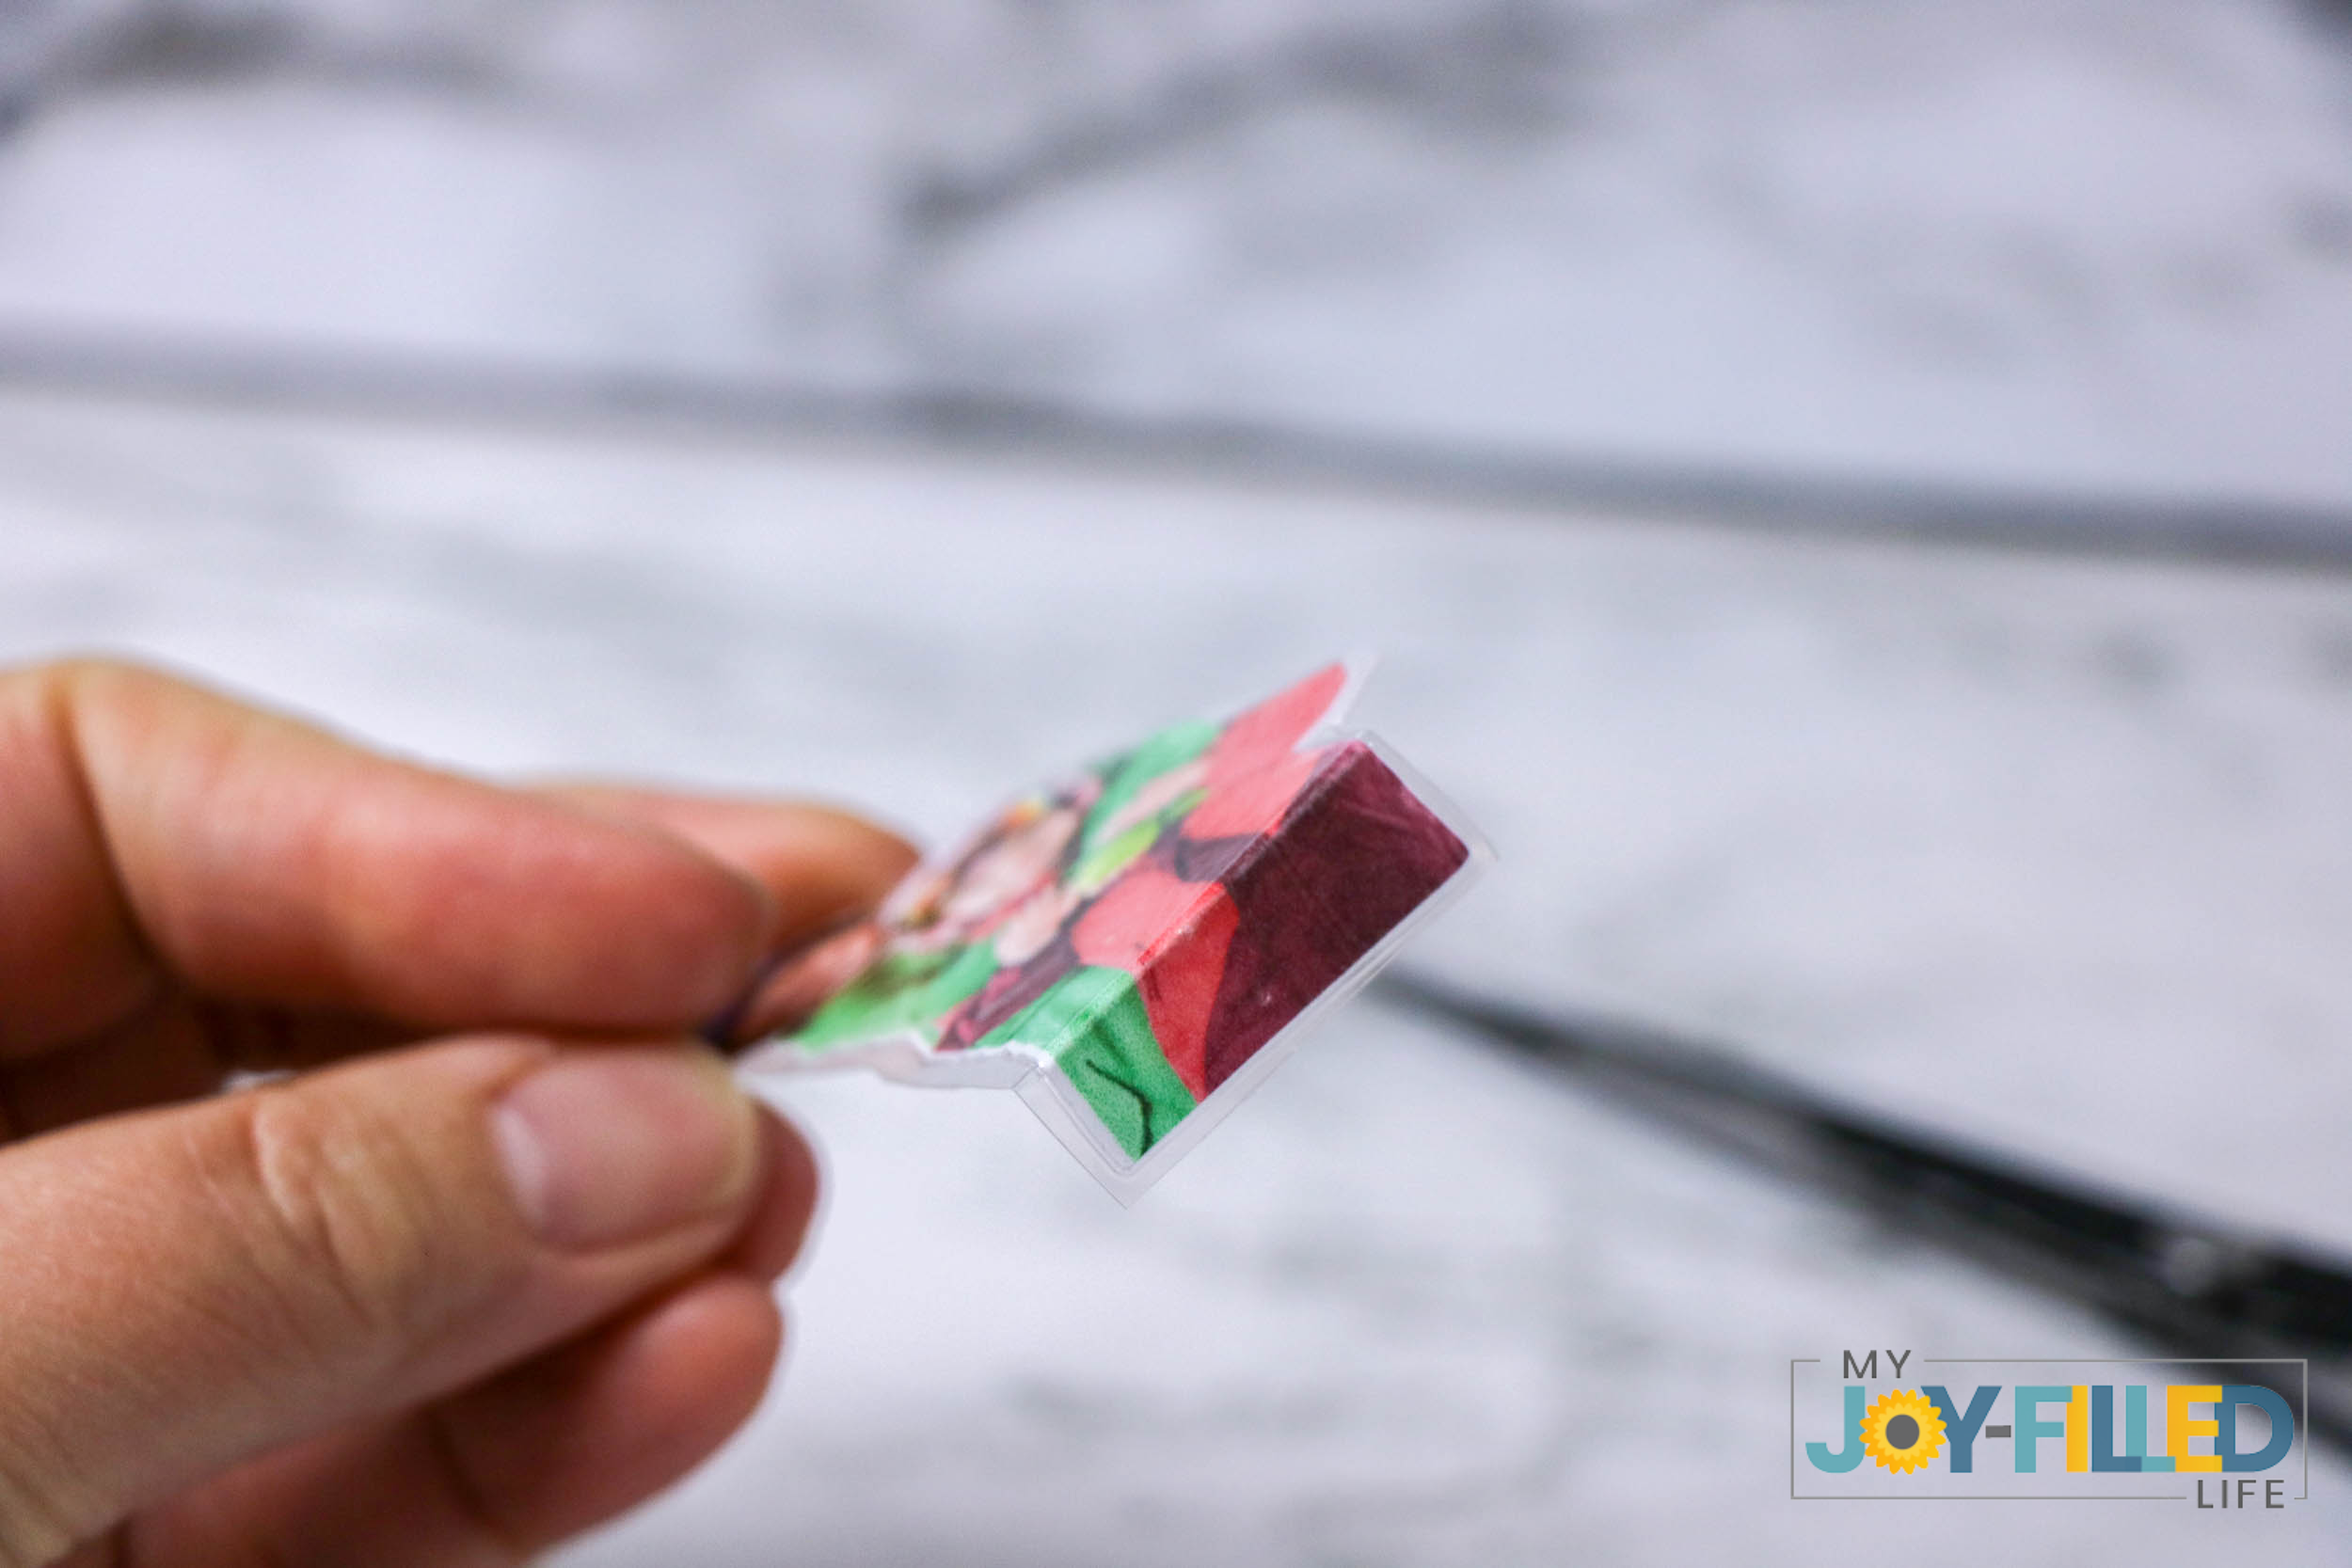
Laminate the picture to seal it. Cut any excess laminating sheet from the picture leaving a sealed edge around the picture to avoid water leaking through any gaps.
Fold down the bottom edge of the image so the image can stand.
Remove the twist bottom from the snow globe and pop out the inner cap.
Attach the image to the pop out cap using glue. Add any additional decorations desired. Allow the glue to dry completely before proceeding.

Fill the globe with water and the desired amount of glitter. Stir to disperse the glitter. If desired, add a small amount of glycerin to help slow the float of the glitter.

Over a sink, place the cap back into the globe allowing any excess water to run out. Wipe the outside of the globe dry and replace the cap.
Even more winter activities you might enjoy:
- 10 FREE Activities Your Family Can Do This Winter
- Snowball Slime
- Homeschool Science Projects Using Snow
Cute DIY project that makes such a thoughtful gift!DIY Photo Snow Globe
Materials
Instructions

Leave a Reply