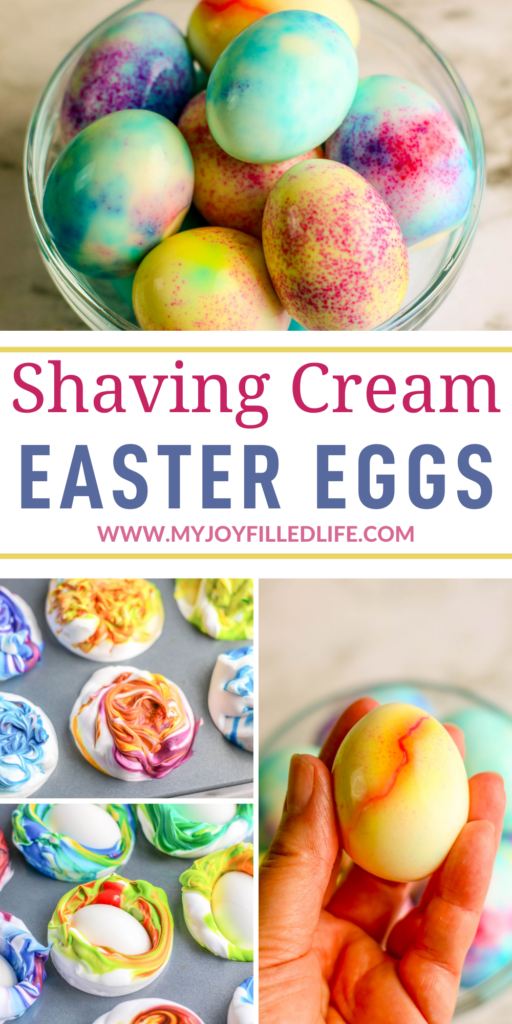
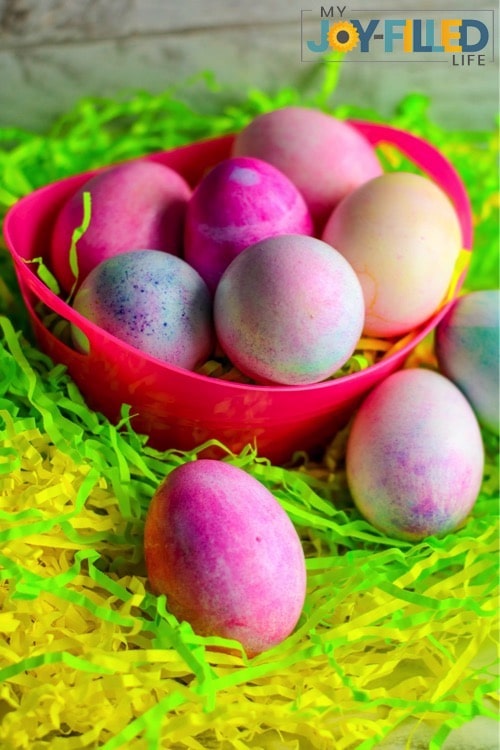
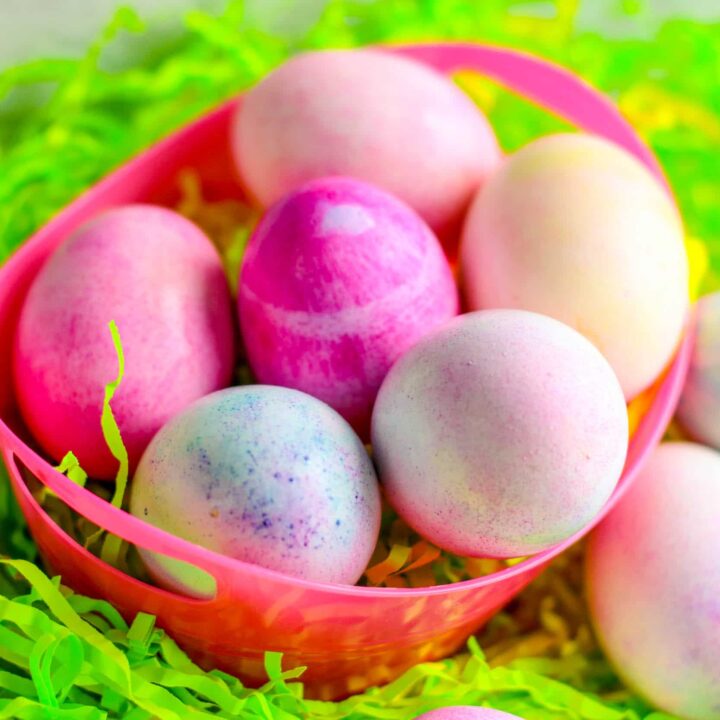
Looking for unique ways to dye Easter Eggs this year? You can dye Easter eggs with food coloring, but these Shaving Cream Easter Eggs give it a little twist and they turn out beautifully; plus it’s SO ridiculously simple!!
{Psst! Looking for other fun ways to dye Easter Eggs? You might also love these “Tie” Dye Easter Eggs! And if you’re looking for an Easter egg craft besides dyeing eggs, try this Salt Glitter Easter Egg Canvas Art!}
I just love this time of year! It starts warming up where we are, everything starts blooming, and we get to celebrate Easter! While we don’t do the Easter Bunny at our house, I do love finding creative and fun ways for my kids to celebrate the resurrection this time of year.
One activity we love to do as a family is dye Easter eggs and have an Easter egg hunt! There are SO many different ways to dye Easter eggs, so you can make it unique and fun year after year. This year, we decided to try these interesting Shaving Cream Easter Eggs. And they were surprisingly SO easy — probably easier than regular dyeing, honestly!
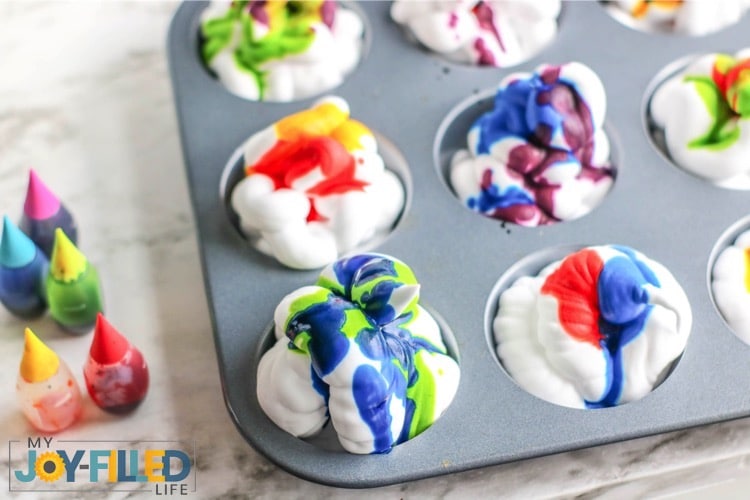
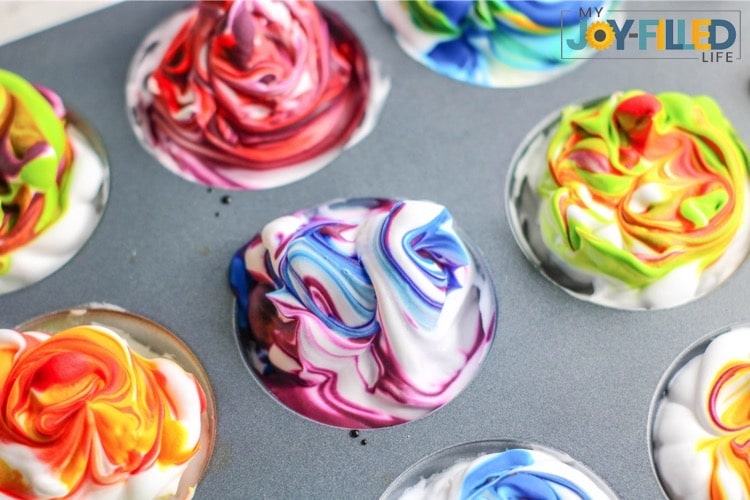
This method of dyeing is really cool for kids to watch and participate in, because the swirls of vibrant color in the cream during the dyeing process are absolutely gorgeous. They’re almost magical looking! And you can have a lot of fun with this one by letting kids come up with different color combinations.
While these aren’t edible, you can substitute Cool Whip for the shaving cream to make it food-safe. Here’s everything you need to know to complete this craft with your kiddos this Easter!
Shaving Cream Easter Eggs
*Note: If you’d like the Easter eggs to be edible, you can instead substitute Cool Whip for the shaving cream.
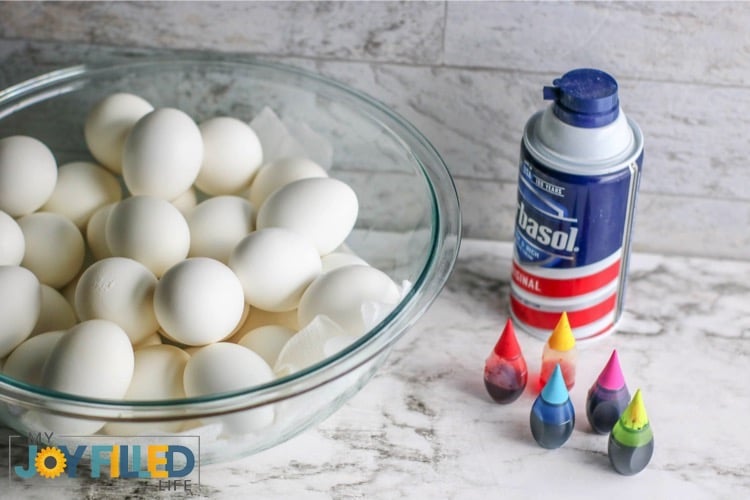
Supplies Needed:
- Boiled eggs
- Shaving cream or thawed frozen whipped topping
- Food coloring
- Bamboo skewers
- Muffin tin or one container for each color
Directions:
Prepare a muffin tin with shaving cream or whipped topping in each well. Top each pile of cream with food coloring.
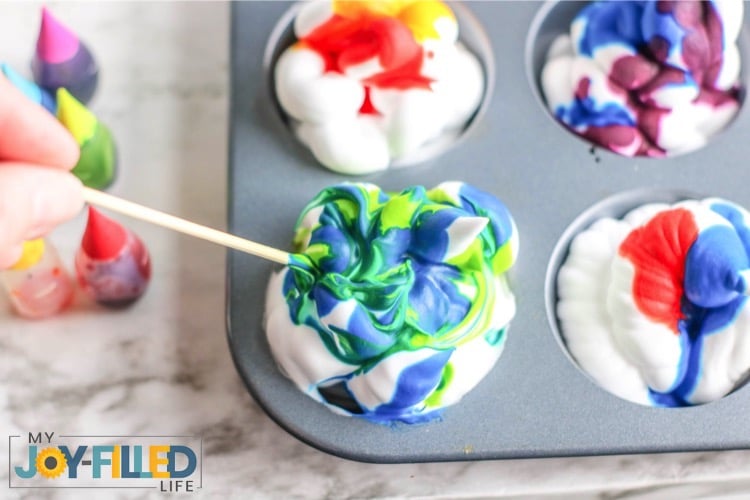
Using a toothpick, swirl slightly.
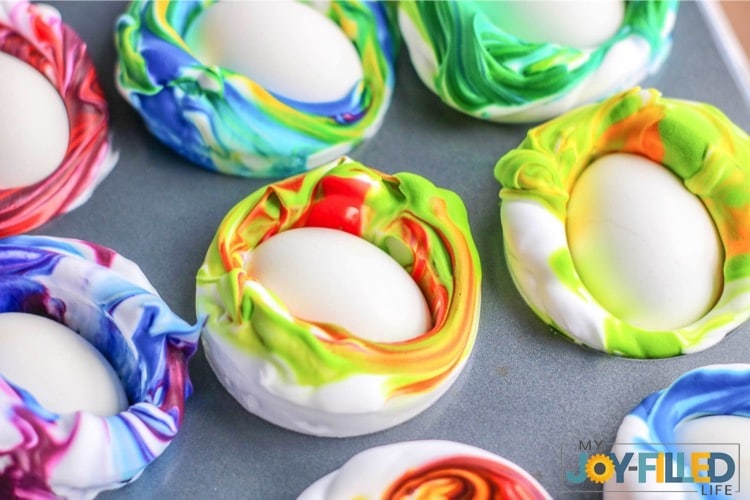
Place one egg in each well and turn to coat.
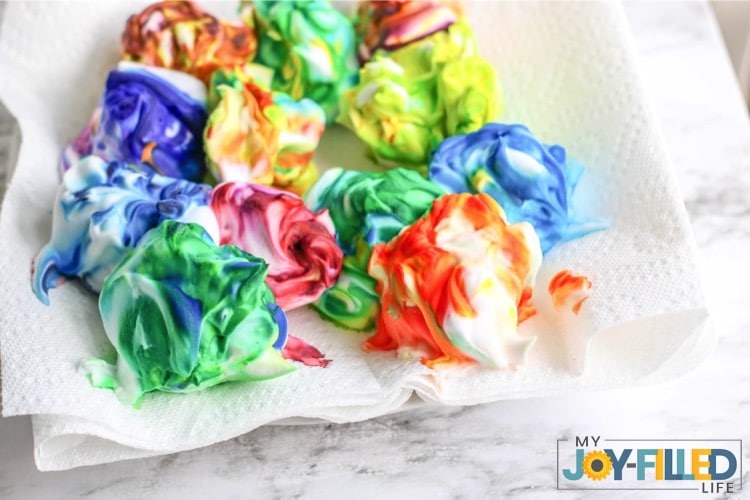
Remove and place on paper toweling. Allow to rest for 20 to 30 minutes.
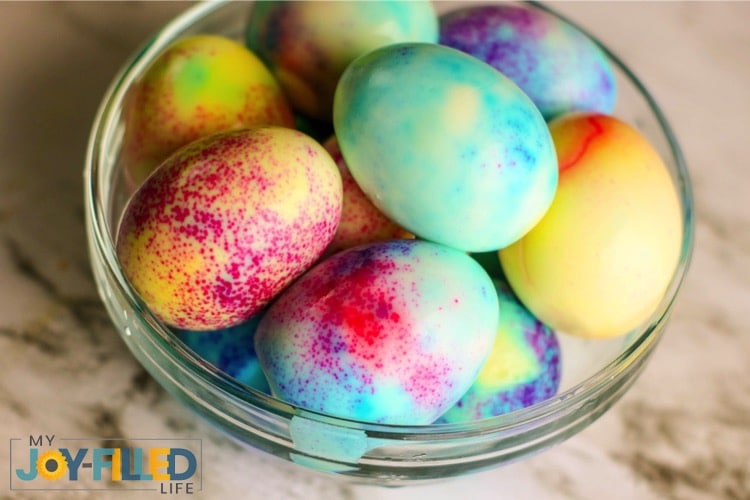
Remove shaving cream by rinsing with water, being careful not to rub the eggs as it may remove the color.
Voila! You now have beautifully colored Easter Eggs! How easy is that?!
I hope you and your family enjoy these unique Shaving Cream Easter Eggs! It is sure to add some fun and creativity to any Easter celebration this year.
You might also want to check out some of our other Easter activities and recipes. A few of our family favorites include the Easter Story Stones, Easter Cross Sun Catcher Craft, and Tic-Tac-Toe Easter Treats. Shaving Cream Dyed Easter Eggs
Materials
Instructions


