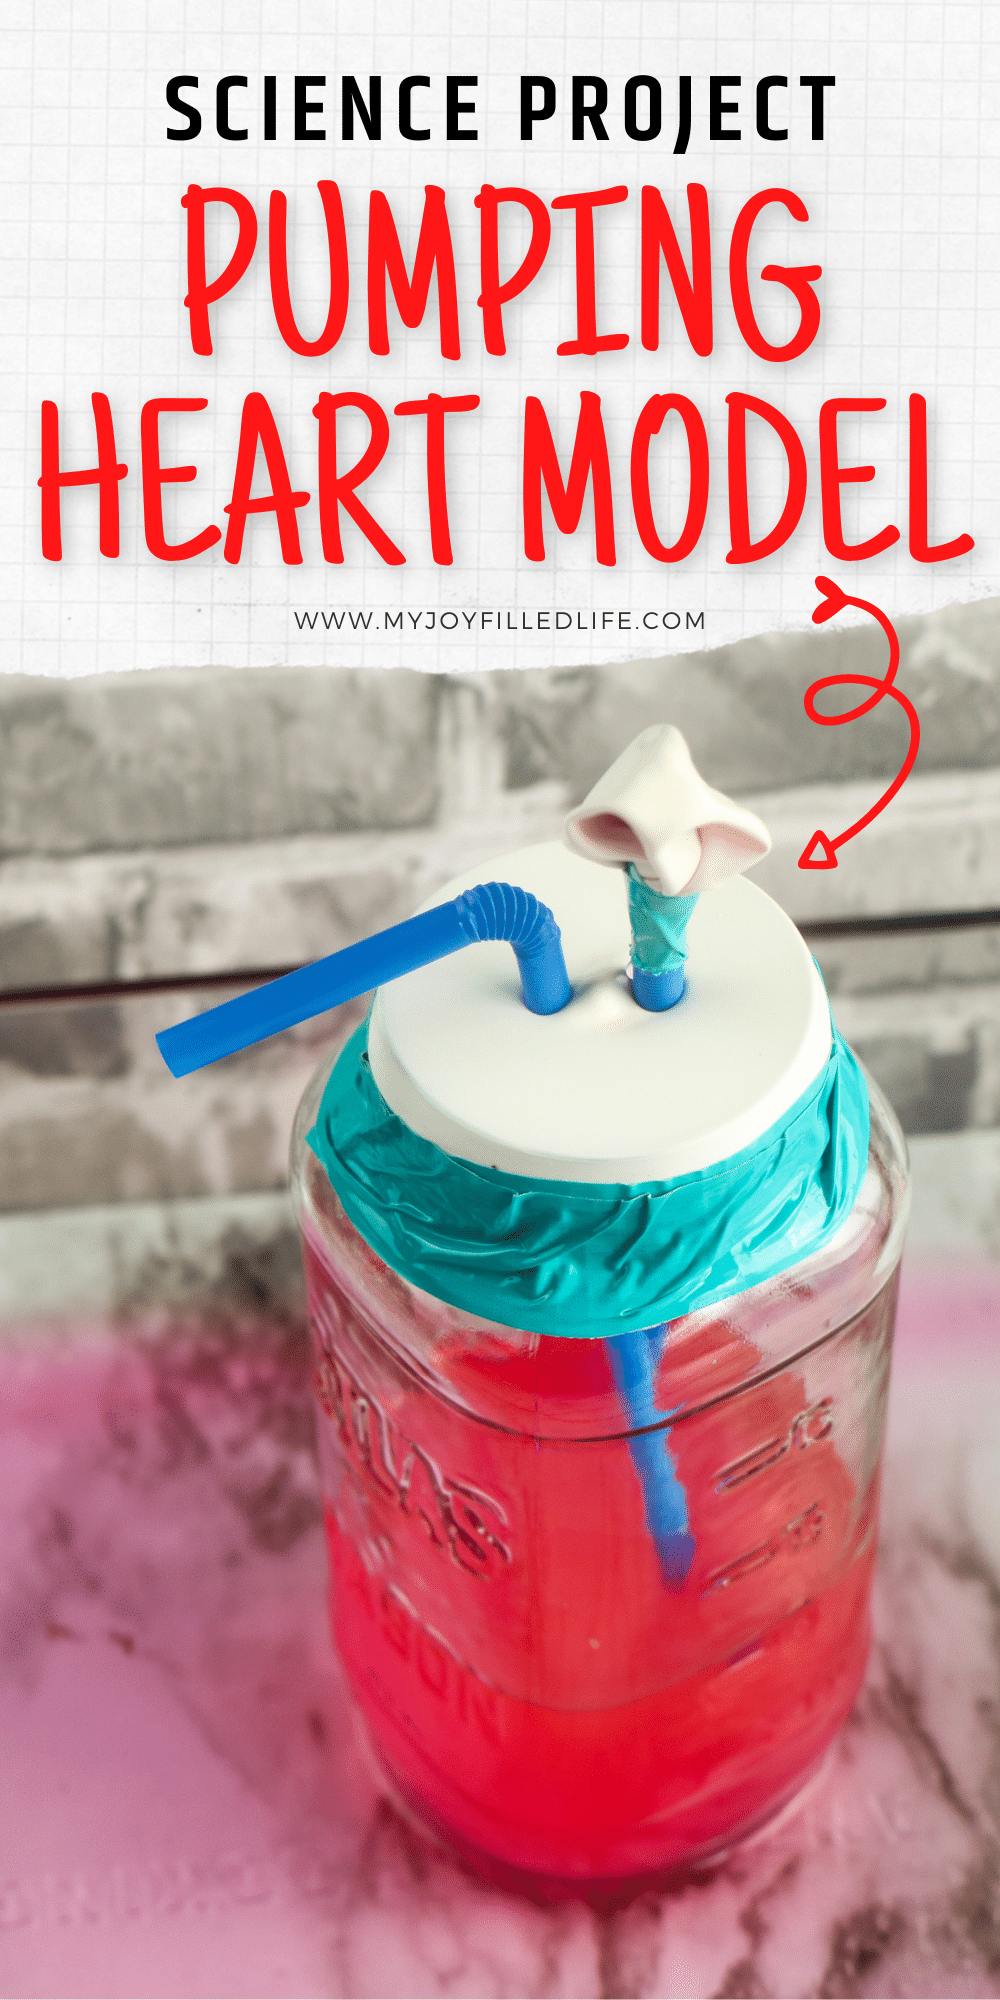
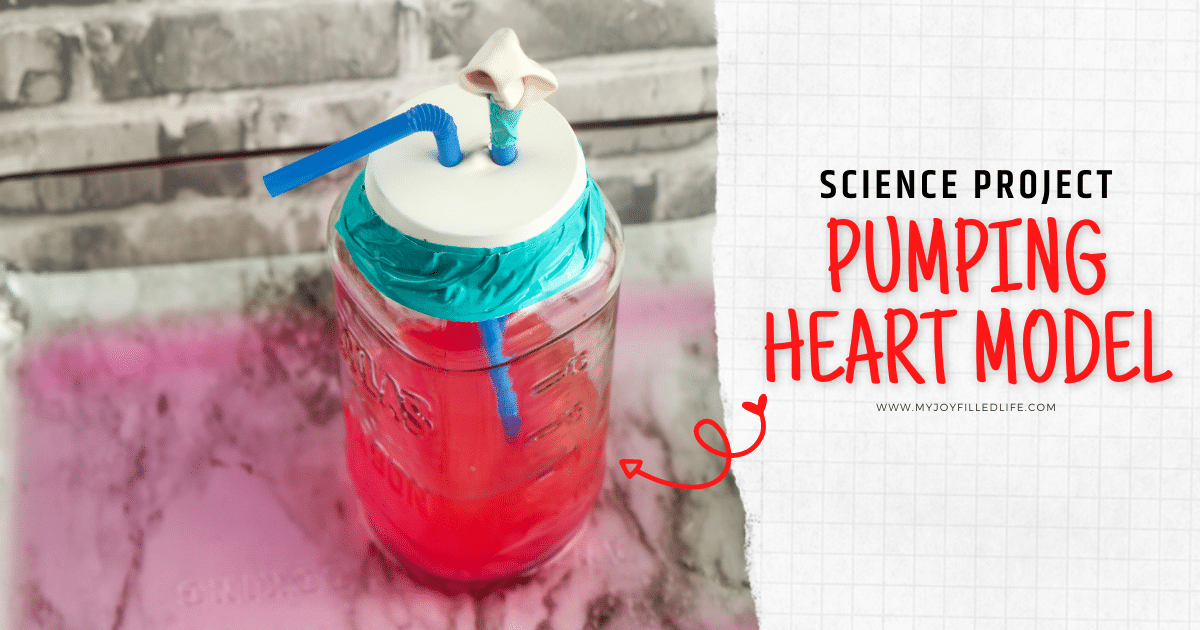
This Pumping Heart Model is a great tool to use when teaching the human body’s circulatory system. It makes a great DIY science project for your homeschool!
If you’re looking for even more hands-on, human body, science activities, check out this Components of Blood activity! And if you’re doing a unit on the human body, be sure to include some body parts coloring pages, human body playdough mats, or human body bingo for younger kids.
Sometimes, the best way for kids to learn something new is to let them SEE it in action. We do lots of fun science experiments and projects in our homeschool. They get my children excited to learn about science and they retain the information better.
This Pumping Heart Model DIY project is definitely one that is both interesting and entertaining. It is great way to explain how the chambers and valves of the heart work to provide blood throughout the human body. To take this activity a step further, you can print out a worksheet and have your child label the human heart.
Be sure to check out the information below the instructions to learn more about how it works and what you kids should look for while doing this project!
DIY Pumping Heart Model
Supplies:
- Large mason jar
- 2 balloons
- 1 to 2 cups water
- Red food coloring
- 2 bendy straws
- Tape
- Scissors
- Rimmed tray or casserole dish
Directions:
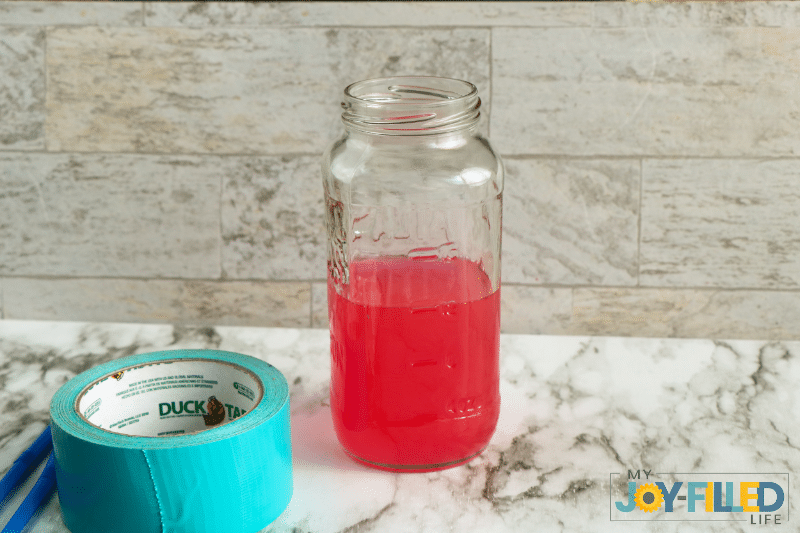
Mix your water and red food coloring. Pour the water into the jar.
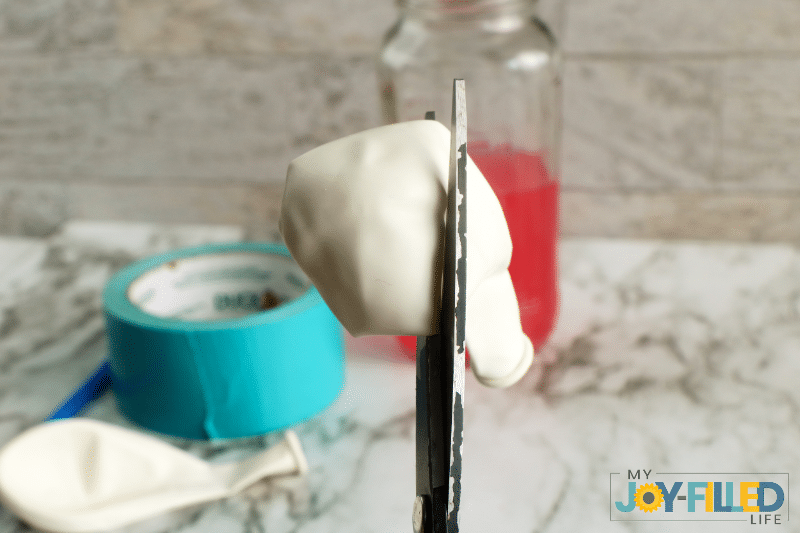
Cut one balloon in half. Discard the bottom/side with the opening of the balloon.
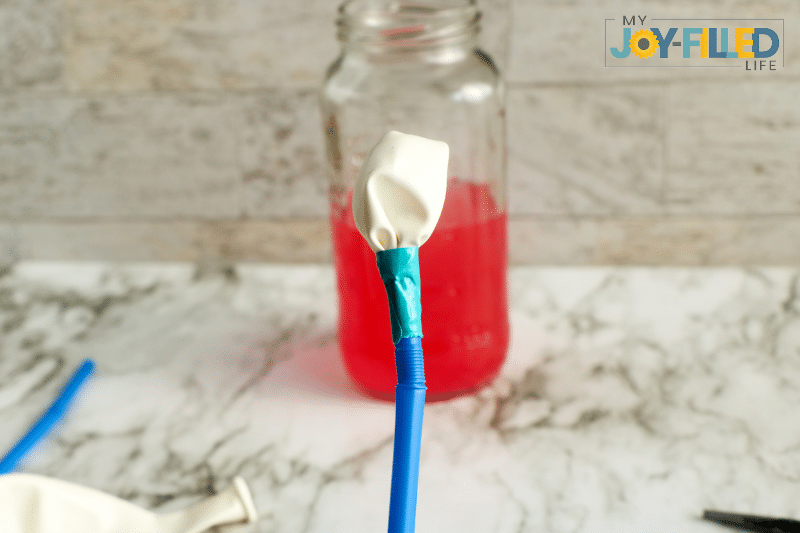
Place the remaining piece of the balloon loosely over one of the straws. Secure the cut edge to the straw with tape. Set aside.
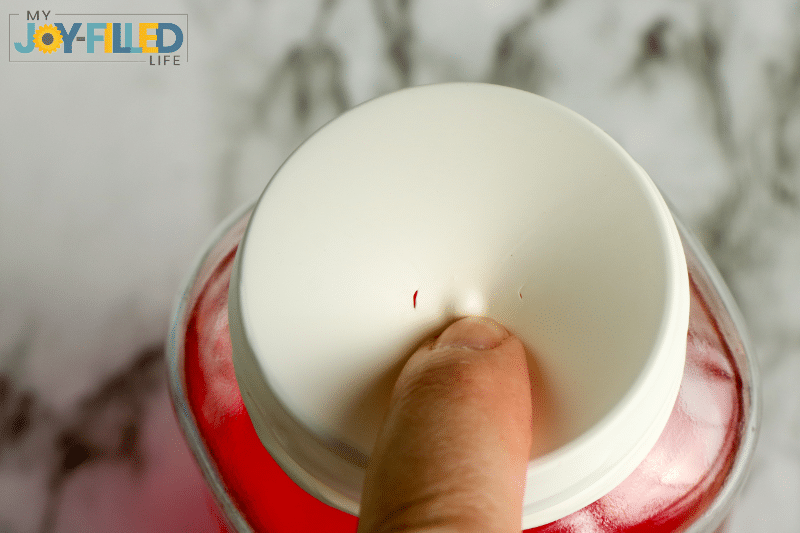
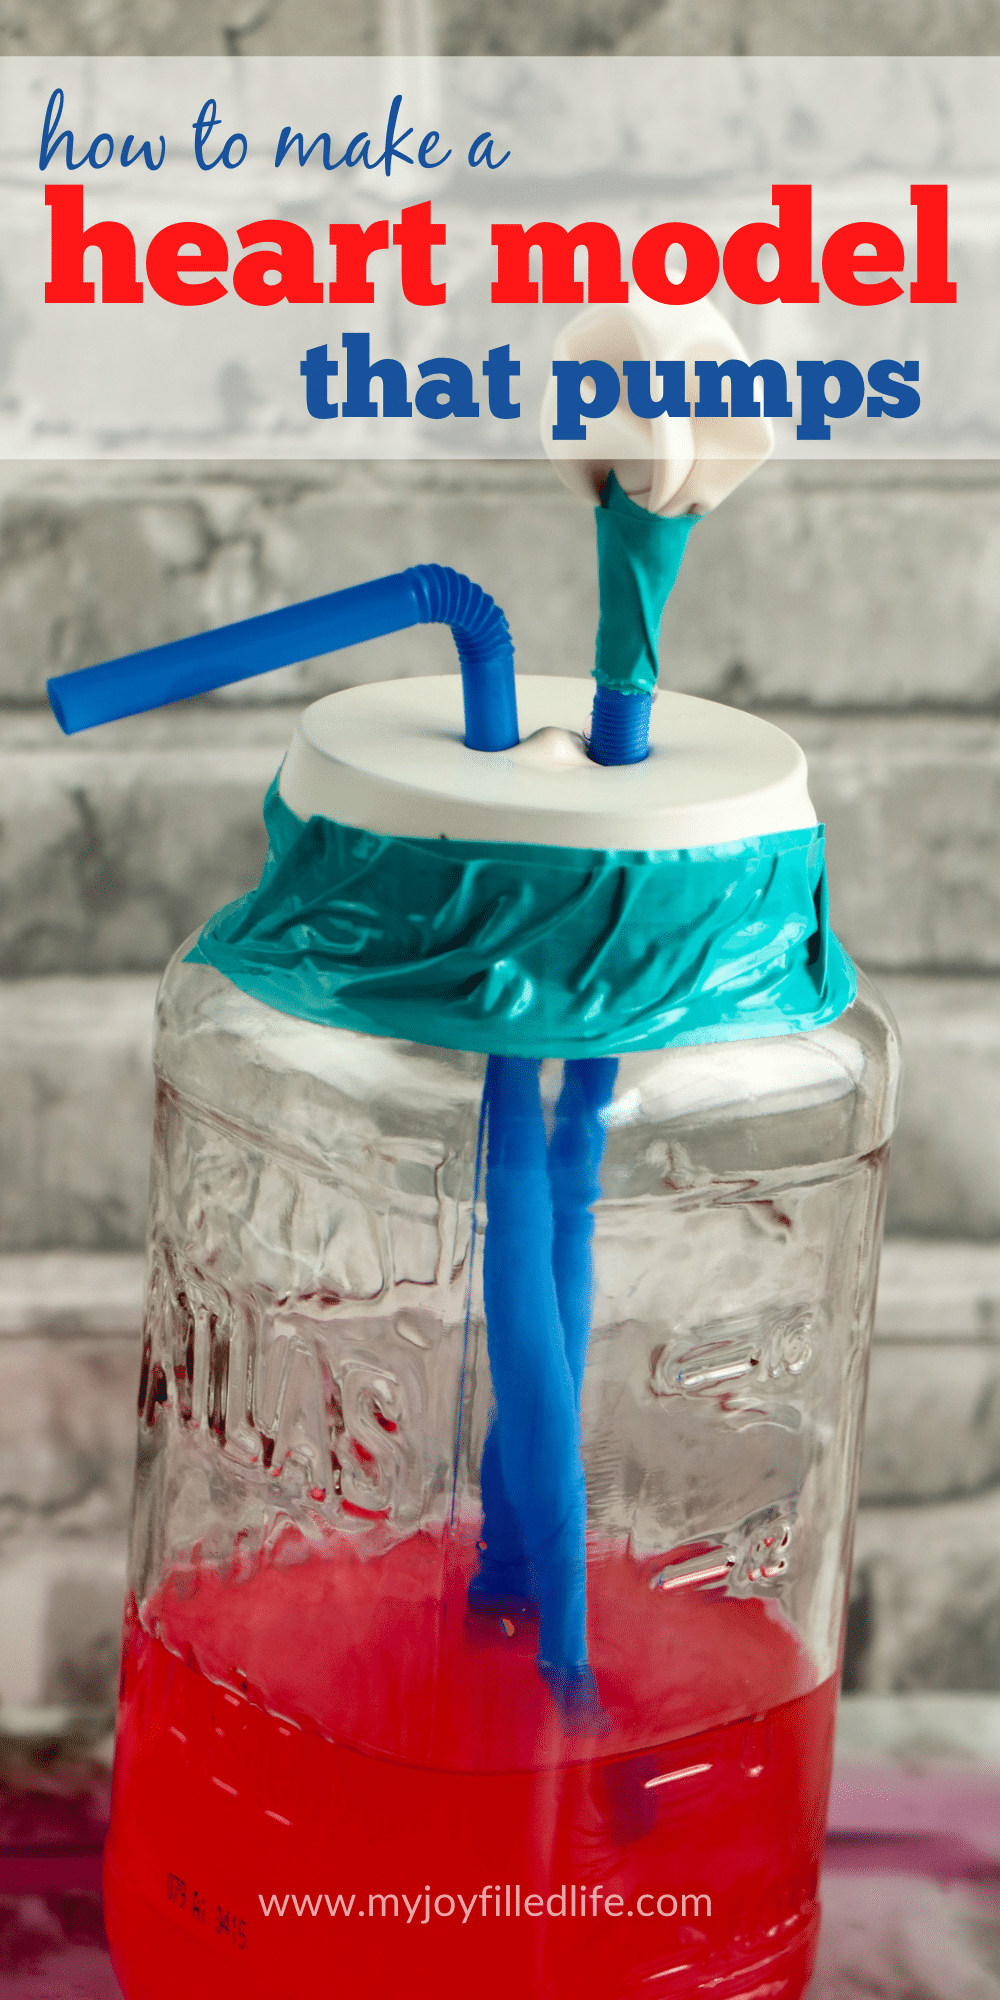
On the other balloon, cut the balloon in half to remove the narrow neck part of the balloon. Stretch the remaining part of the balloon over the mouth of the jar. Cut two tiny slits in the balloon. Secure the balloon’s cut edge to the jar with tape.
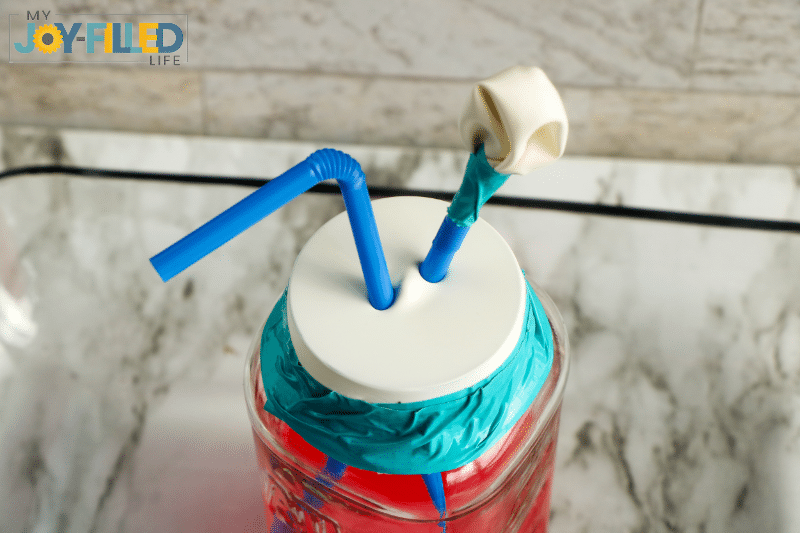
Pressing the balloon to make the holes slightly larger, push the bottom of each straw through a hole in the balloon.
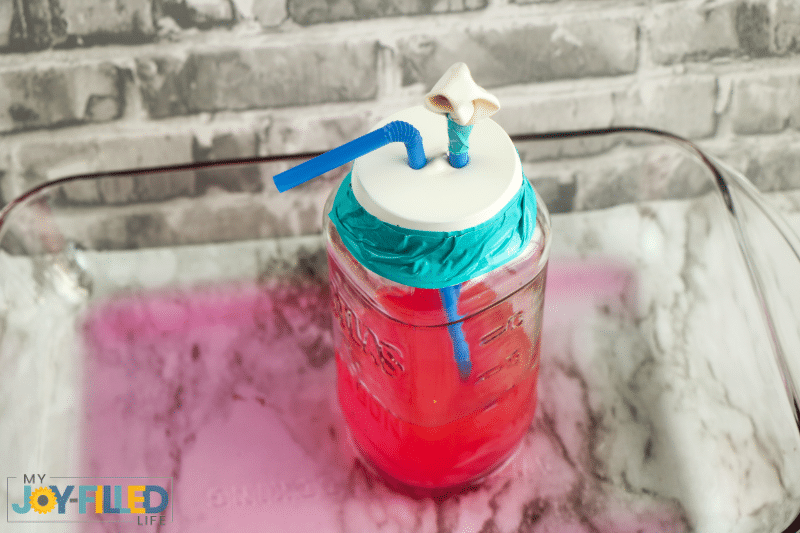
On the straw without the attached balloon cap, bend the neck so the top points down.
Place the jar in a rimmed baking sheet or casserole dish.
Make your Pumping Heart Model Work
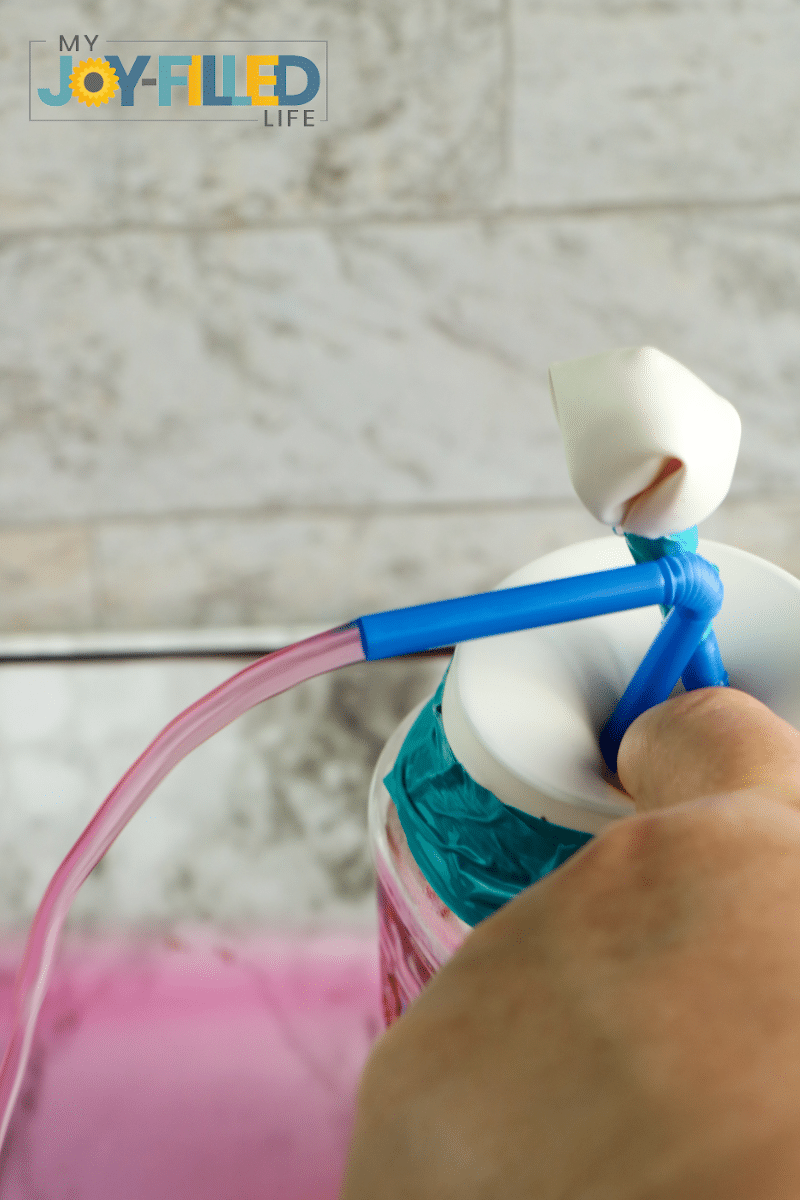
To make the model heart work, press down on the balloon stretched over the jar. Water will flow through the uncovered straw. The straw with the balloon cap will inflate.
Now, how does all this translate to how our hearts work? The pumping heart model you made here represents the bottom chambers, called the ventricles. They are responsible for pumping blood from the heart to the rest of the body.
The balloon stretched over the jar’s opening is similar to the heart muscles which contract and pump the blood. That’s why it squirts from the straw. The small balloon at the top of the second straw acts as the valve of the chamber, making sure the blood flows in the proper direction.
Things to notice:
- Where does the water stop inside the straws?
- Does water travel up inside of the covered straw?
- Does the water return to the jar when the balloon is released?
Fun science project that represents how our heart pumps blood throughout our bodies!DIY Pumping Heart Model
Materials
Tools
Instructions




Leave a Reply