
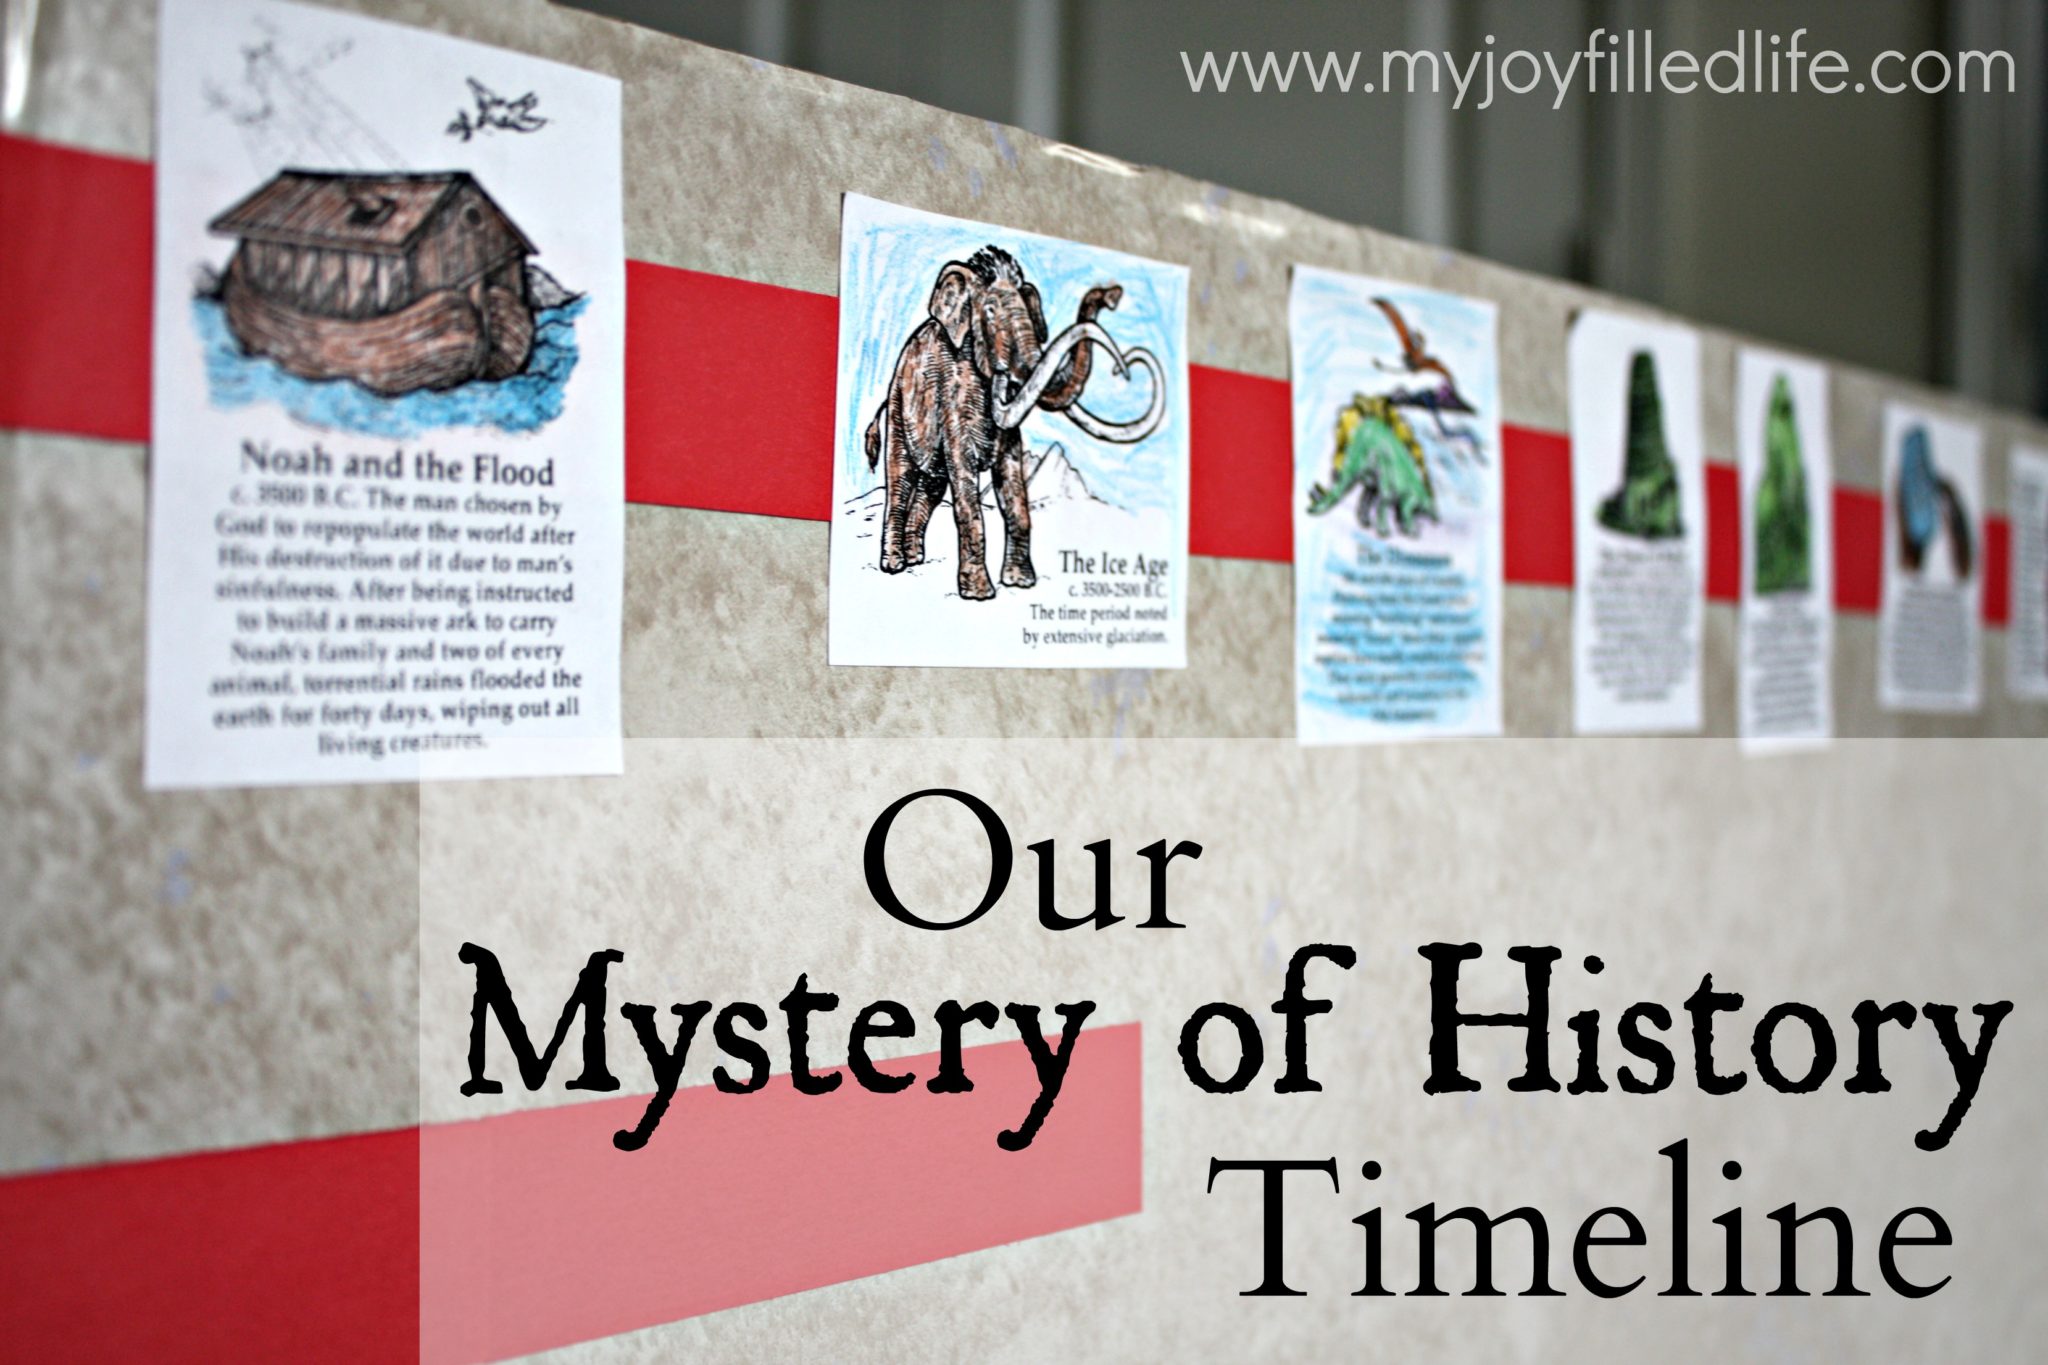
We are currently working through The Mystery of History Vol. 1. It’s been slow going between moves and babies, but we are enjoying it none the less. We are building a timeline as we go through the course as recommended in the book and I thought I would share with you how we have put it together. I have seen many ideas for timelines (I even have a timeline ideas Pinterest board), and this is what we finally settled on.
To make the timeline above, you will need the following supplies:
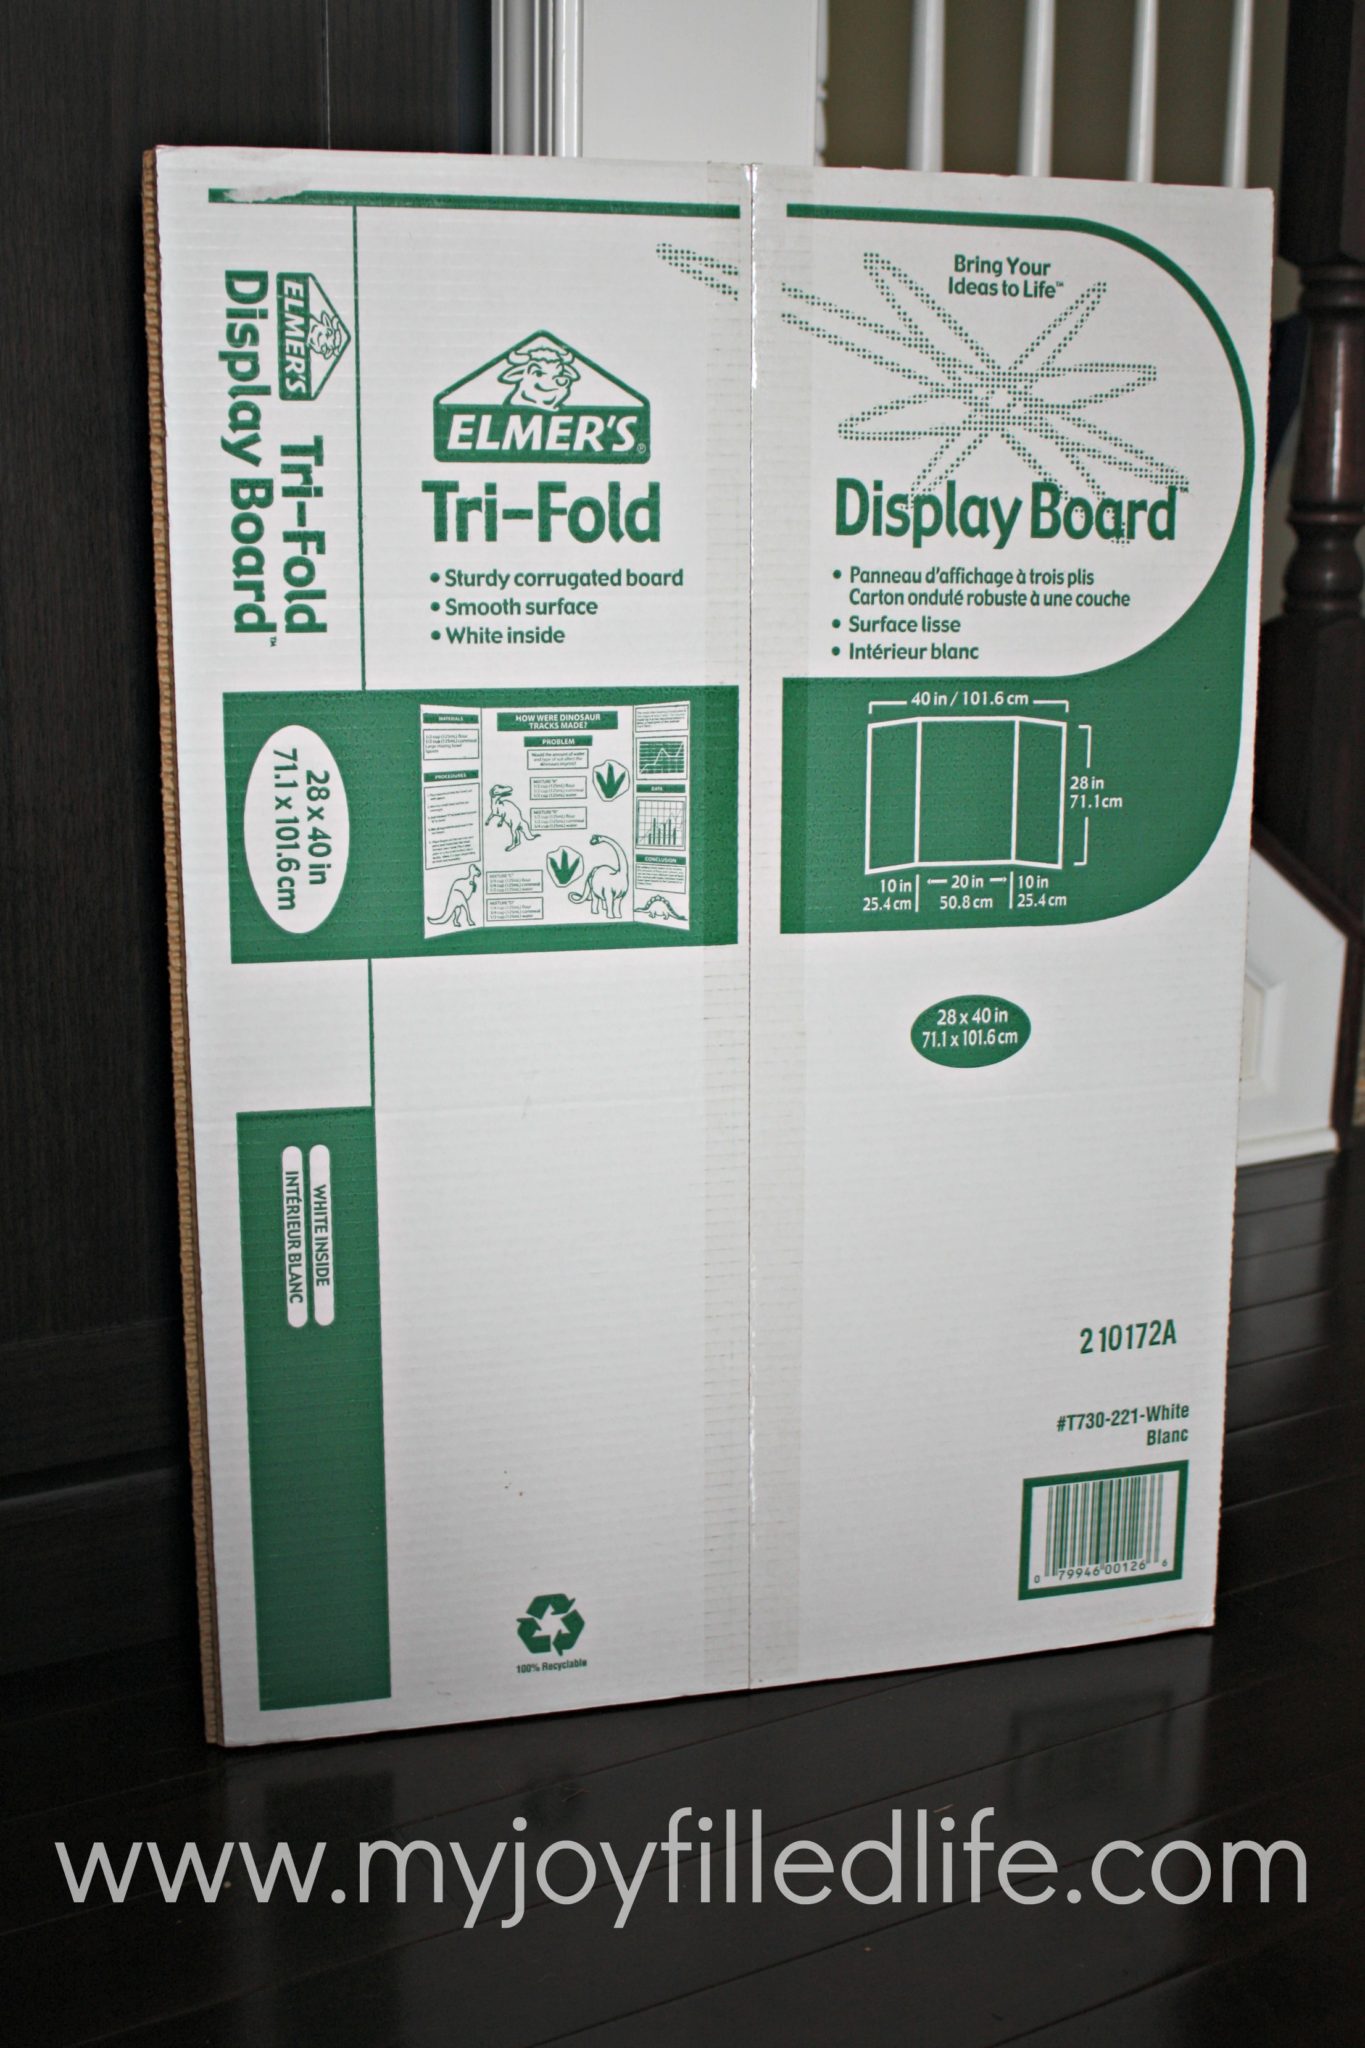
- 2 tri-fold, corrugated cardboard boards (the size I bought is 28×40″)
- a roll of contact paper (color or pattern of your choice; I choose one that had a stone/marble look to it)
- clear packing tape
- 2×12″ sheets of colored cardstock (I bought them at Michael’s)
- double-sided sticky tape or glue
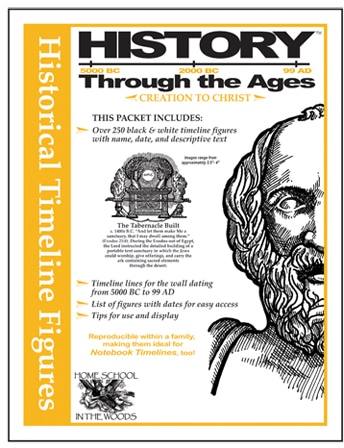
- timeline figures (we use the History Through the Ages set from Home School in the Woods)
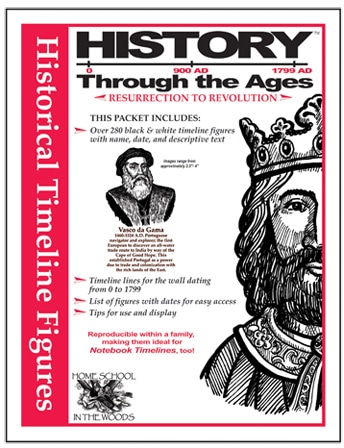
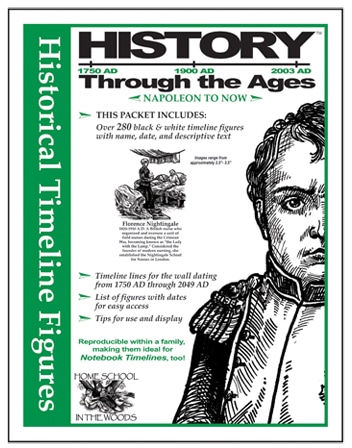
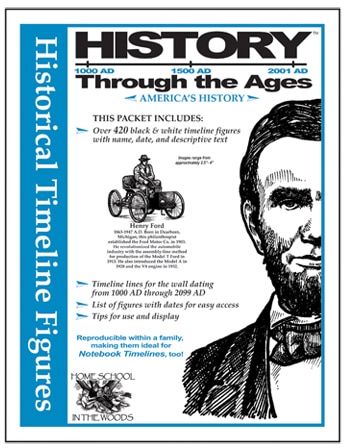
Creation to Christ (Beginning to 1st Century AD – World History) Resurrection to Revolution (0-1799 AD – World History)Napoleon to Now (1750 AD to Modern Day – World History)America’s History (Explorers to 21st Century AD)Timeline Figures to Accompany The Mystery of History Volume IIITimeline Figures to Accompany The Mystery of History Volume IV
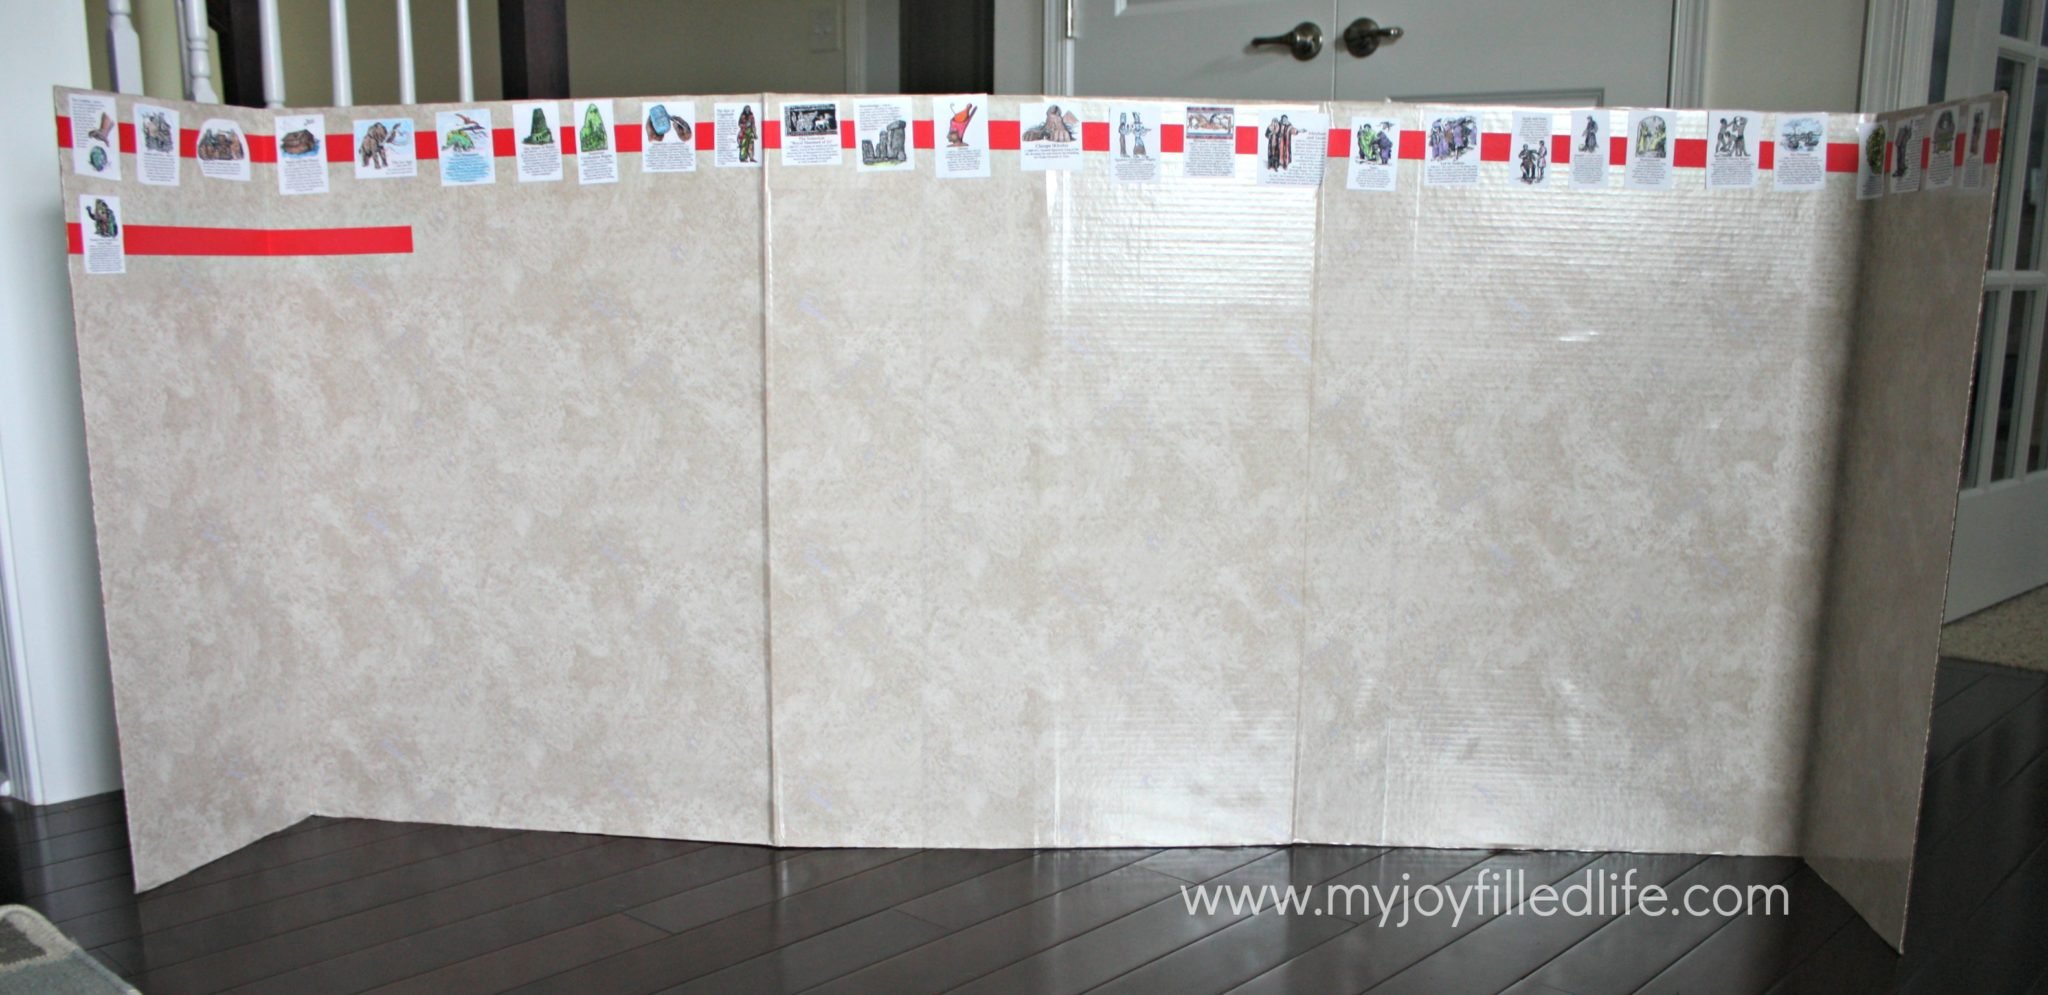
First, I taped the two boards together (end to end) with the clear packing tape. For extra security, tape it on both sides.
Then I cut strips of contact paper to fit the board. Then I called my husband in to help me stick the contact paper to the board. It’s nice to have an extra set of hands when doing this part.
For the lines on the timeline, I cut the sheets of cardstock in half so they are 1×12″ and I stick them, end to end, with double-sided sticky tape to the timeline board. I don’t adhere a new line until we finish one up so I can see how far down to stick the next one (I just eye it; I don’t measure).
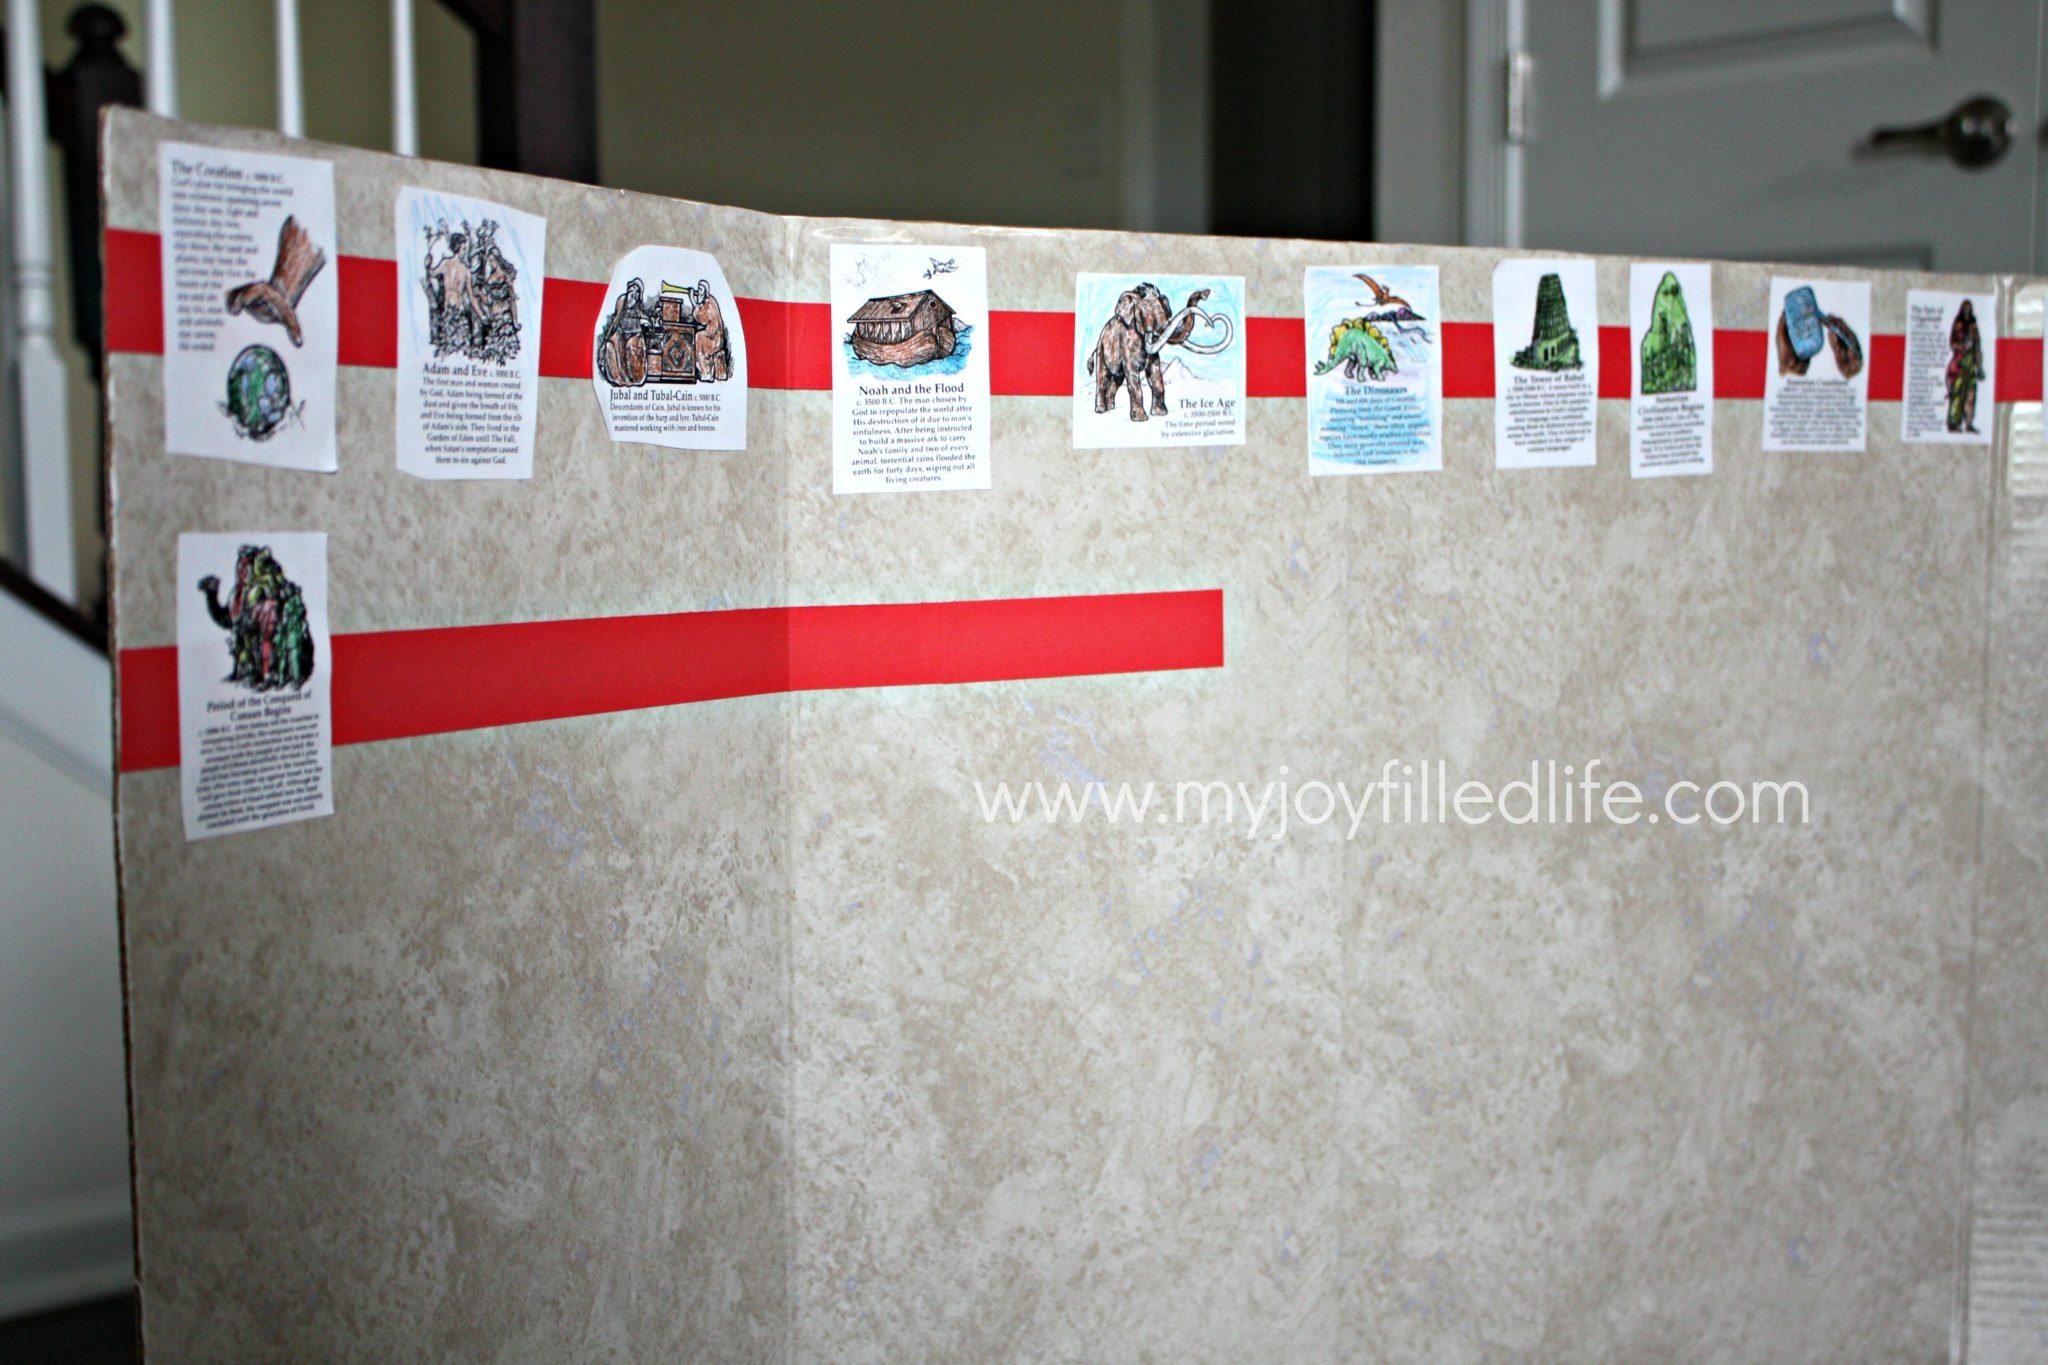
And finally, after every three lessons, my kids color and cut out the figures and stick them on with double-sided sticky tape (my kids love that stuff for some reason). I have all the figures for the quarter printed out ahead of time so I don’t have to worry about it in the middle of the lesson.
The Mystery of History Volume IThe Mystery of History Volume IIThe Mystery of History Volume III Student ReaderThe Mystery of History Volume IV
So that’s our Mystery of History timeline. It’s far from done, but that’s the gist of it. Pretty easy to do, plus it folds up nicely so when you aren’t using it you can stick it behind a desk or bookcase or wherever you can find a place for it. Don’t be afraid to just dive in and do it!
I took me awhile to decide on how to do our timeline. At first I thought we would use a book, then I thought we would do something on the wall, then I finally decided on this. I had to let go the mentality that this thing doesn’t have to be perfect. It just has to show the historical events in chronological order. And my kids don’t care if it’s perfect anyway.
Do you make a timeline with your history studies?
I’d love to hear about or even see it if you have a link.
You might also like:


Great idea for a timeline! I have mine along the top of my wall in the main room downstairs. It really helps the kids to understand where to hang the main events of history.
Susan – can I ask how you set the years up on your wall? I want to set it up around one of our rooms downstairs, but can’t decide how much time to give to the different periods – to make it all equal, or some sections hundreds while others in ten year increments. Any advice?
So glad to know that I am not the only one making myself crazy with how to set up the time line!! I also have a timeline board. lol I think I may finally try something like this down my hallway, right on the wall. I wasn’t sure if I wanted to go “line under line” but that seems good in the picture and I really don’t have room enough to do it another way. Thanks for sharing. 😀
I’m glad I’m not the only one either! 😉
I am so glad you shared this! I am thinking of using Mystery of History for the next school year & was wandering what to do about making a timeline. This is such a great idea to use the folding board so it can be stored away when not being used. We live in a small home and use our dining room for homeschooling & also eating in, so we are limited on space to put things. Thanks again & I will definitely be checking out your pinterest boards for more Mystery of History ideas! 🙂
Just picked up a copy of Volume One and was so thrilled to come across this post, when I saw it on Share your Stuff Tuesdays, on Diamonds in the Rough.
I’m going to book mark this and use it for some ideas since I am new to this curriculum. Thanks for sharing!!!