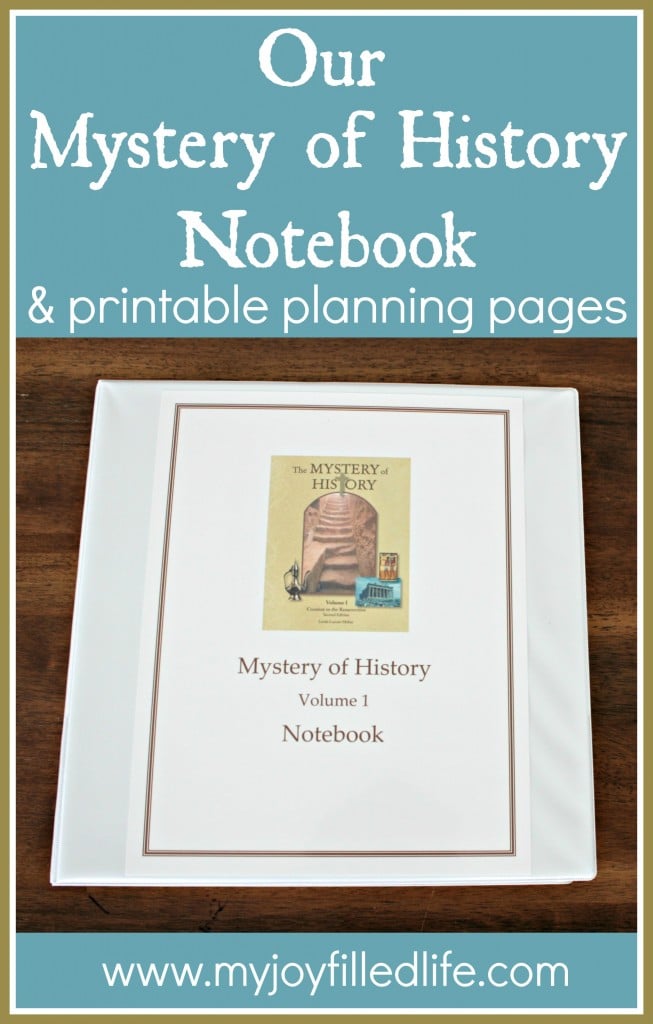
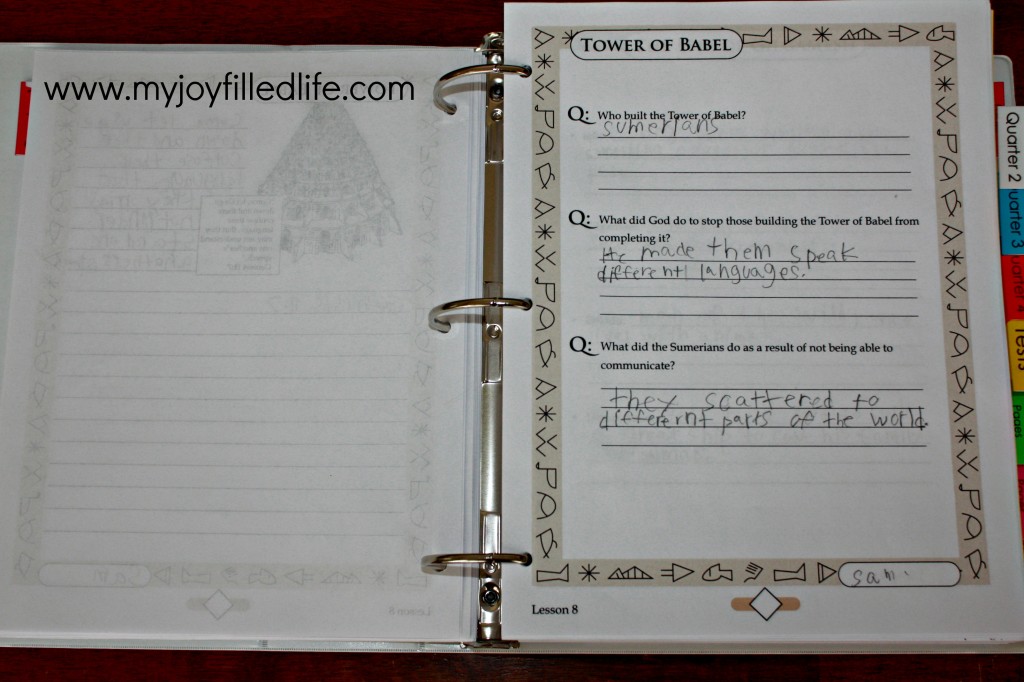
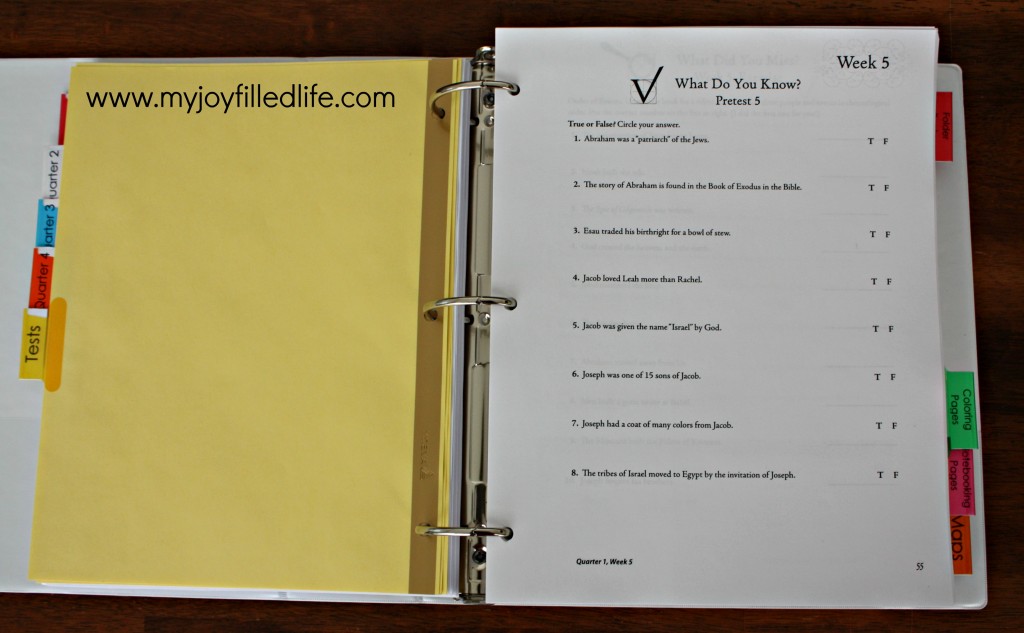
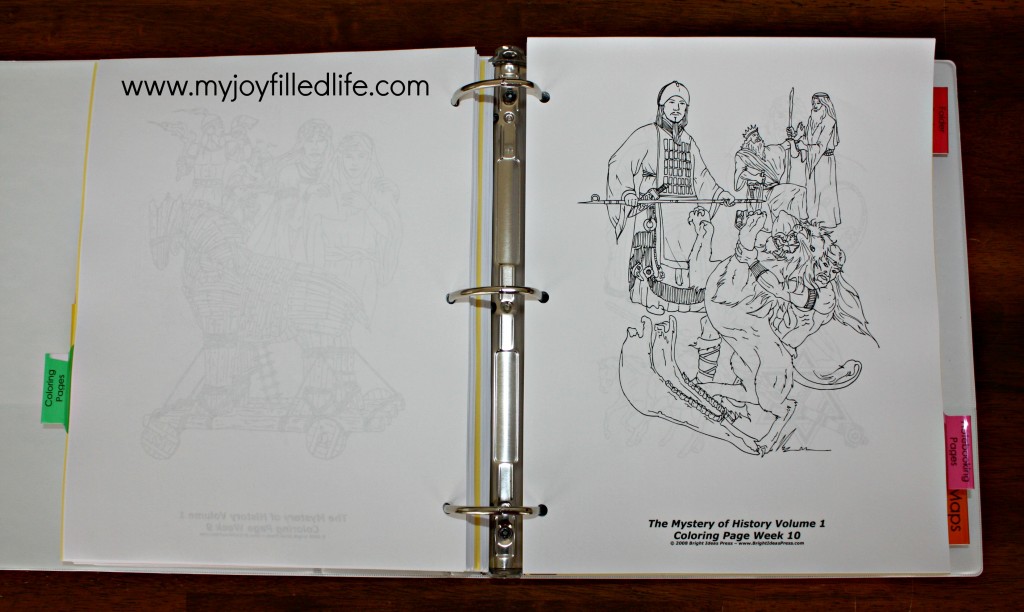
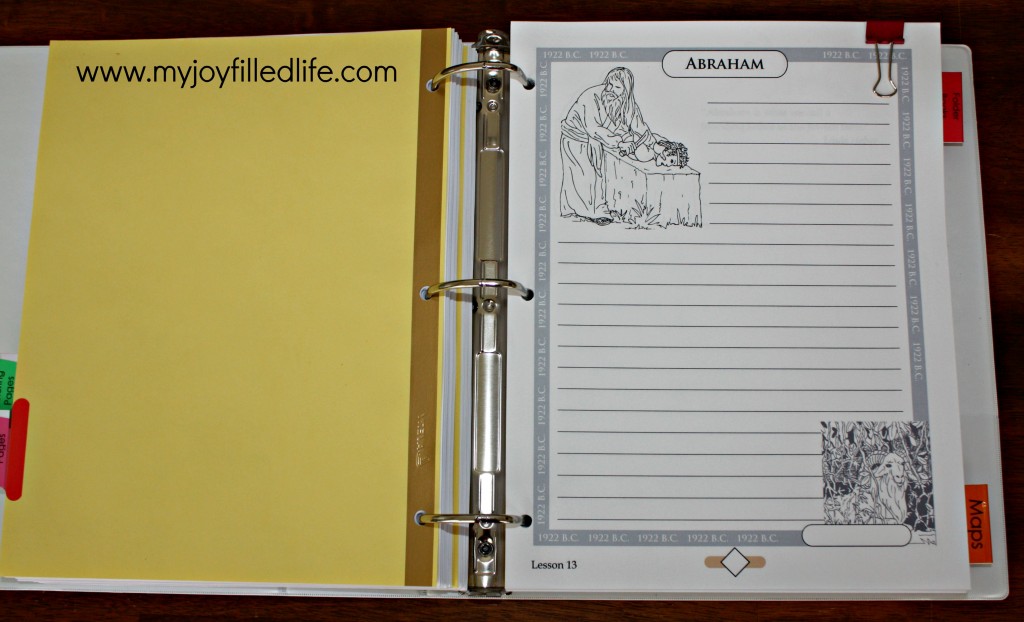
We use Mystery of History for our history studies in our homeschool. It took me a little while to figure out how to organize all of our papers and work from the course. At the beginning of the textbook there are suggestions for ways to organize your history notebook, but the ideas suggested just didn’t reflect the way my brain works, so I came up with a way that makes more sense to me. If you are having a similar experience, hopefully this post will help or inspire you in some way. Below I will share how we put together our Mystery of History notebook to keep track of our studies and utilize the supplemental resources that Bright Ideas Press offers to go along with Mystery of History.
If you would like to make your notebook similar to the one below, you will need the following supplies (note – this notebook is for Volume 1) –
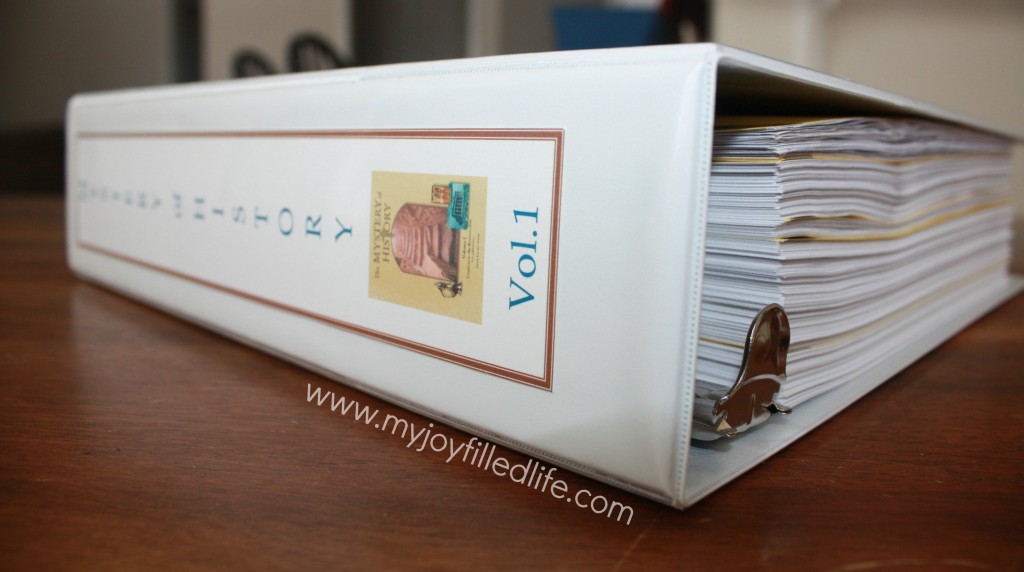
- 2 inch 3-ring binder (or 2.5 inch for a little more wiggle room)
- 9 tabbed page dividers
- Binder Clips
- Mystery of History Reproducibles (this includes the maps & tests)
- Mystery of History Coloring Pages
- Mystery of History Notebooking Pages
- Mystery of History Folderbook Reproducibles
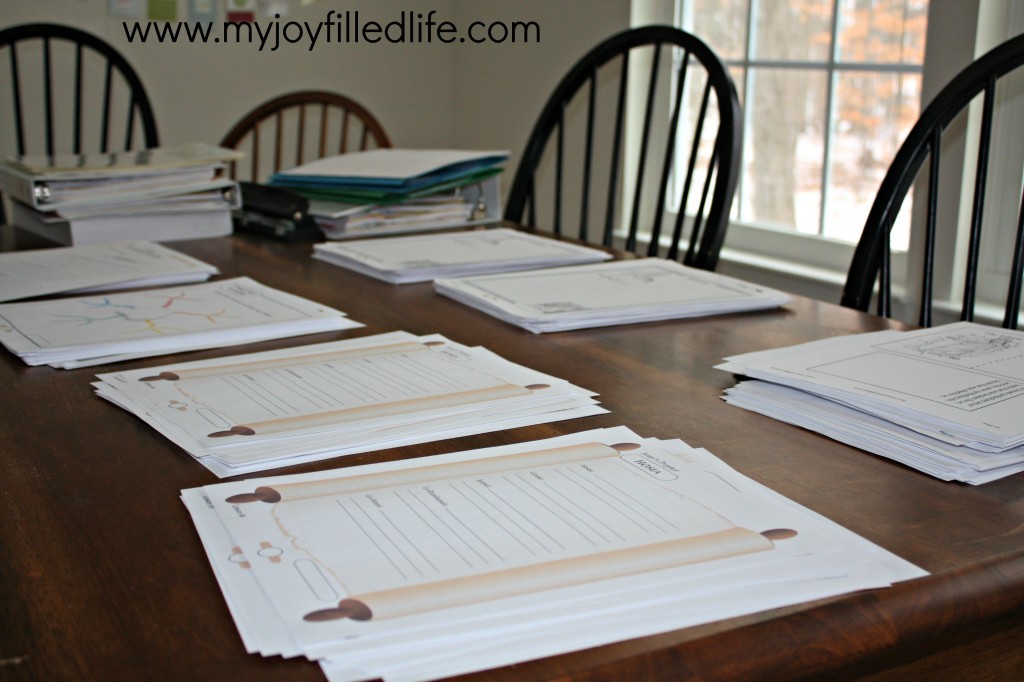
The sheer magnitude of all the papers in the supplemental resources can be a bit overwhelming at first. I’m so glad I decided to purchase the extra resources though because they are a great complement to the text book and it makes it so much easier for me not to have to think of or create much on my own to add to our studies. At first I started out by printing what we needed each week, and then I switched to printing out a few weeks at a time, but that just got too time consuming so I decided I just needed to take a chunk of time and print everything out at once and figure out a way to organize it all.
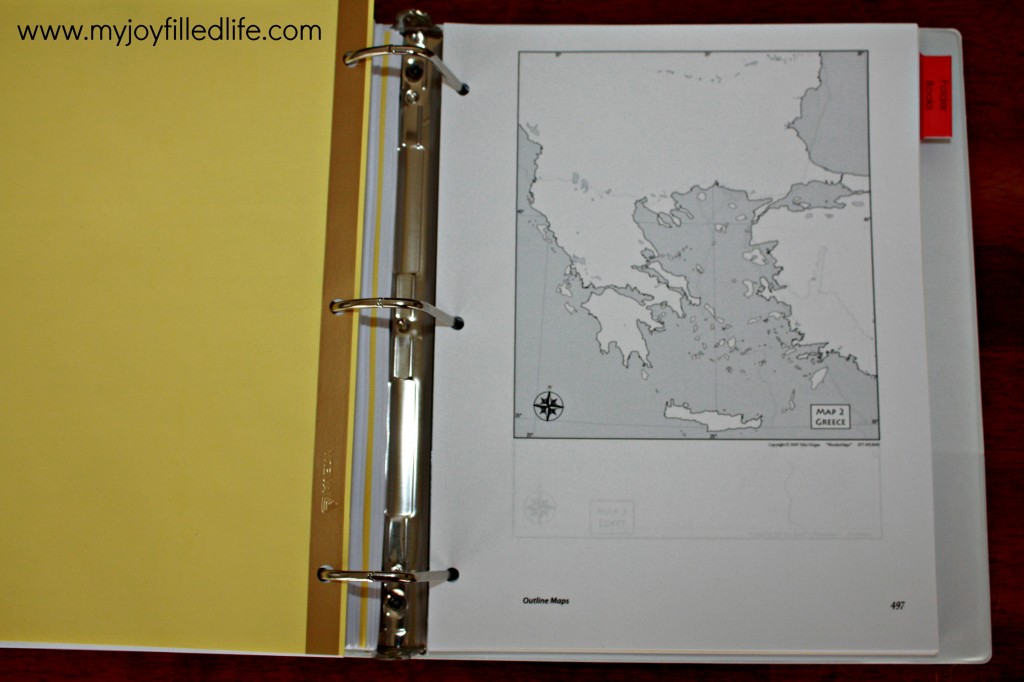
To get started, you need to print out all the worksheets/pages you will need for the year – coloring pages, notebooking pages, folderbooks, test, and maps. There are only 9 different maps for the whole course, but you will need some of the maps multiple times and there is a handy chart on page 494 (second edition) letting you know how many of each map you will need for the course (and it’s even broken down by level – younger, middle, older).
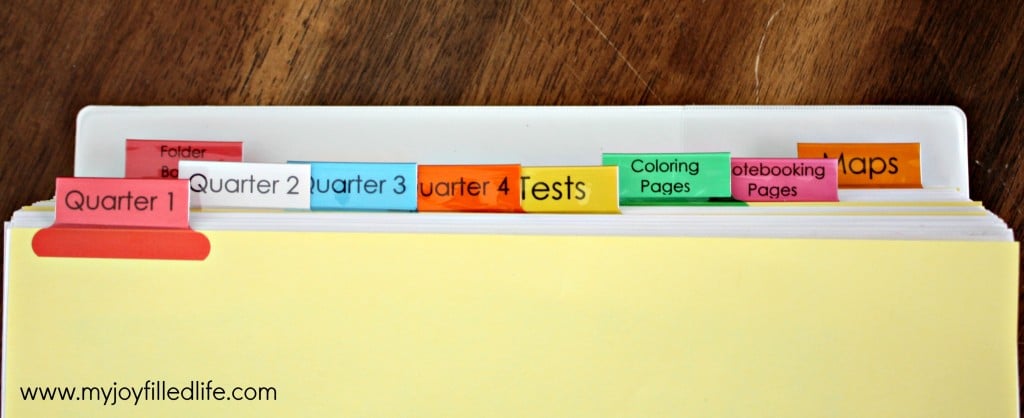
Then you will need to label your binder tabs. I like the Avery Big Tab Insertable Dividers. I like the bigger tabs and you can download a template so you can type up your tabs and print them out. I label the tabs with the following –
- Quarter 1
- Quarter 2
- Quarter 3
- Quarter 4
- Tests – this includes the pretests, quizzes, and end of week exercises and review worksheets
- Coloring Pages
- Notebooking Pages
- Maps
- Folderbooks
Behind the quarterly tabs goes the student’s completed work, with the exception of the Folderbooks. When a worksheet is completed, we place it in the back of the appropriate quarter tab, behind all of the other completed pages.
Behind all of the other tabs goes the blank worksheets/pages that you will use in the future. Put the pages behind the appropriately labeled tabs in the order that you will use them.
Tests –
Coloring Pages –
Notebooking Pages –
Maps –
Folderbook pages –
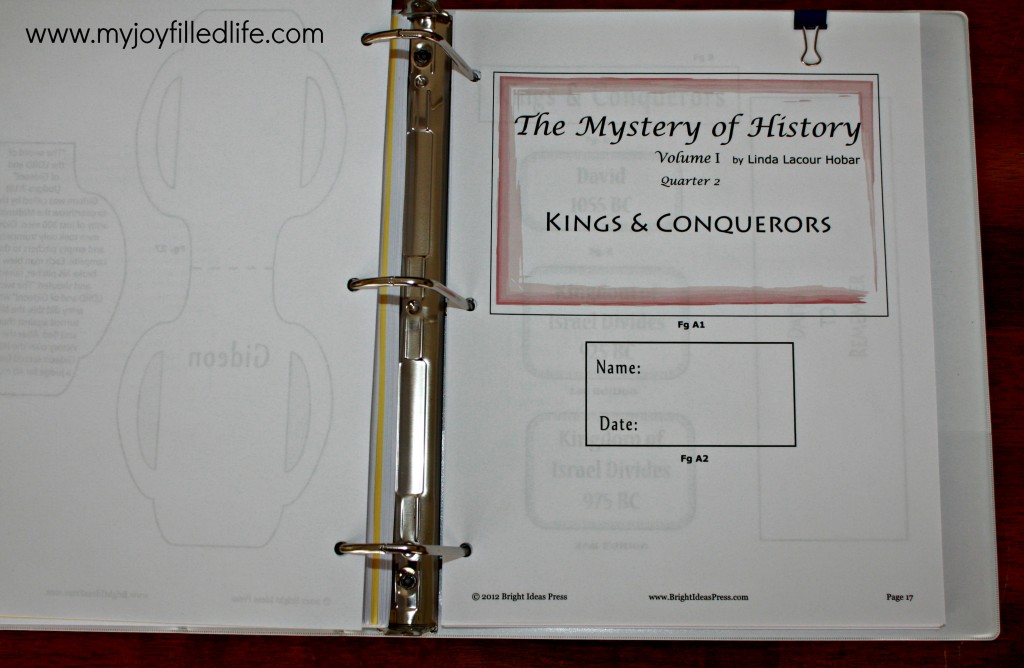
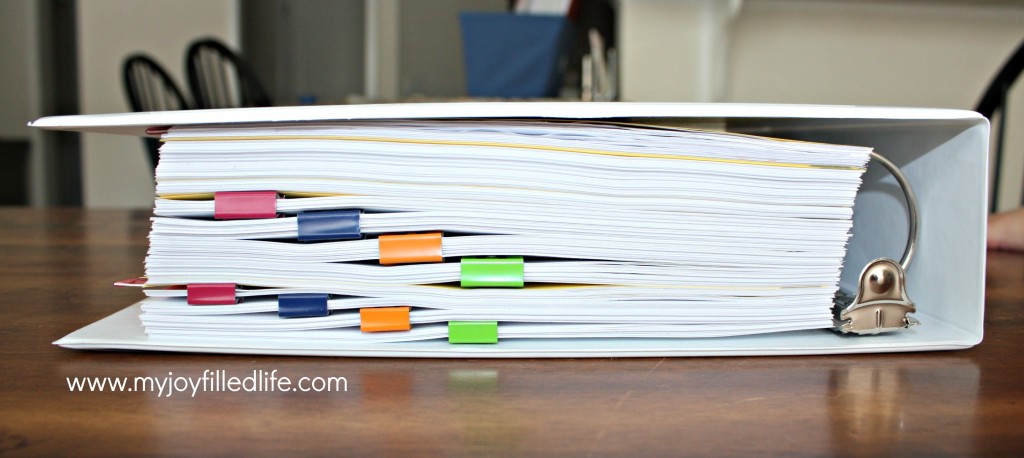
Then I use binder clips to clip together the blank pages by quarter of the notebooking pages and folderbooks (whatever quarter we are working on is left unclipped).
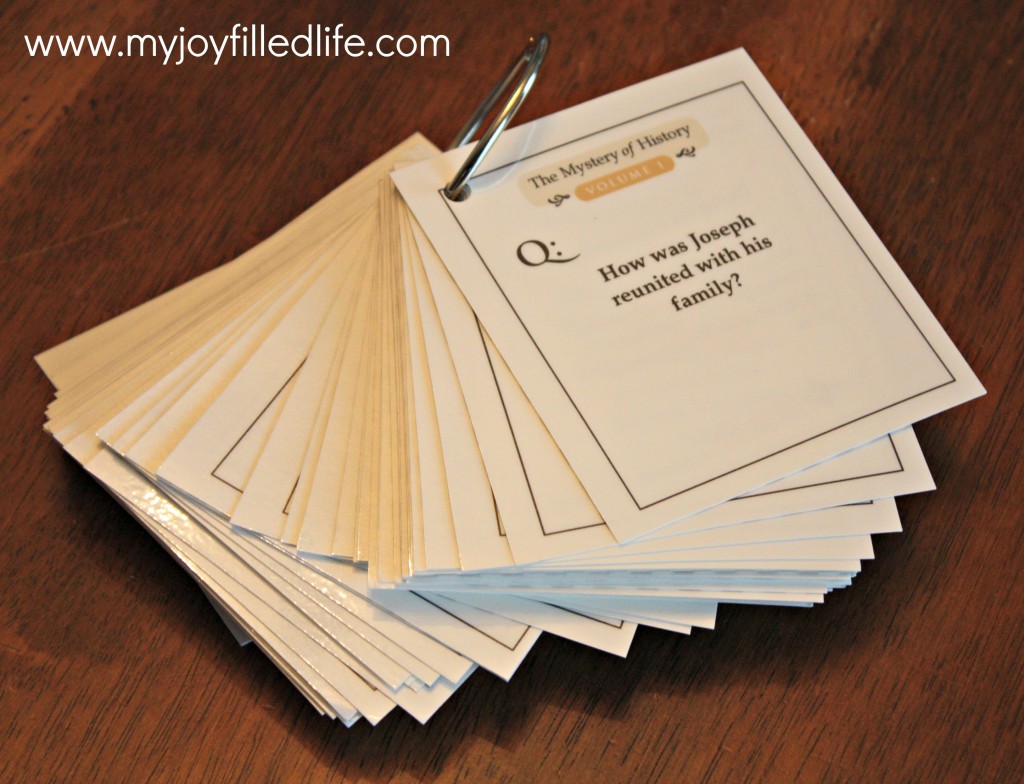
And that’s it! We also use the Challenge Cards for review purposes. I print them on cardstock, laminate them, cut them out, and put them on a 2 inch binder ring (I place each quarter on its own ring).
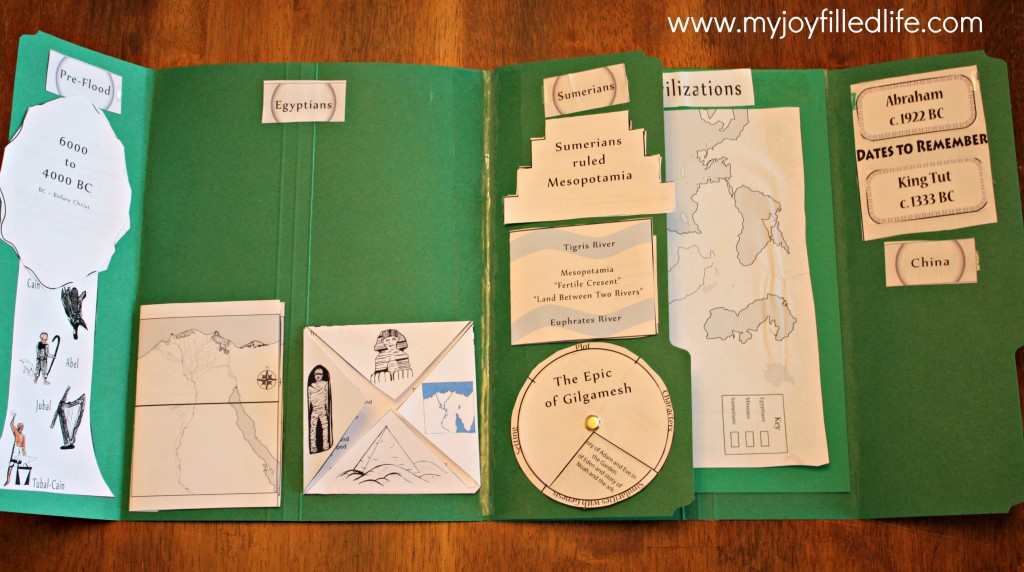
And here is a picture of a Folderbook that we are working on –
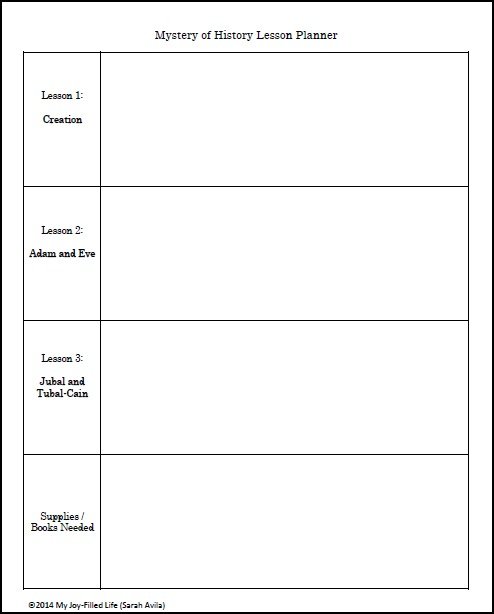
I have also made up some planning pages to go along with Mystery of History Volume 1. There are planning spaces for 3 lessons (1 week) on each page. I use these spaces to write down which assignments and activities we will do for each lesson (I wish we had time to do everything) and then there is a space at the bottom to write down any supplies or library books I need to get for the week. You can use these planning pages if you’d like; just click below to download.
Download Volume I
Download Volume II
We don’t use Mystery of History, but I’m always looking for better organization techniques. I love your binder organization for the year. Having everything printed ahead of time makes such a difference in my homeschool. Thanks for sharing!
Thanks for sharing! I love the way you’ve put it all together. We are going to be using MOH next year and I can’t wait to dig in to it!
I enjoyed seeing all the pictures! I am not sure of our history curriculum yet but I am working on it! I wrote a blog post about planning for our homeschool year.(http://www.familyhomehealth.blogspot.com/2014/05/planning-succesful-homeschool-year-free.html) I have been considering notebooking but it would be new for us!
You are very organized! Looks great! Thanks for sharing this information at the Thoughtful Spot Weekly Blog Hop!
This is a great idea and so helpful! Thank you for sharing this with us fellow MoH families!
How did you print the title page on the front of the binder and the spine title on the side?
Hi Kim – I sent you an email.
Someone posted this page on the MOH facebook page:). I would love to know how to do the cover page and the spine title too! We are going to Target today to get supplies. We plan to do a lot of notebooking this summer and into next year:). Thank you! I love this organization idea. I, too, get overwhelmed by not having an organized approach to everything, but especially homeshooling!
Hi Hali – I’ve sent you an email.
I would love it if you would share your spine “secret”. I have been trying make mine but it is not working out. Thank you!
Could you let me know how to print the binder spine as well?
Me too!
Can I have an email too, please? I’ve been searching high & low for binder covers & spine inserts. Thanks! 🙂
Hi! Can you send me the cover and spine template for this? This is so great =)
I would also love to know how you printed the cover and spine pages. Looks great! Can’t wait to get my binders all put together for the new year! 🙂
Hi Tracy – I’ve sent you an email!
Thank you for this post and sharing your tips with us! I just finished printing out all the pages for the year and am almost ready to begin assembling the notebooks. I would love to know how you printed the spine for Volume 1 please!
Hello. We just finished Volume 3 and are eagerly awaiting Volume 4. I have my three keep a running binder for all their mapping and activities while the ‘non-fun’ stuff goes in their assessment binders (I don’t make my 7 year old take all the quizzes and tests). I do need to get a bigger binder though as my 12 year old who has done all three volumes is now out of room to add Volume 4’s work.
Thanks for your tips! I’m teaching Vol 3 with a co-op this year, and your ideas have been helpful. Could you also send me the cover and spine as well? Thanks!
Hi, Thanks for your info. We are just starting MOH this year and very excited. I like the way you setup your binder. Would you mind sharing how you printed the cover and spine?
Thanks
Great post! Do you have the spine print out? I have printed out the cover for our notebooks, but would love a spine print out!
Thanks!
Denice
Hello! Love this binder idea! I was wondering how you do the cover and spine printout for your binder?
Thanks,
Alicia
I am planning on teaching MOH for the first time next school year. I have already printed out all the paperwork for volume 1, and I divided it into two notebooks- one for each semester- to prevent overwhelming him. I really like your idea of using binder clips to further de-stress him, as seeing a large amount of work automatically sets us up for groaning and complaining.
Thank you so much! I am half way through MOH1 and I am so glad I found this. It will make it much easier to plan ahead! I would love a copy of the cover and spine sent to my email. Any chance you will be making Planning Pages for MOH2? I love them!
Blessings,
Bethany
This is so helpful! Thank you! This will be our first year using Mystery of History (along with SOTW) and I am looking for all the tips I can find! I’ve used Tapestry of Grace and My Fathers World in previous years which allowed us to incorporate many subjects under one historical theme (which we loved). This year, however, I wanted a chronological history program that was separate from the rest of our studies. Thank you for offering the free printable as well. We will be doing MOH 2 but the printable gives me a good idea of how to set up my own lesson planner. 😉
Thanks for your great photos. I’m about to do a presentation to a group of families to prepare them for our co-op (vol 1) in the fall and your pics were very helpful!
I have thoroughly enjoyed your post. I am planning MOH vol 1 for the first time. I am very excited about teaching MOH but feeling a bit overwhelmed! My husband and I have been blessed with 7 children ages 9 and under. Baby #8 will be joining our family at Thanksgiving, so my plate and head feel quite full! This way of organizing will be a great blessing!
I had a question about the folder books. . . do you leave the blank pages in that section and then take them out as you create your folder book? How do you store the folder book once it is made? Thank you so much for your help!
Hi Sarah –
Congratulations on baby #8!! My best advice for you would be – try not to do it all! Don’t worry about doing every aspect of the curriculum. If you do the reading, add in supplemental reading on topics that really interest you and do 2-4 activities a month, you would get a lot out of the curriculum. Just keep it simple!
For the folderbooks I would leave the pages in the binder until we needed them. As far as storing them, I would just keep them in like a magazine holder thing or a file rack on a book shelf.
Hello,
I am another seeker of the cover and spine print outs. You have some great ideas that I am going to use!
Marion
Hi! Thanks so much for sharing the info and organizational tips! Was wondering something…on one of the first pictures and explanations, you mentioned something about having worksheets (there is a picture of a Tower of Babel worksheet). This is my first year doing MOH, so I apologize if the info is somewhere, but where did you get this worksheet? Is it something you created yourself or found on another site? I am looking to have supplemental things like this in lieu of notebooking pages on some days. Thanks!
Hi Sarah –
That Tower of Babel sheet is part of the Mystery of History notebooking pages. You can find the link to them under the picture with all of the papers laid out on the table. If you’d like to see what we have used for supplements you can check out some of my other Mystery of History posts here – https://www.myjoyfilledlife.com/2012/11/05/mystery-of-history-lessons-1-3_5/
I’m happy to answer any other questions you might have.
hello could I also get an email with the spine and binder print out. Thank you for sharing. i am very overwhelmed by all of this and all the planning and this will make it soooo much easier.
Thank you so much for the ideas; I am in the midst of organizing our upcoming school year and this is such a great help! I am also interested in your binder’s cover page and spine if you are sharing it. Thank you!
Hi, I would love a spine and cover printout/pdf too if you don’t mind? Thanks!
I would love the cover and spine printouts! You’ve done an amazing job!
Hey, I love your post! We are just about to start MOH 1 and I have been just trying to figure out the best way to organize!
I love your cover and spine and would love if I can have it as well. Thank you!
Is this binder for one student? Or do you have multiple students all in the 2 inch binder?
It’s one student per binder; yes, it’s pretty thick. 😉
We are using MOH for the first time and have used your guide for helping us organize our binders.
Please share your binder and spine cover printable/PDF. It’s that final touch that our binders are missing.
I would love to have a copy of the spine cover, front page, and anything else you have for Mystery of History Vol. 1!
I’m getting an error trying to open the links. Is it still here?
Everything seems to be working on my end.