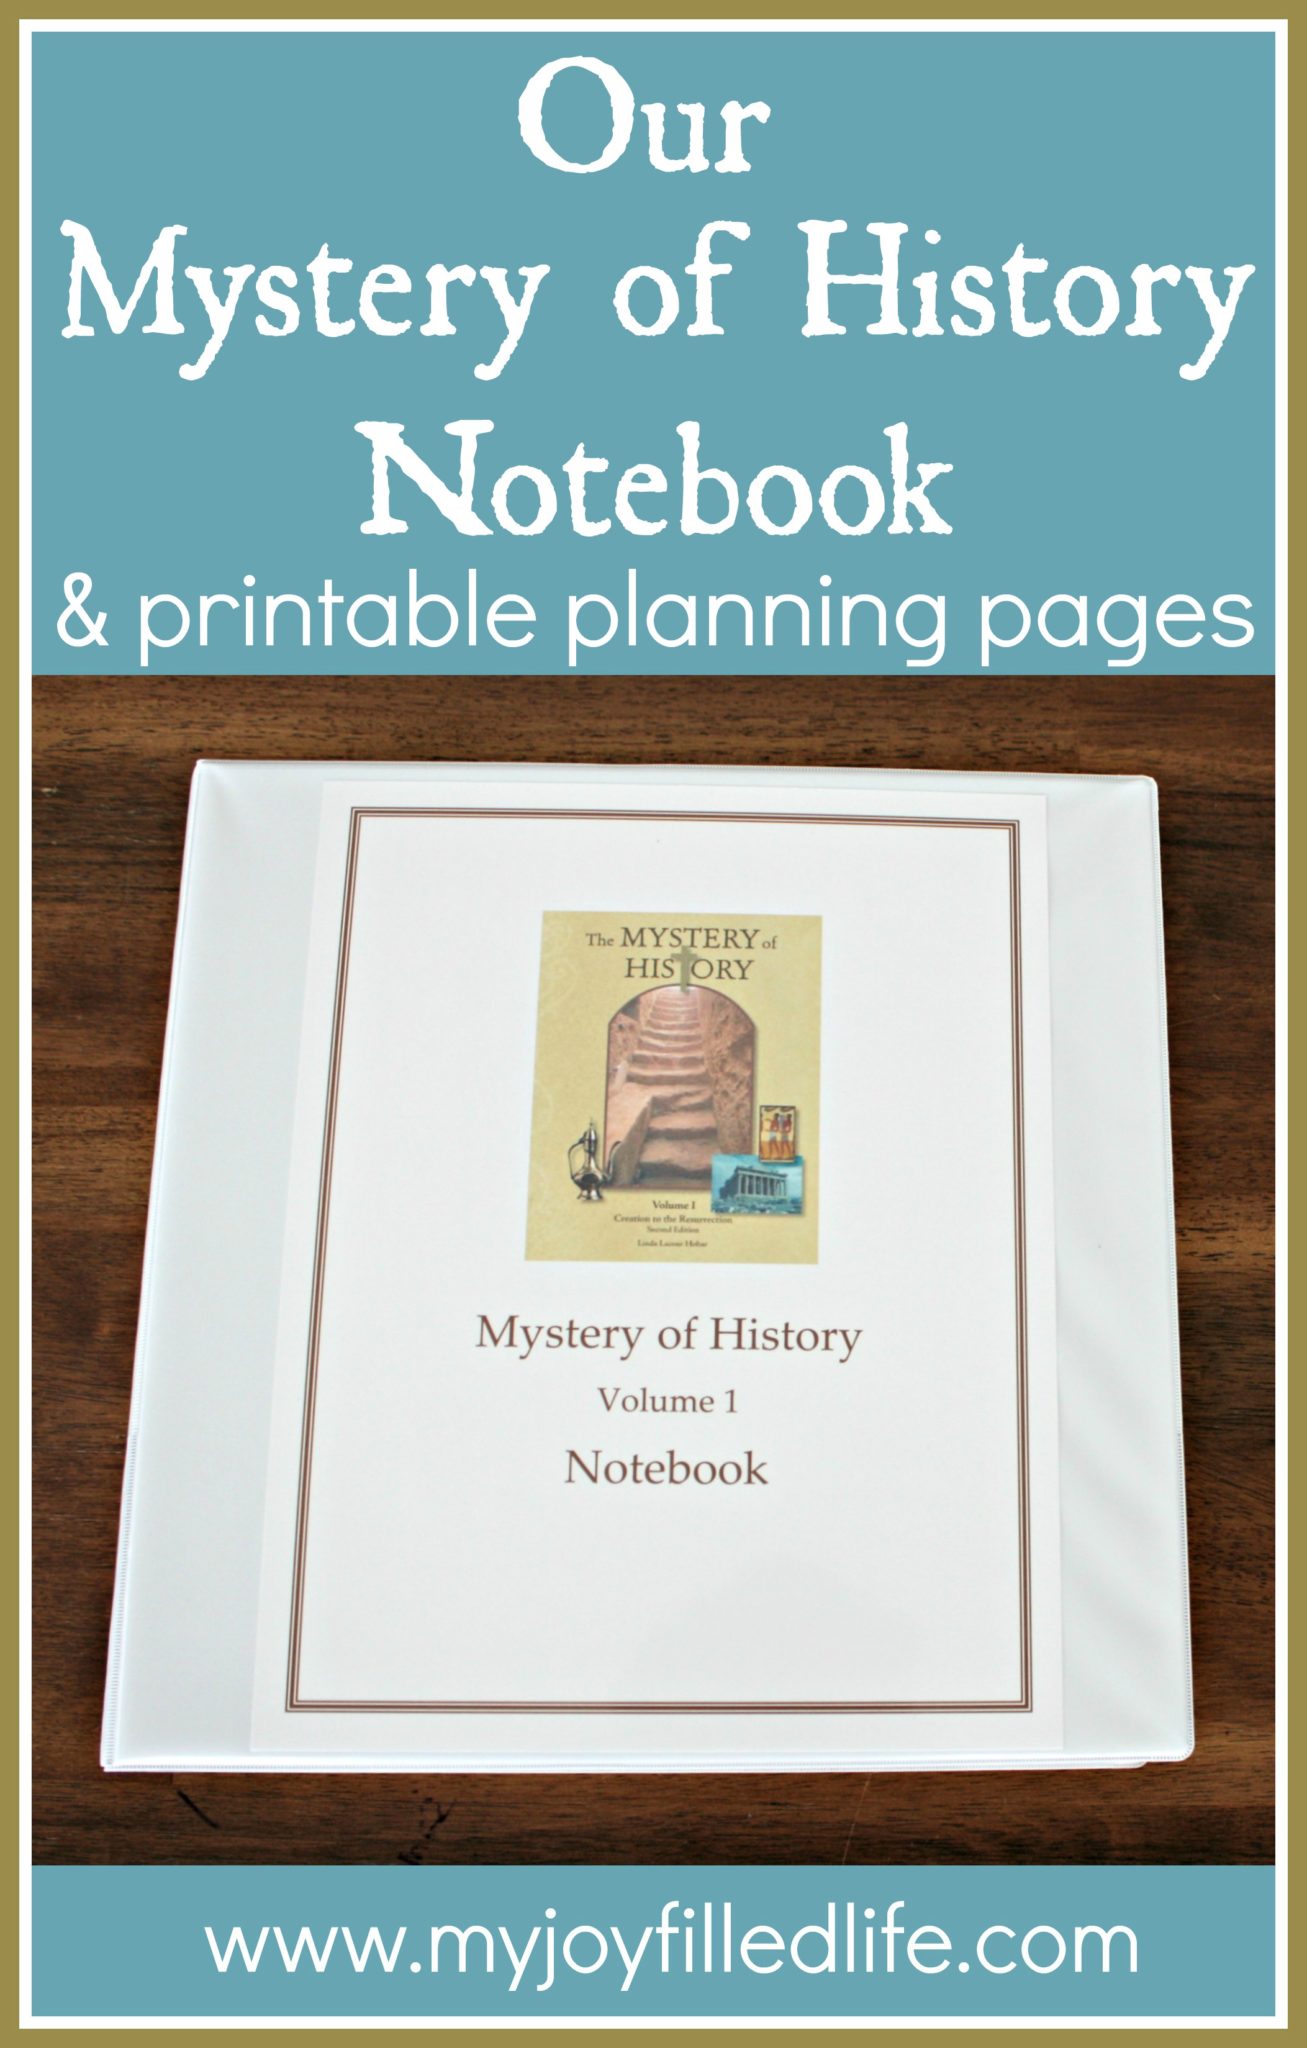
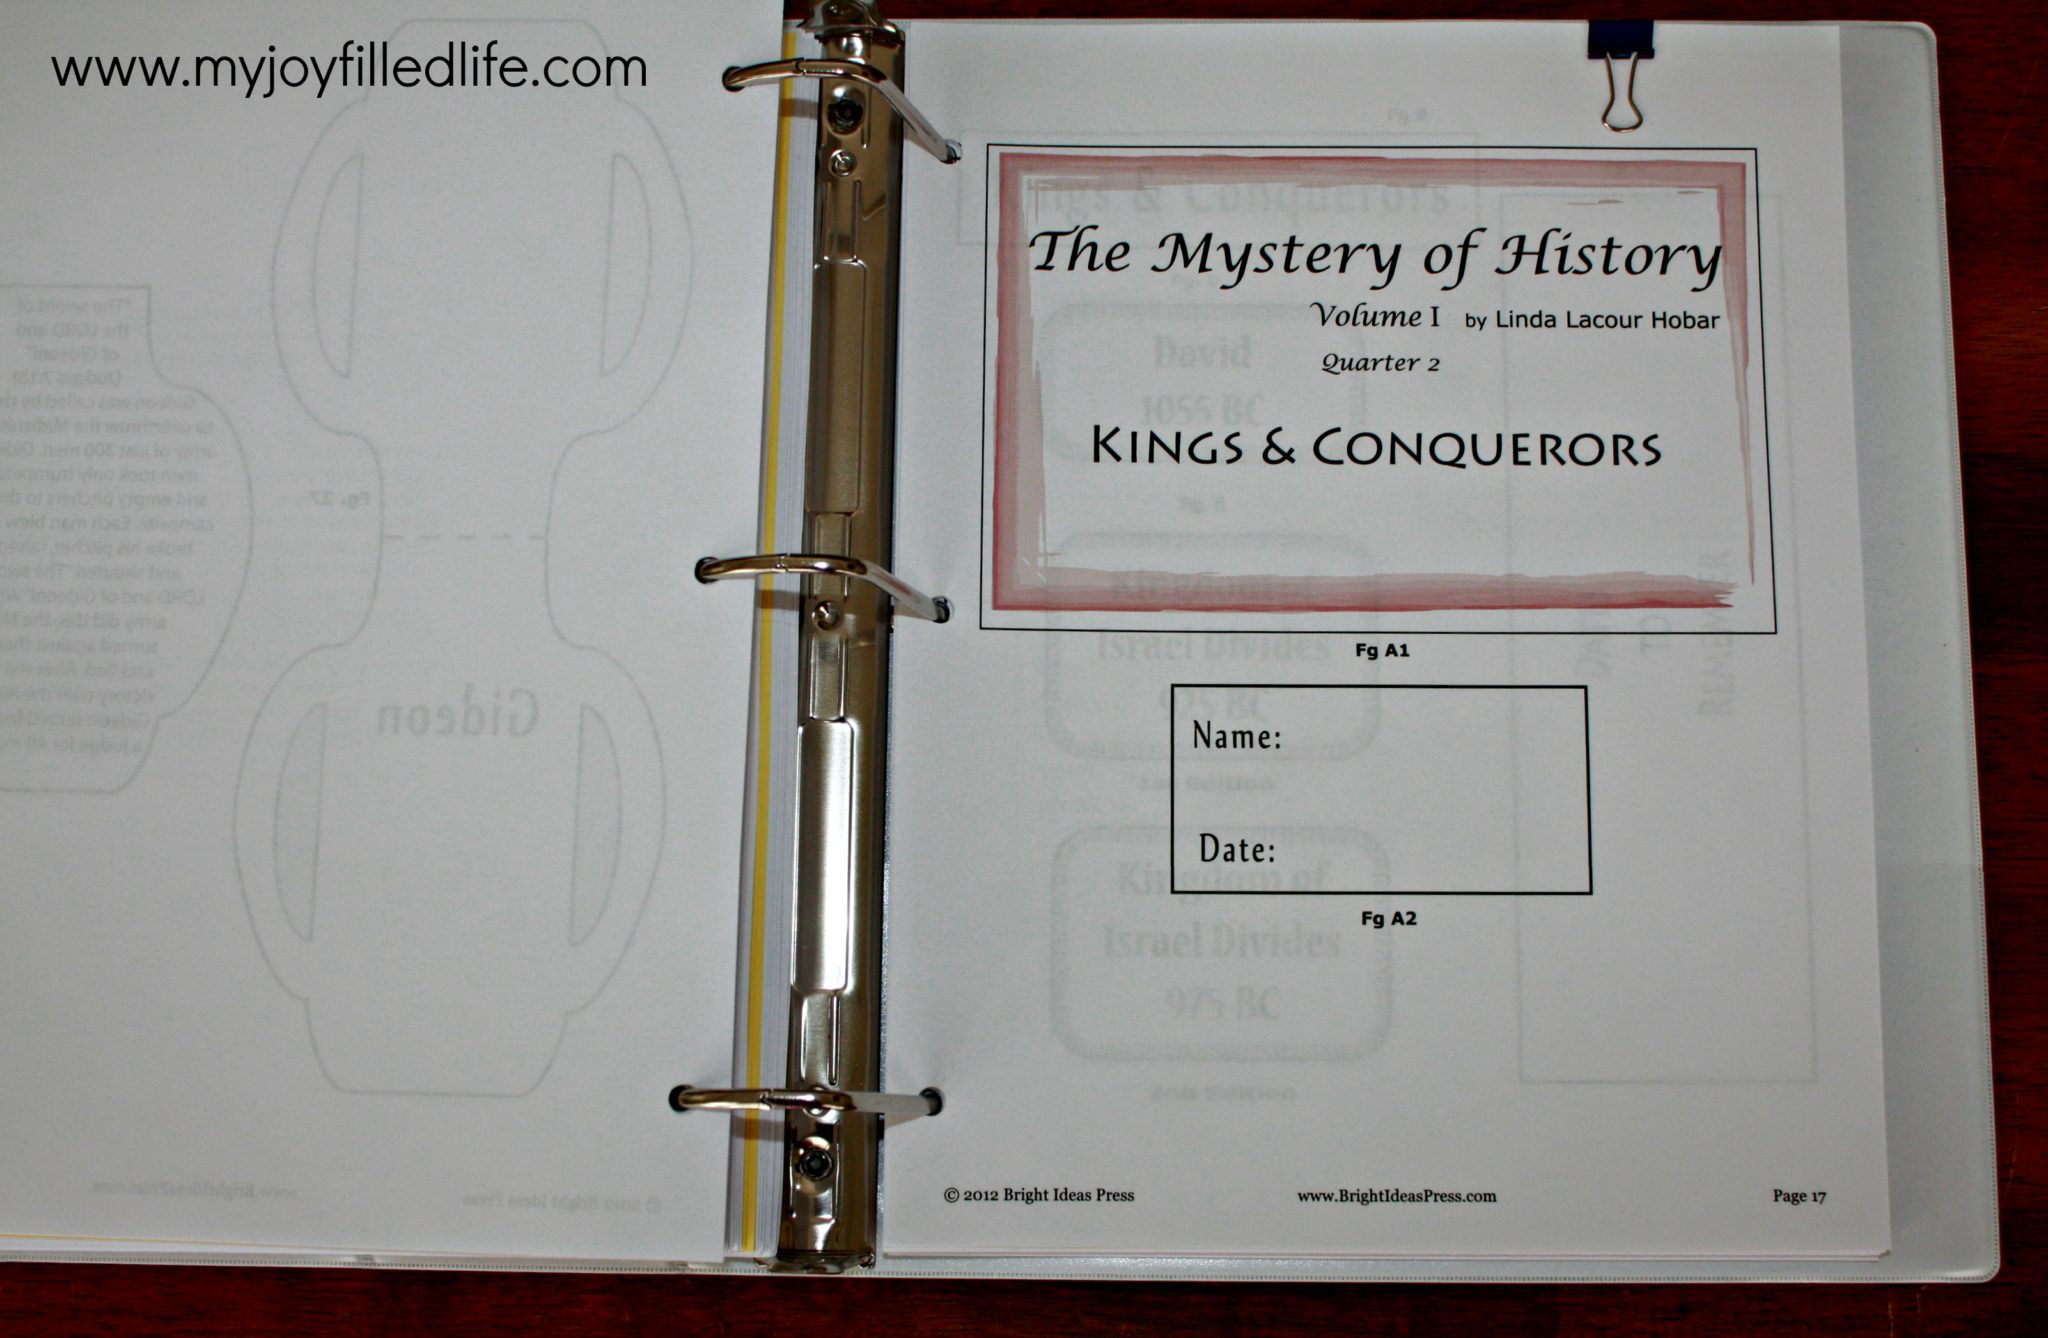
We use Mystery of History for our history studies in our homeschool. It took me a little while to figure out how to organize all of our papers and work from the course. At the beginning of the textbook there are suggestions for ways to organize your history notebook, but the ideas suggested just didn’t reflect the way my brain works, so I came up with a way that makes more sense to me. If you are having a similar experience, hopefully this post will help or inspire you in some way. Below I will share how we put together our Mystery of History notebook to keep track of our studies and utilize the supplemental resources that Bright Ideas Press offers to go along with Mystery of History.
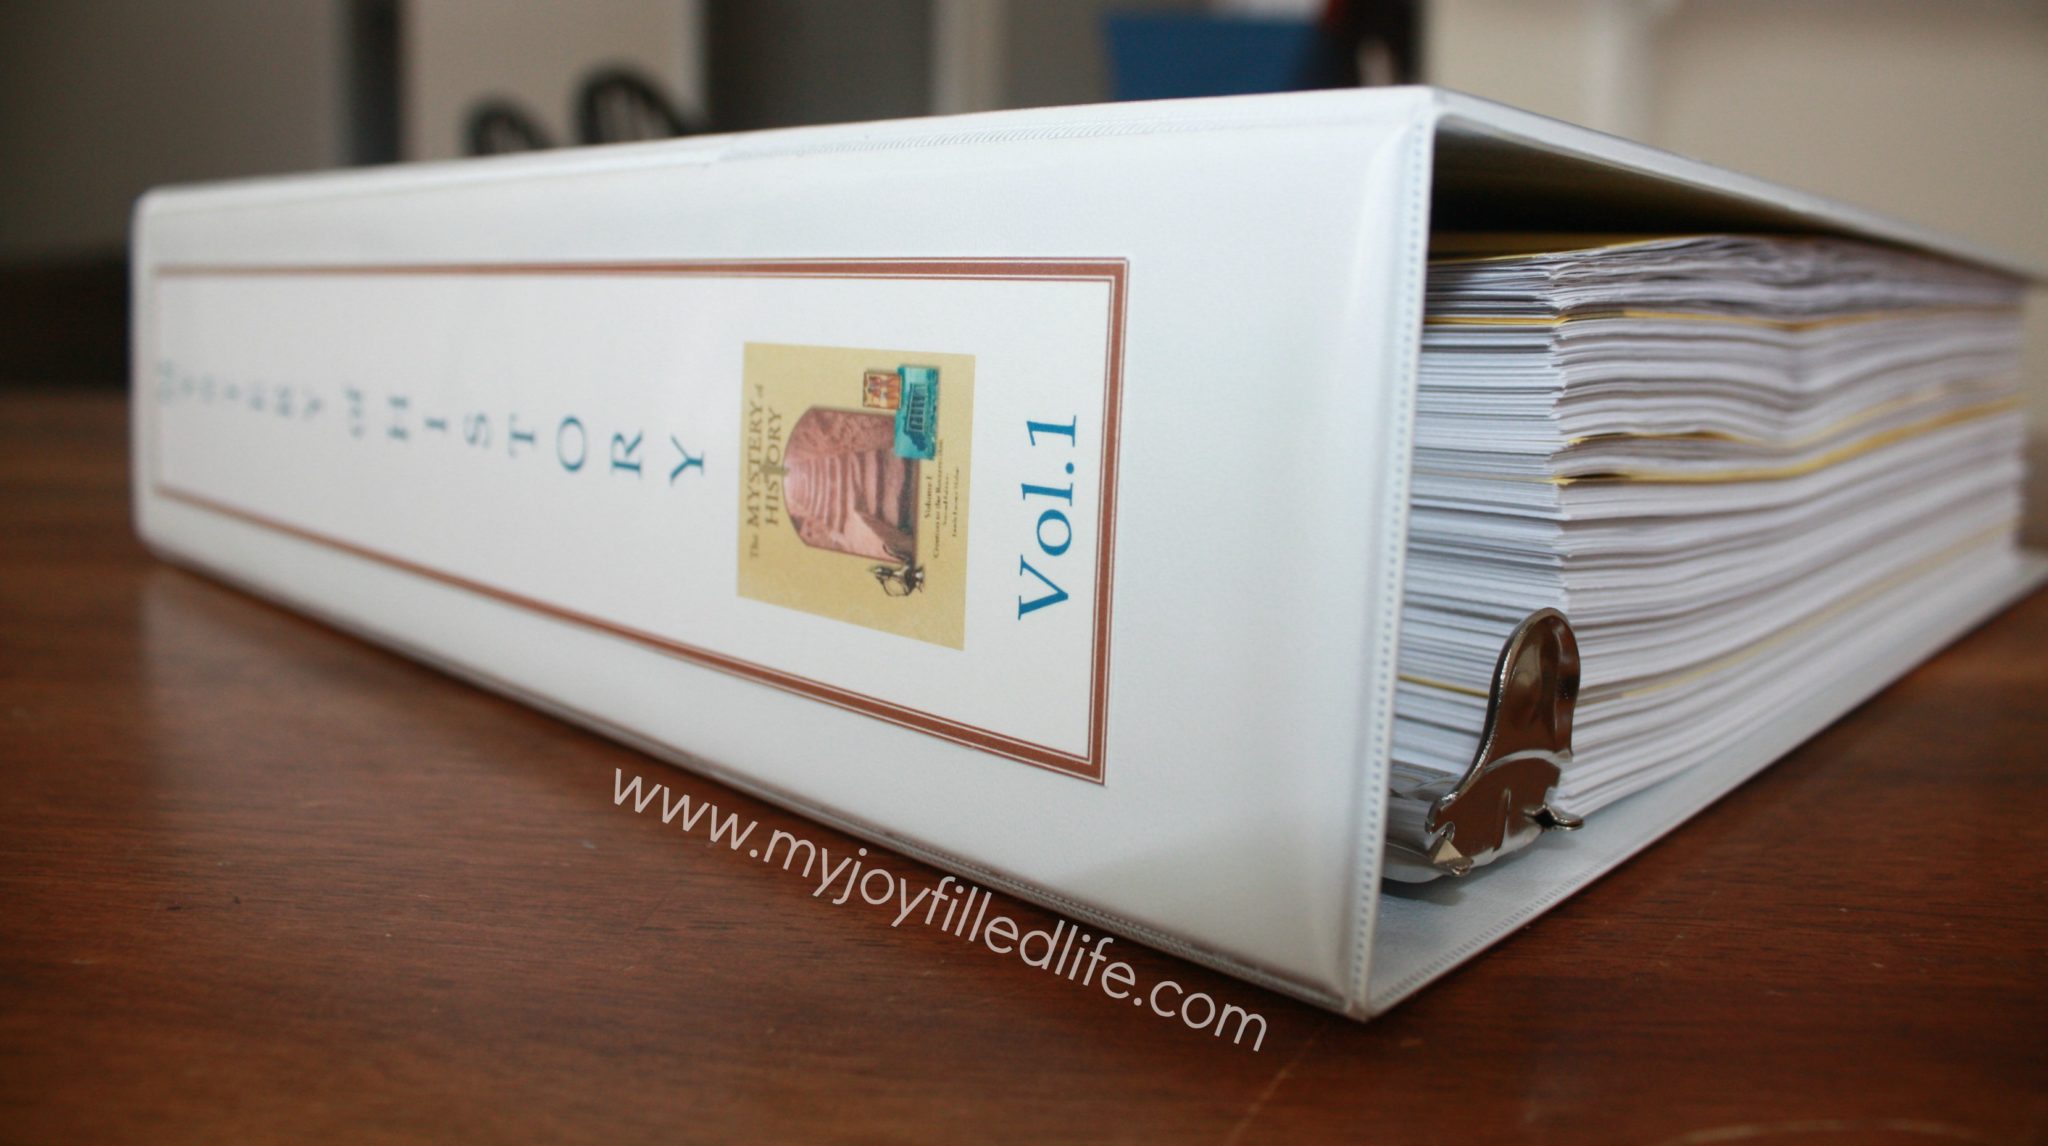
If you would like to make your notebook similar to the one below, you will need the following supplies (note – this notebook is for Volume 1) –
- 2 inch 3-ring binder (or 2.5 inch for a little more wiggle room)
- 9 tabbed page dividers
- Binder Clips
- Mystery of History Reproducibles (this includes the maps & tests)
- Mystery of History Coloring Pages
- Mystery of History Notebooking Pages
- Mystery of History Folderbook Reproducibles
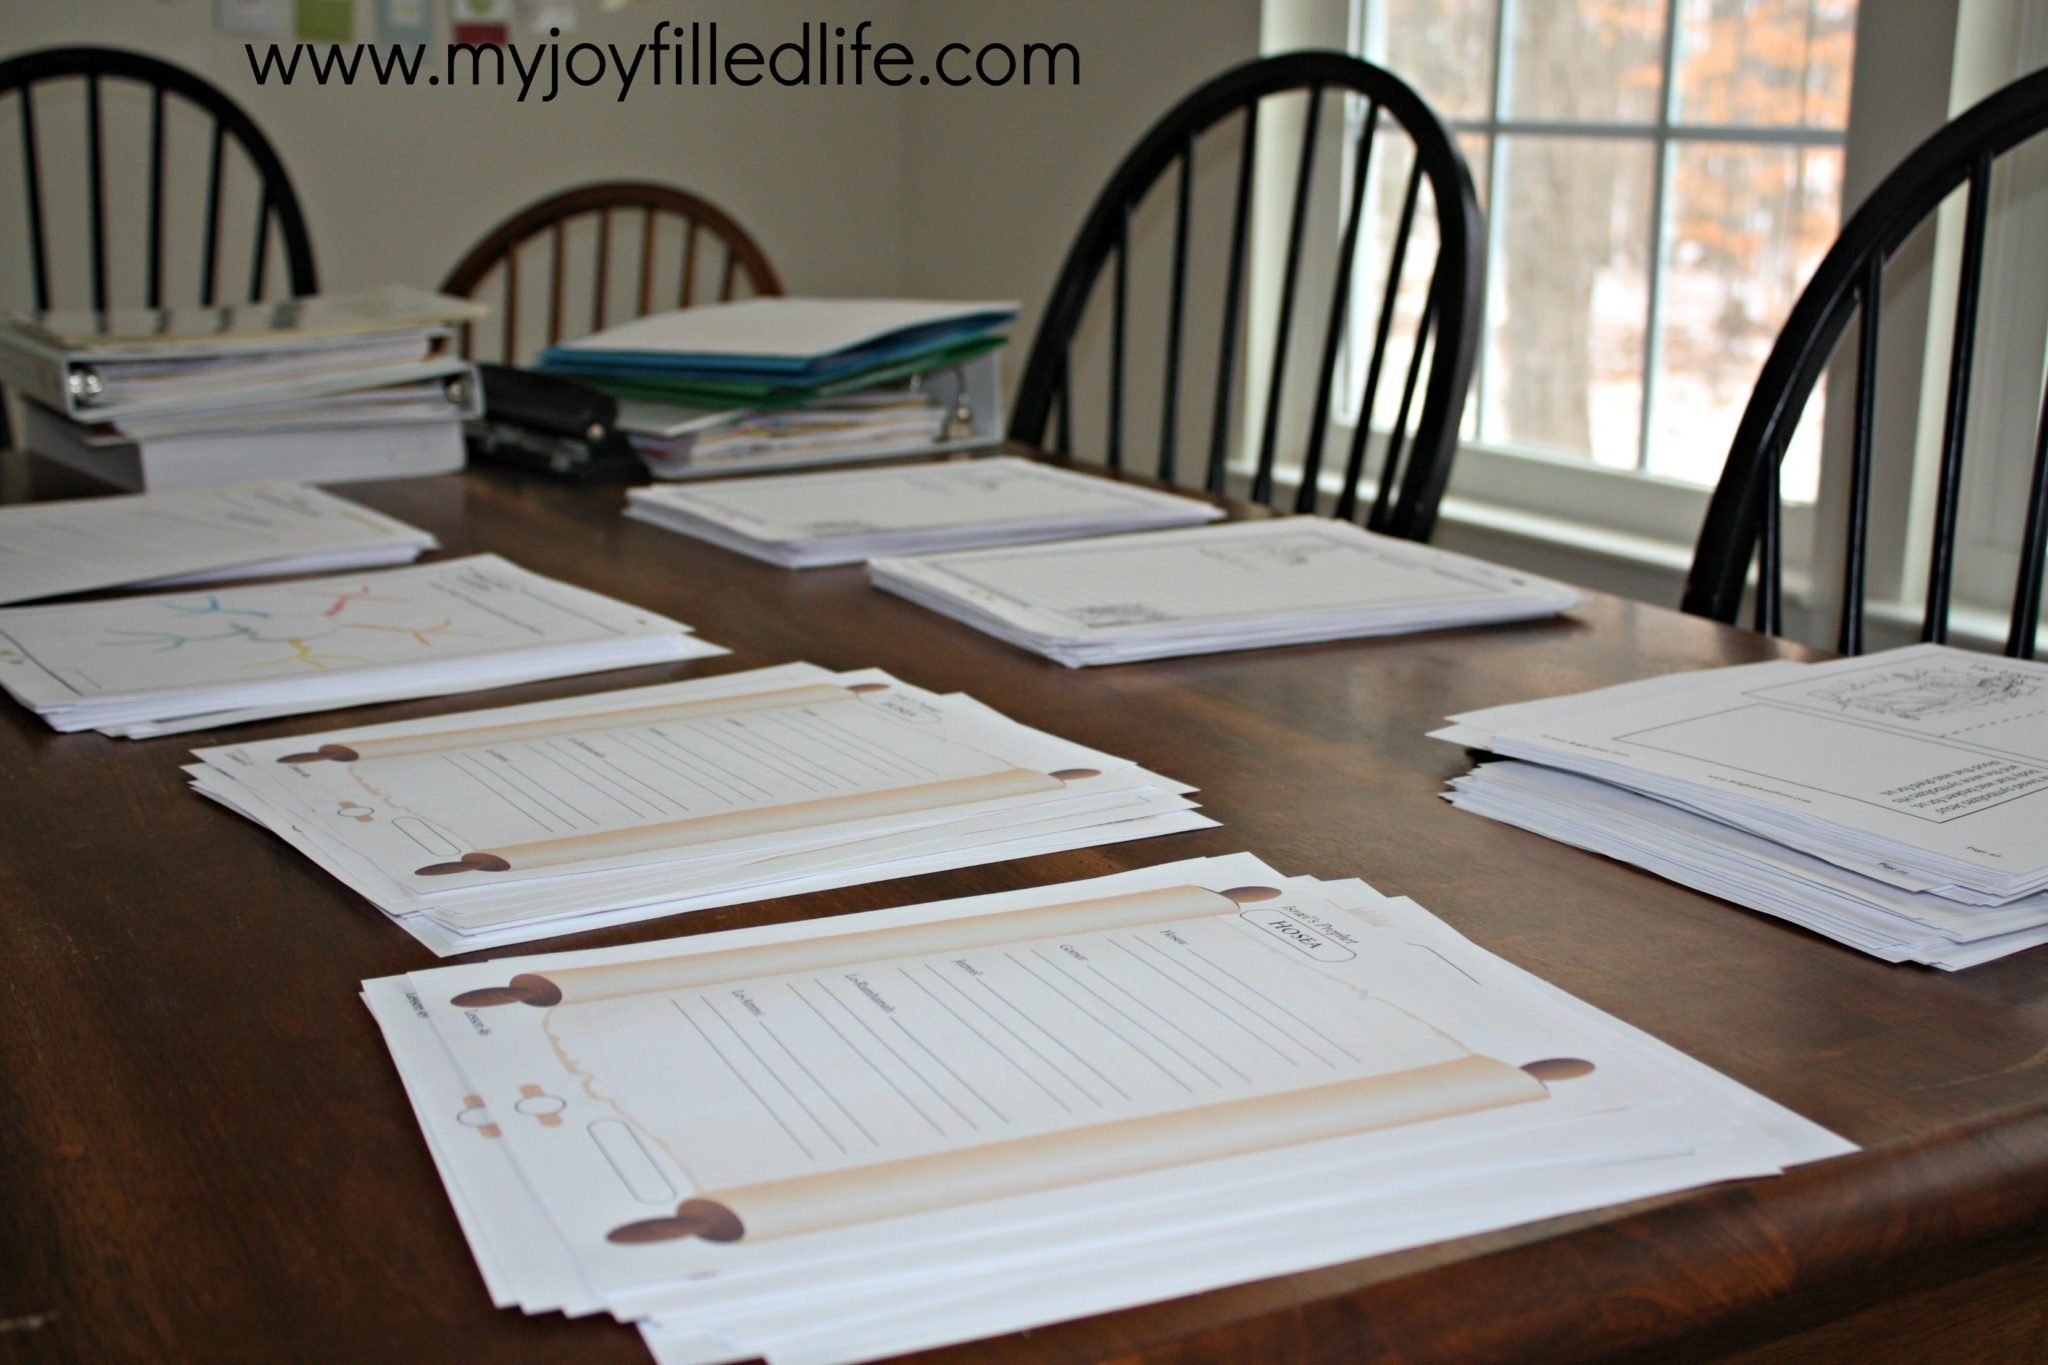
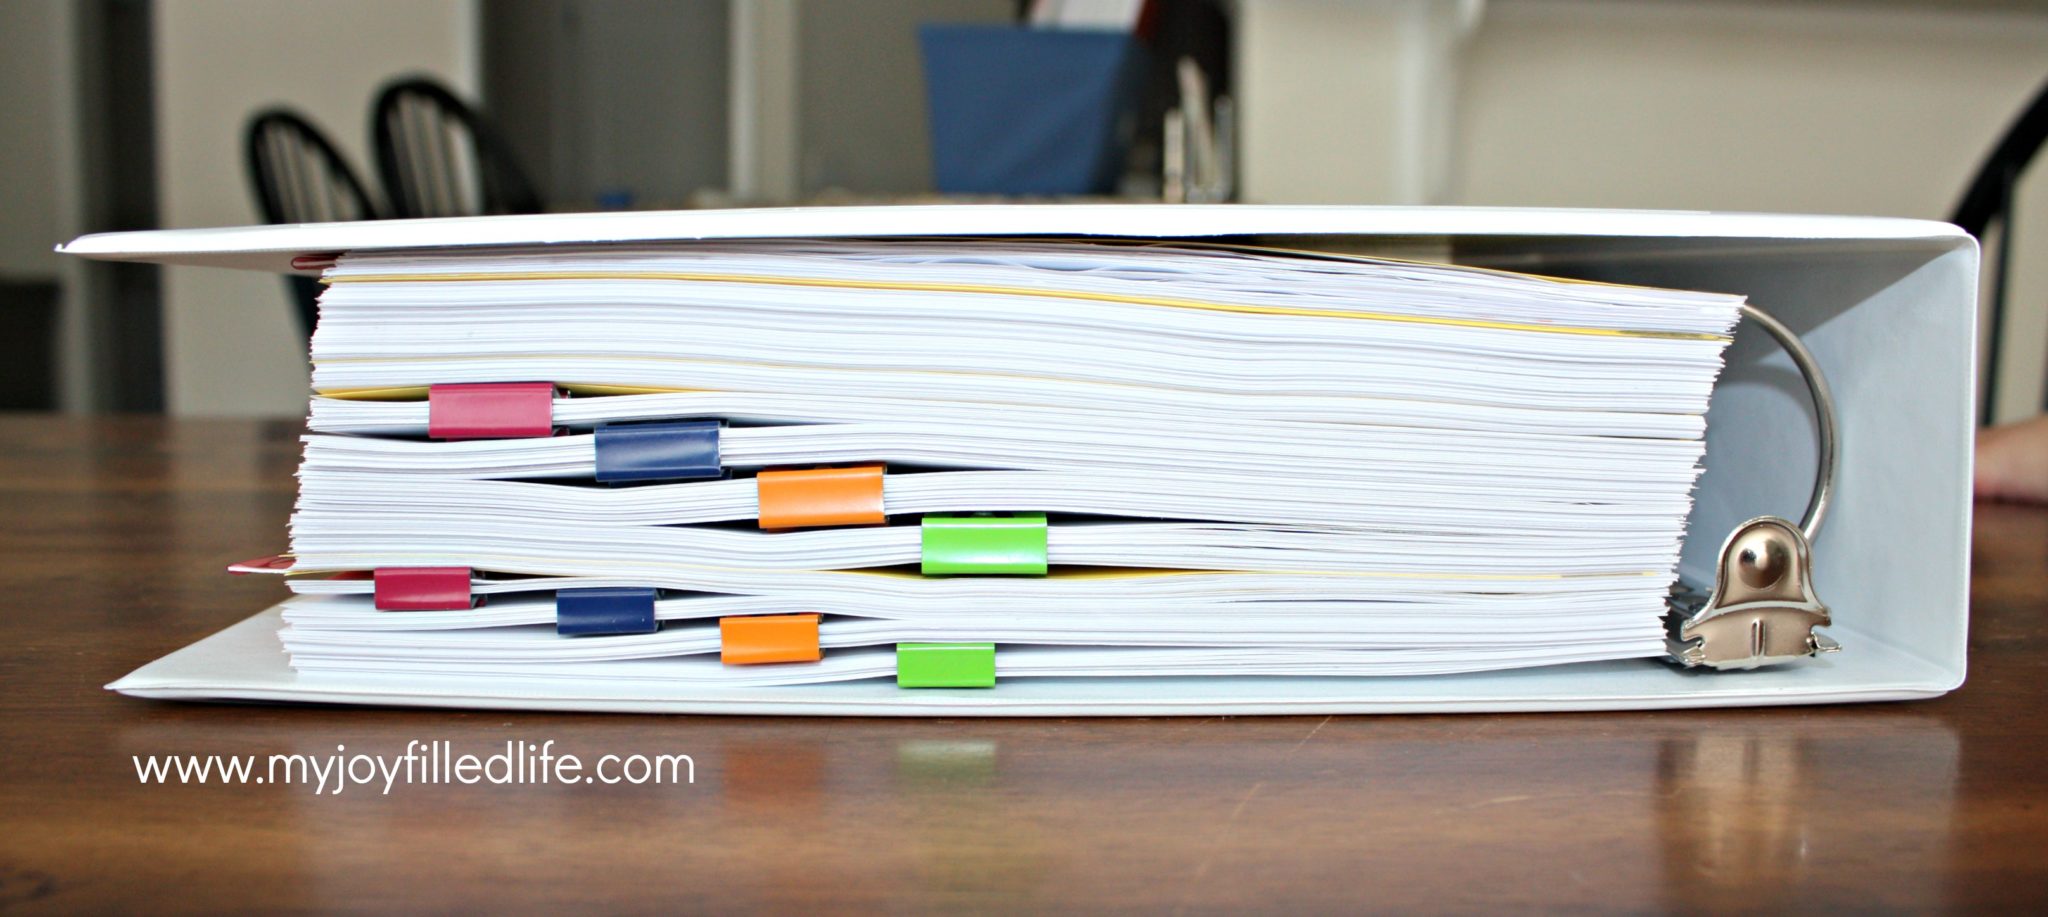
The sheer magnitude of all the papers in the supplemental resources can be a bit overwhelming at first. I’m so glad I decided to purchase the extra resources though because they are a great complement to the text book and it makes it so much easier for me not to have to think of or create much on my own to add to our studies. At first I started out by printing what we needed each week, and then I switched to printing out a few weeks at a time, but that just got too time consuming so I decided I just needed to take a chunk of time and print everything out at once and figure out a way to organize it all.
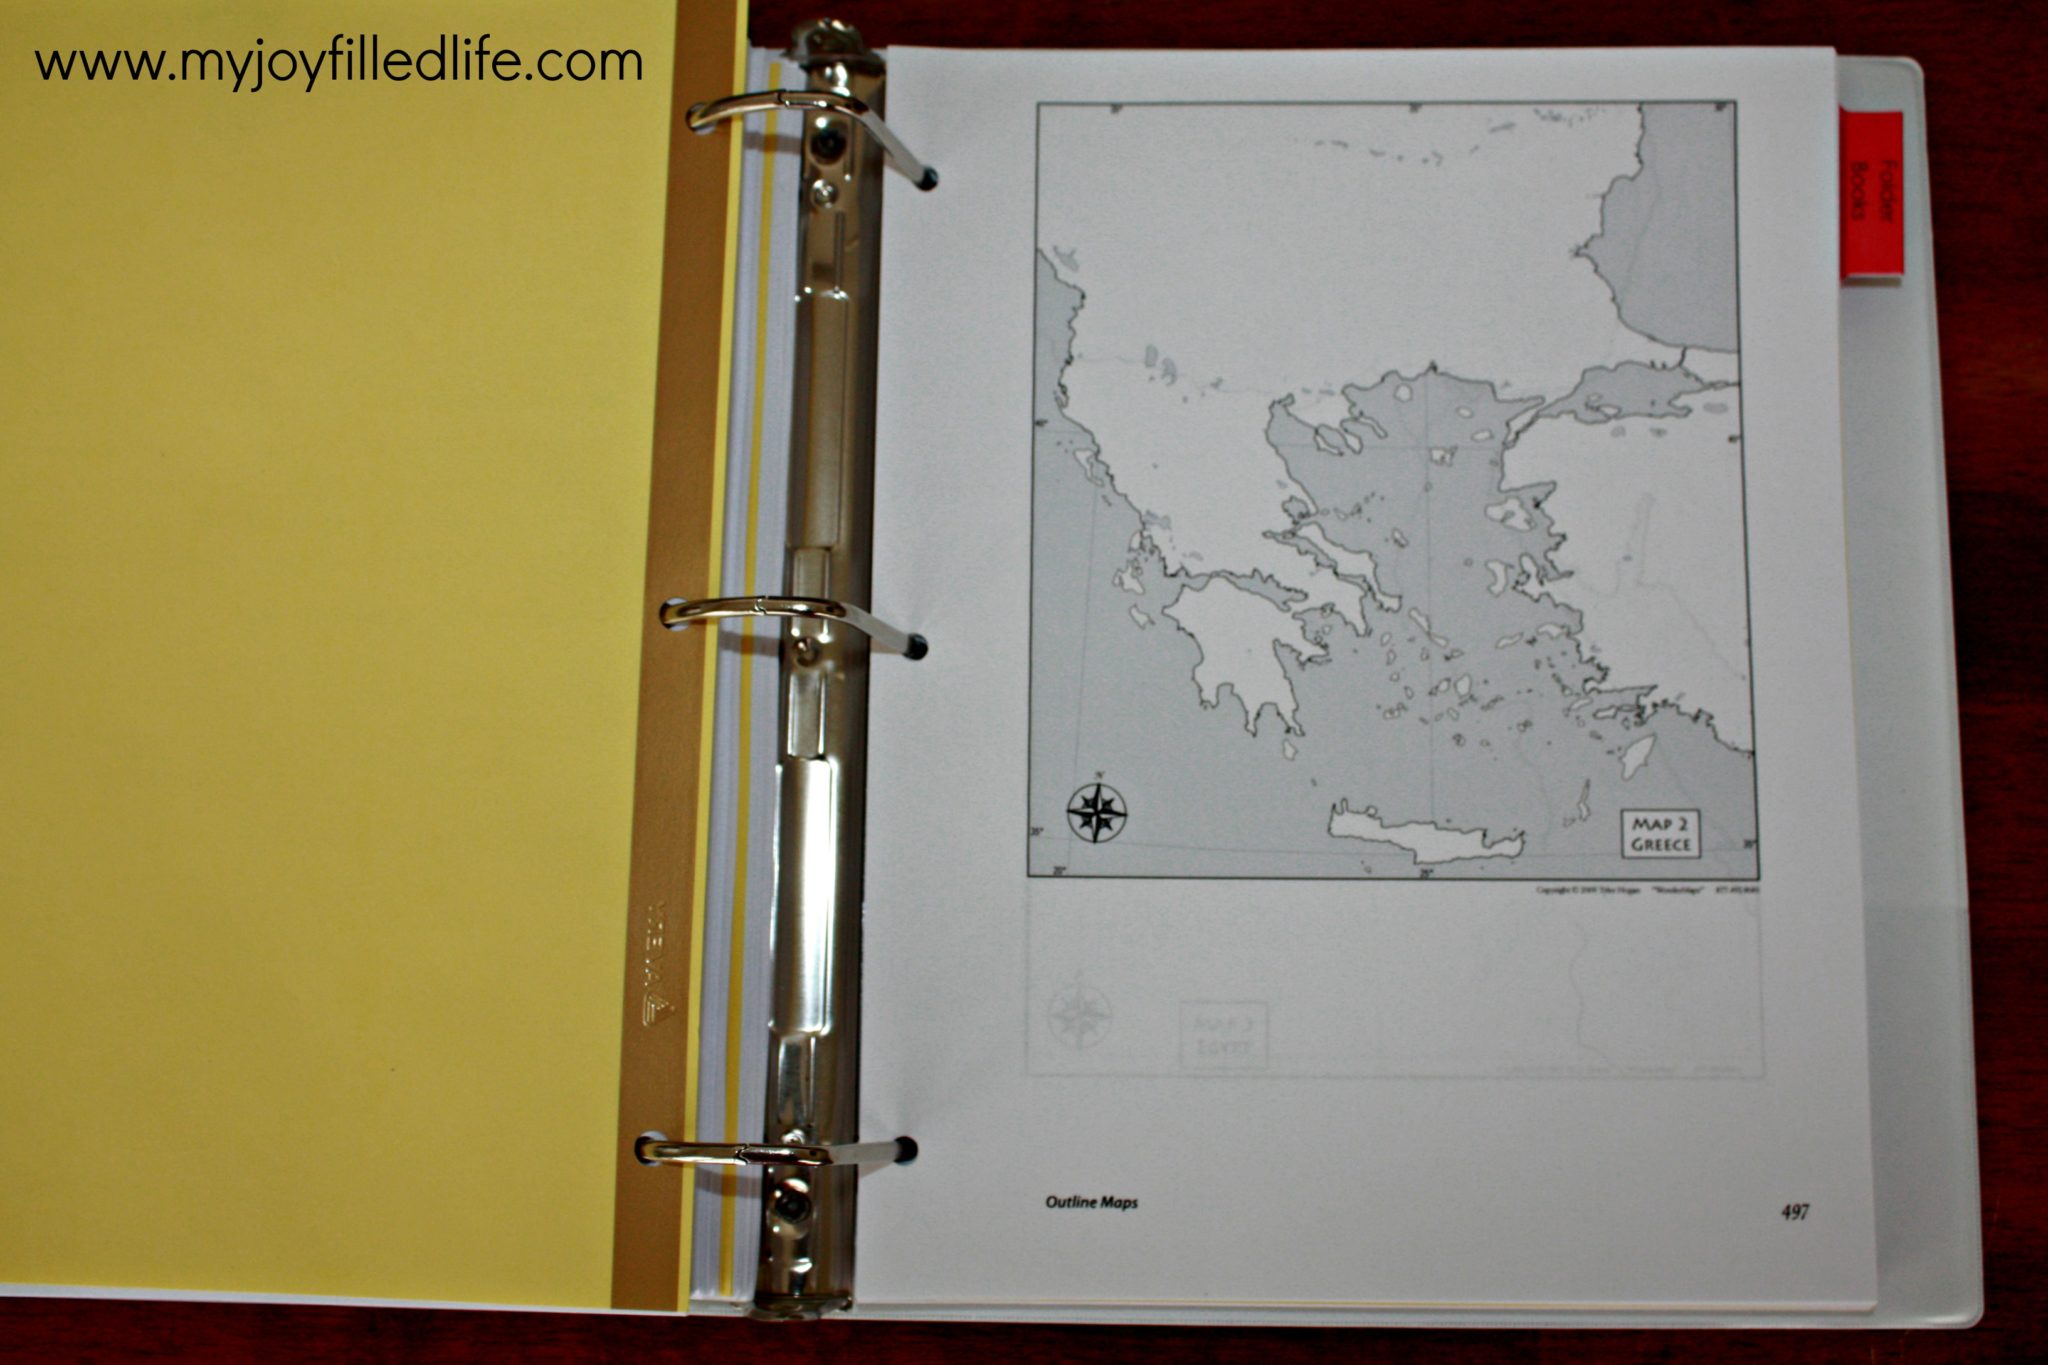
To get started, you need to print out all the worksheets/pages you will need for the year – coloring pages, notebooking pages, folderbooks, test, and maps. There are only 9 different maps for the whole course, but you will need some of the maps multiple times and there is a handy chart on page 494 (second edition) letting you know how many of each map you will need for the course (and it’s even broken down by level – younger, middle, older).
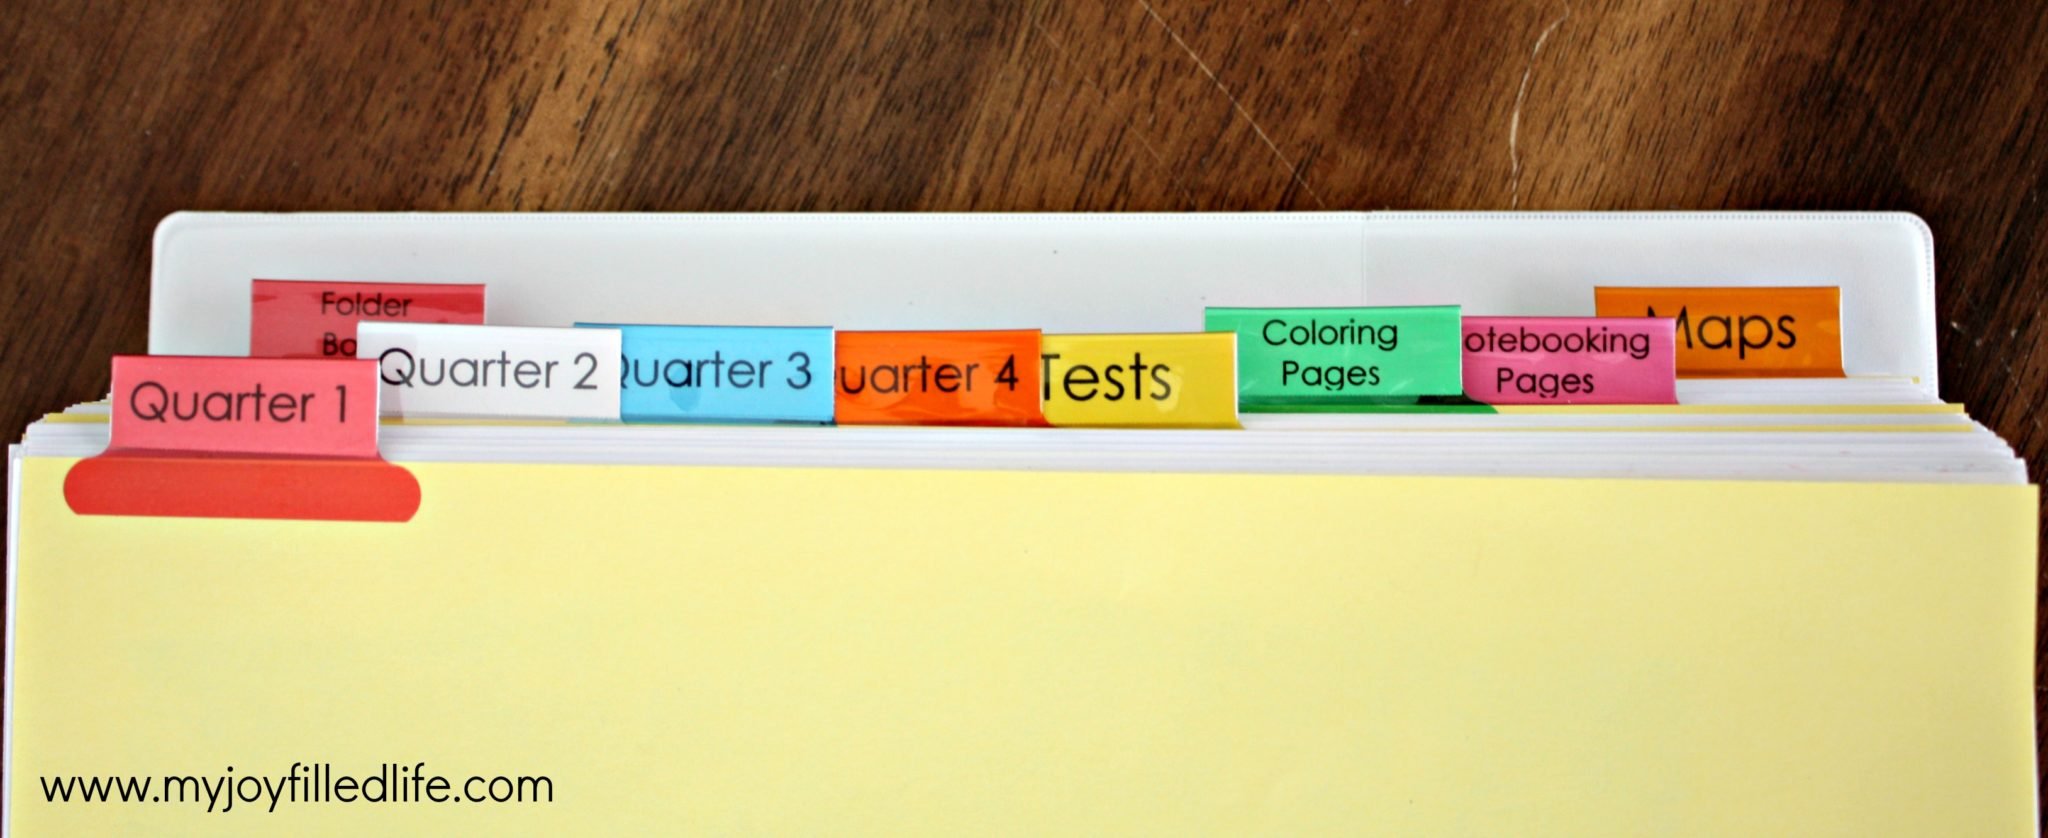
Then you will need to label your binder tabs. I like the Avery Big Tab Insertable Dividers. I like the bigger tabs and you can download a template so you can type up your tabs and print them out. I label the tabs with the following –
- Quarter 1
- Quarter 2
- Quarter 3
- Quarter 4
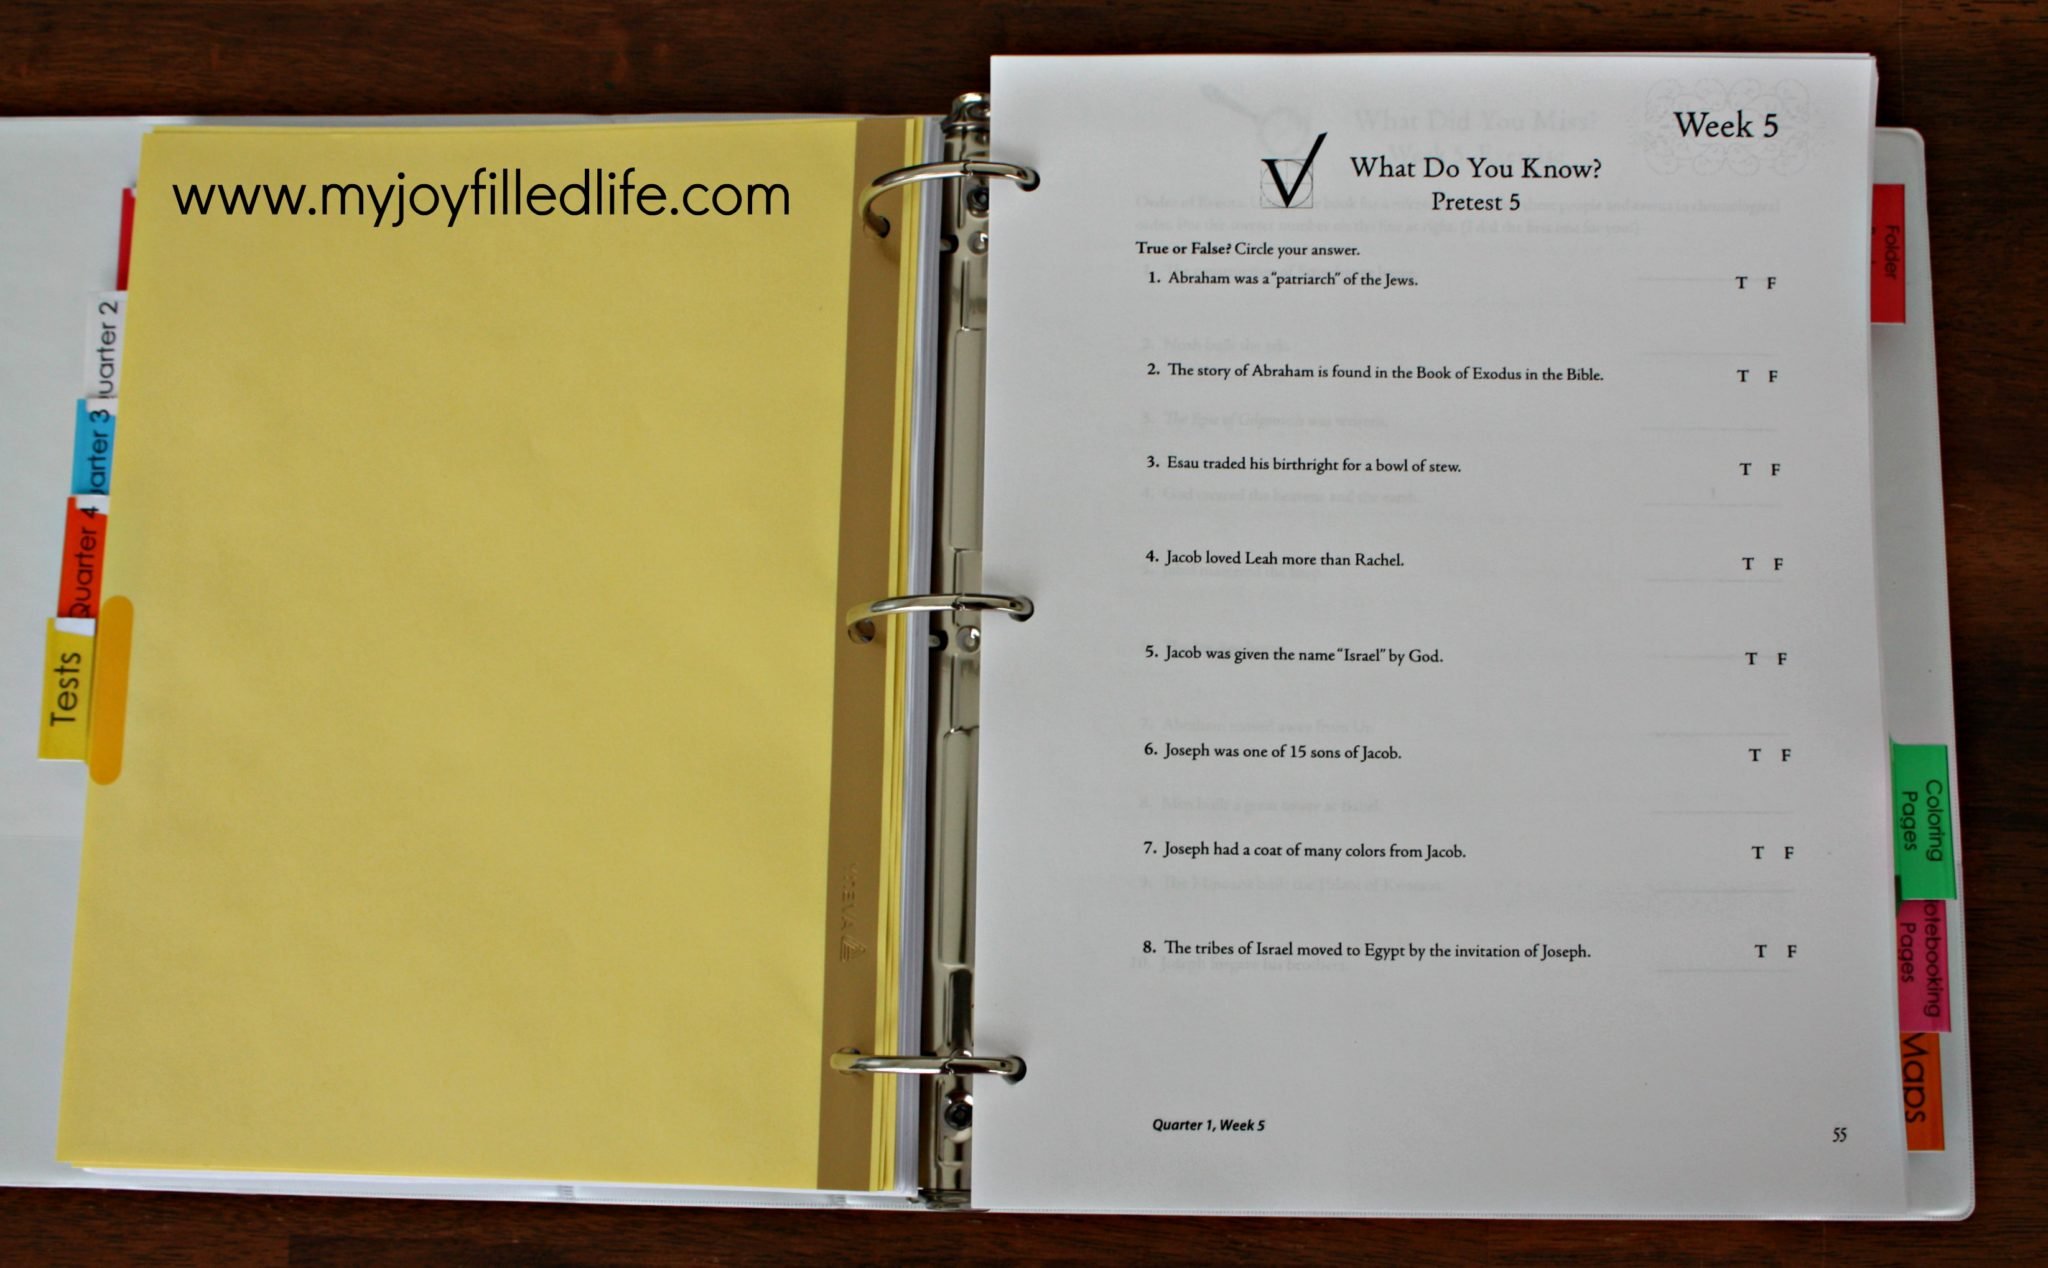
- Tests – this includes the pretests, quizzes, and end of week exercises and review worksheets
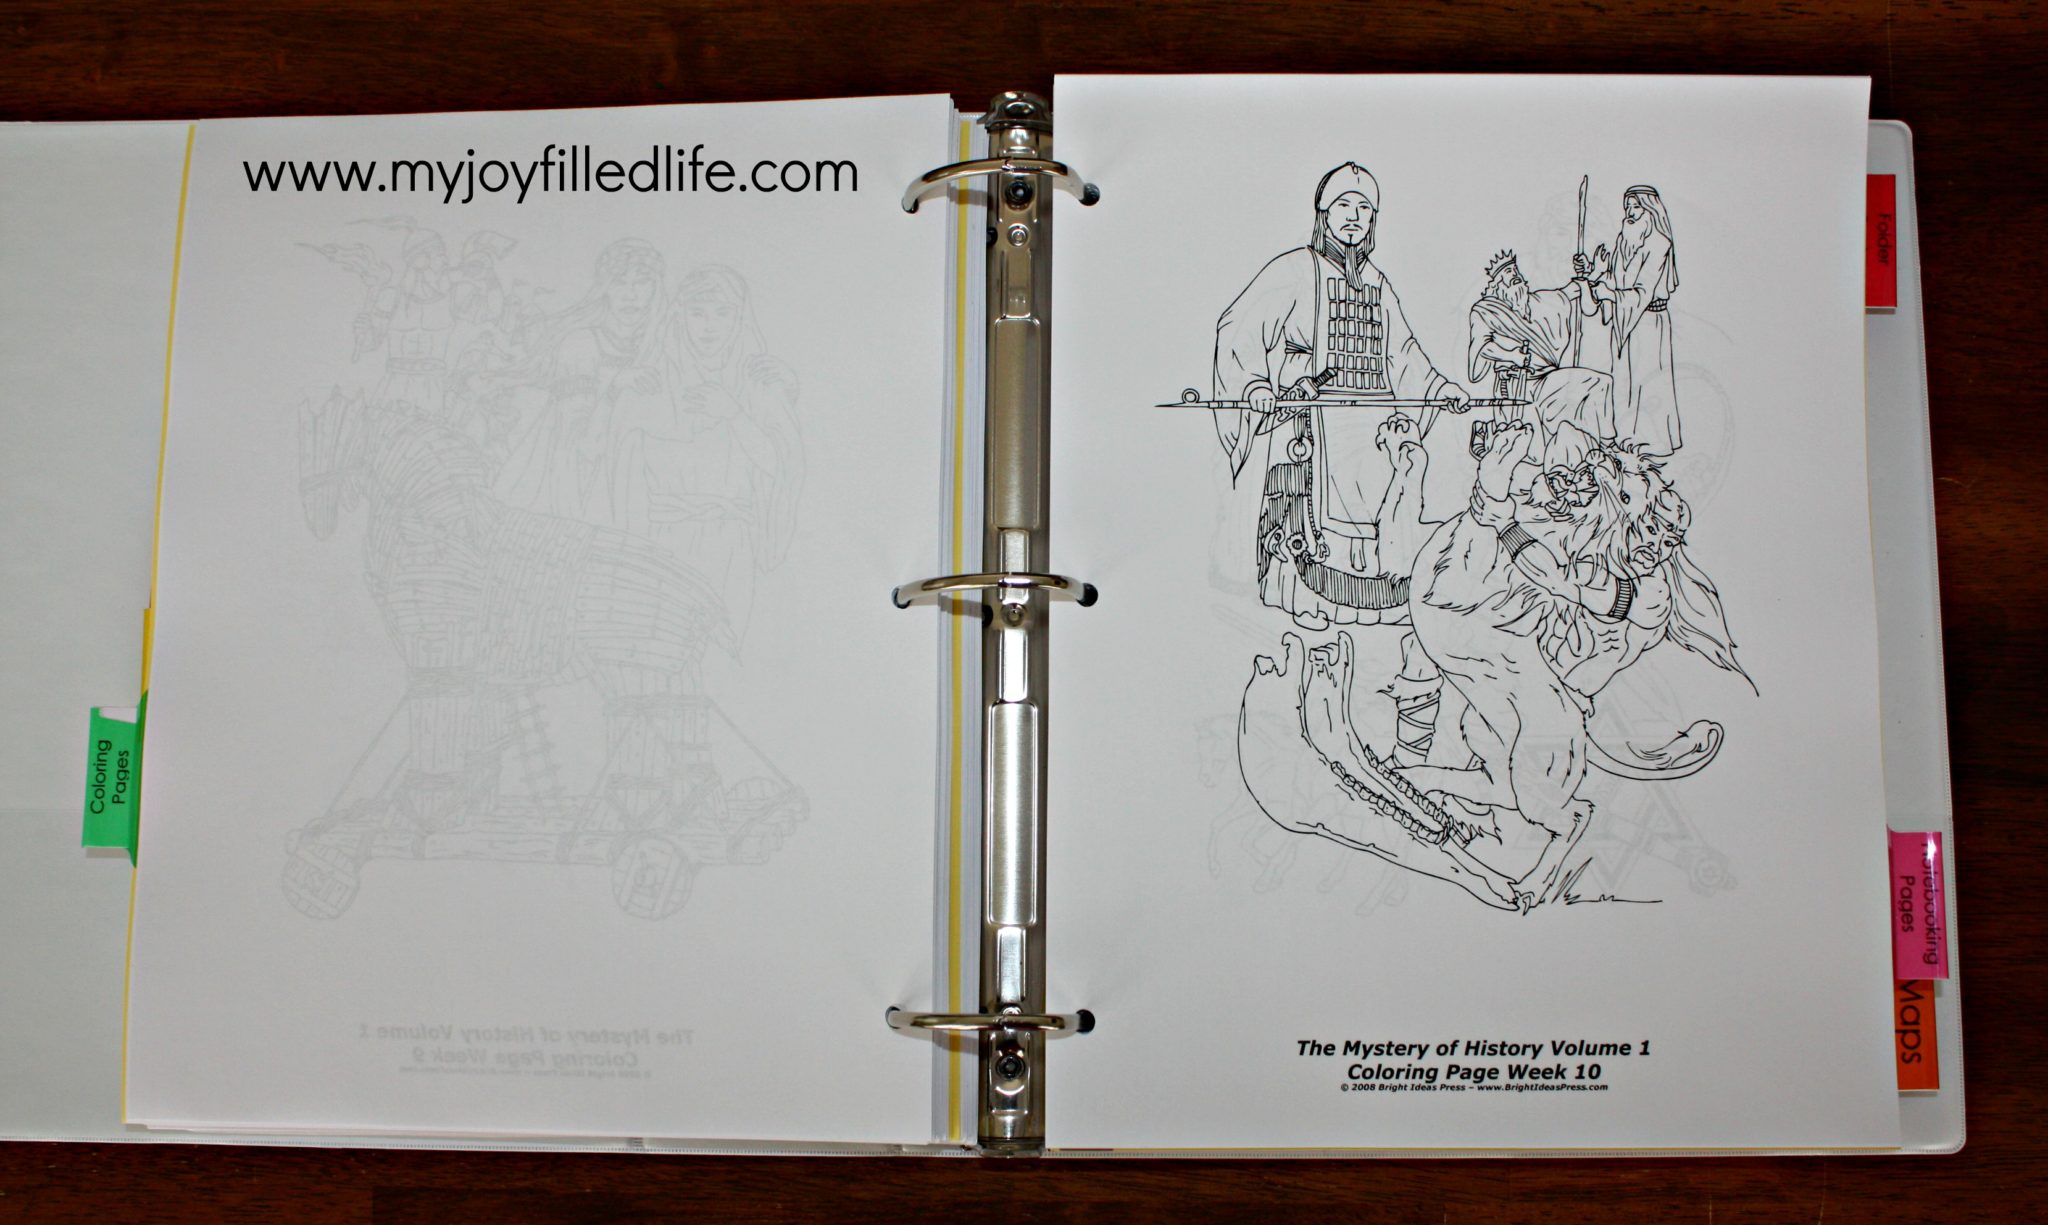
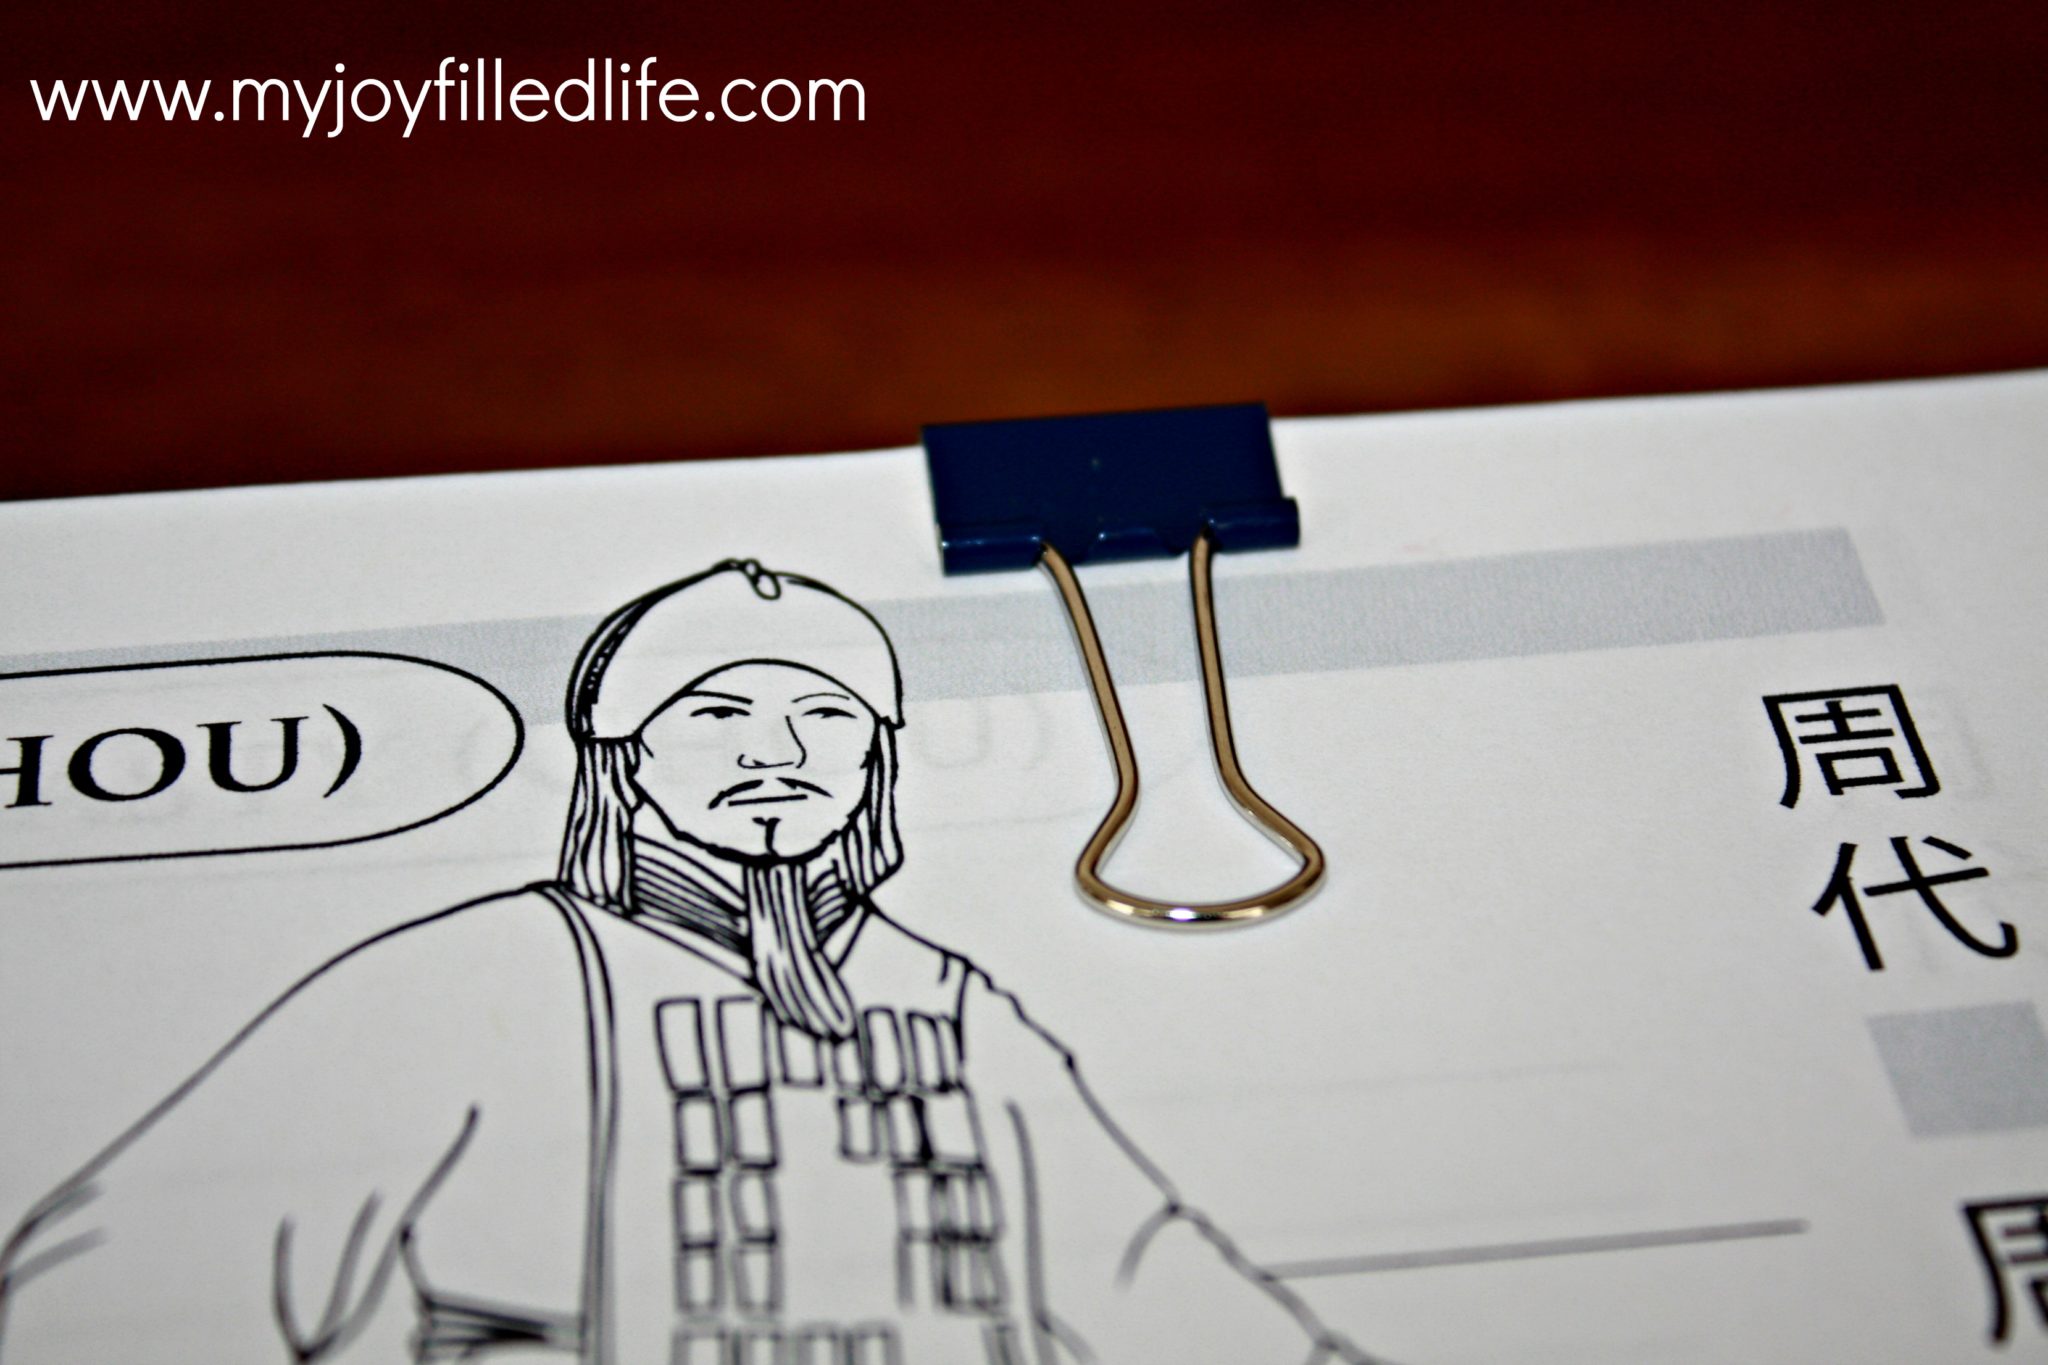
- Coloring Pages
- Notebooking Pages
- Maps
- Folderbooks
Behind the quarterly tabs goes the student’s completed work, with the exception of the Folderbooks. When a worksheet is completed, we place it in the back of the appropriate quarter tab, behind all of the other completed pages.
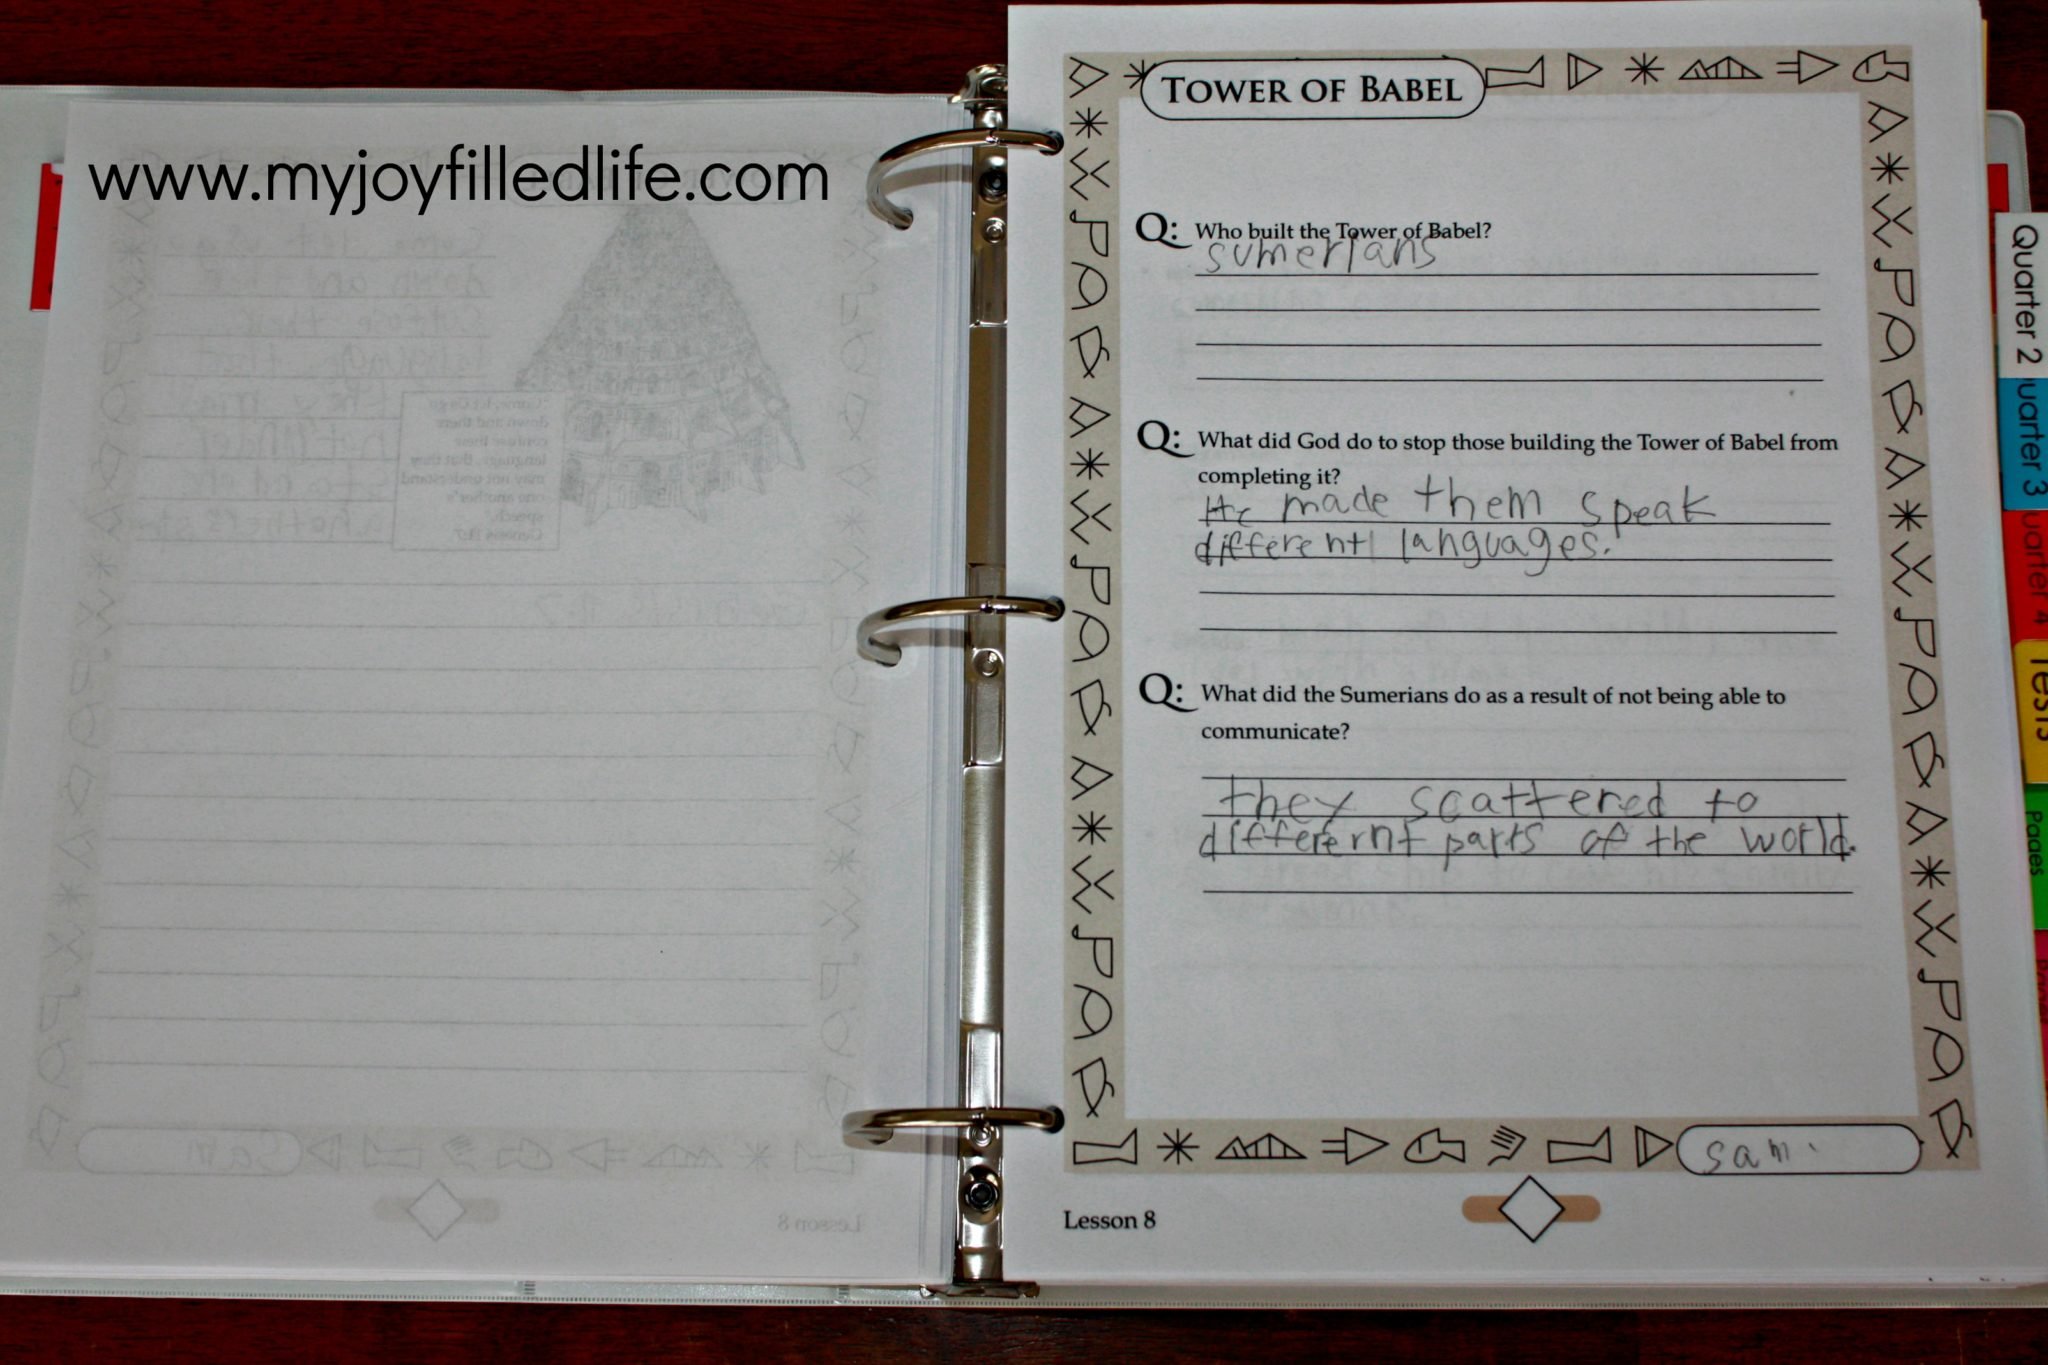
Behind all of the other tabs goes the blank worksheets/pages that you will use in the future. Put the pages behind the appropriately labeled tabs in the order that you will use them.
Tests –
Coloring Pages –
Notebooking Pages –
Maps –
Folderbook pages –
Then I use binder clips to clip together the blank pages by quarter of the notebooking pages and folderbooks (whatever quarter we are working on is left unclipped).
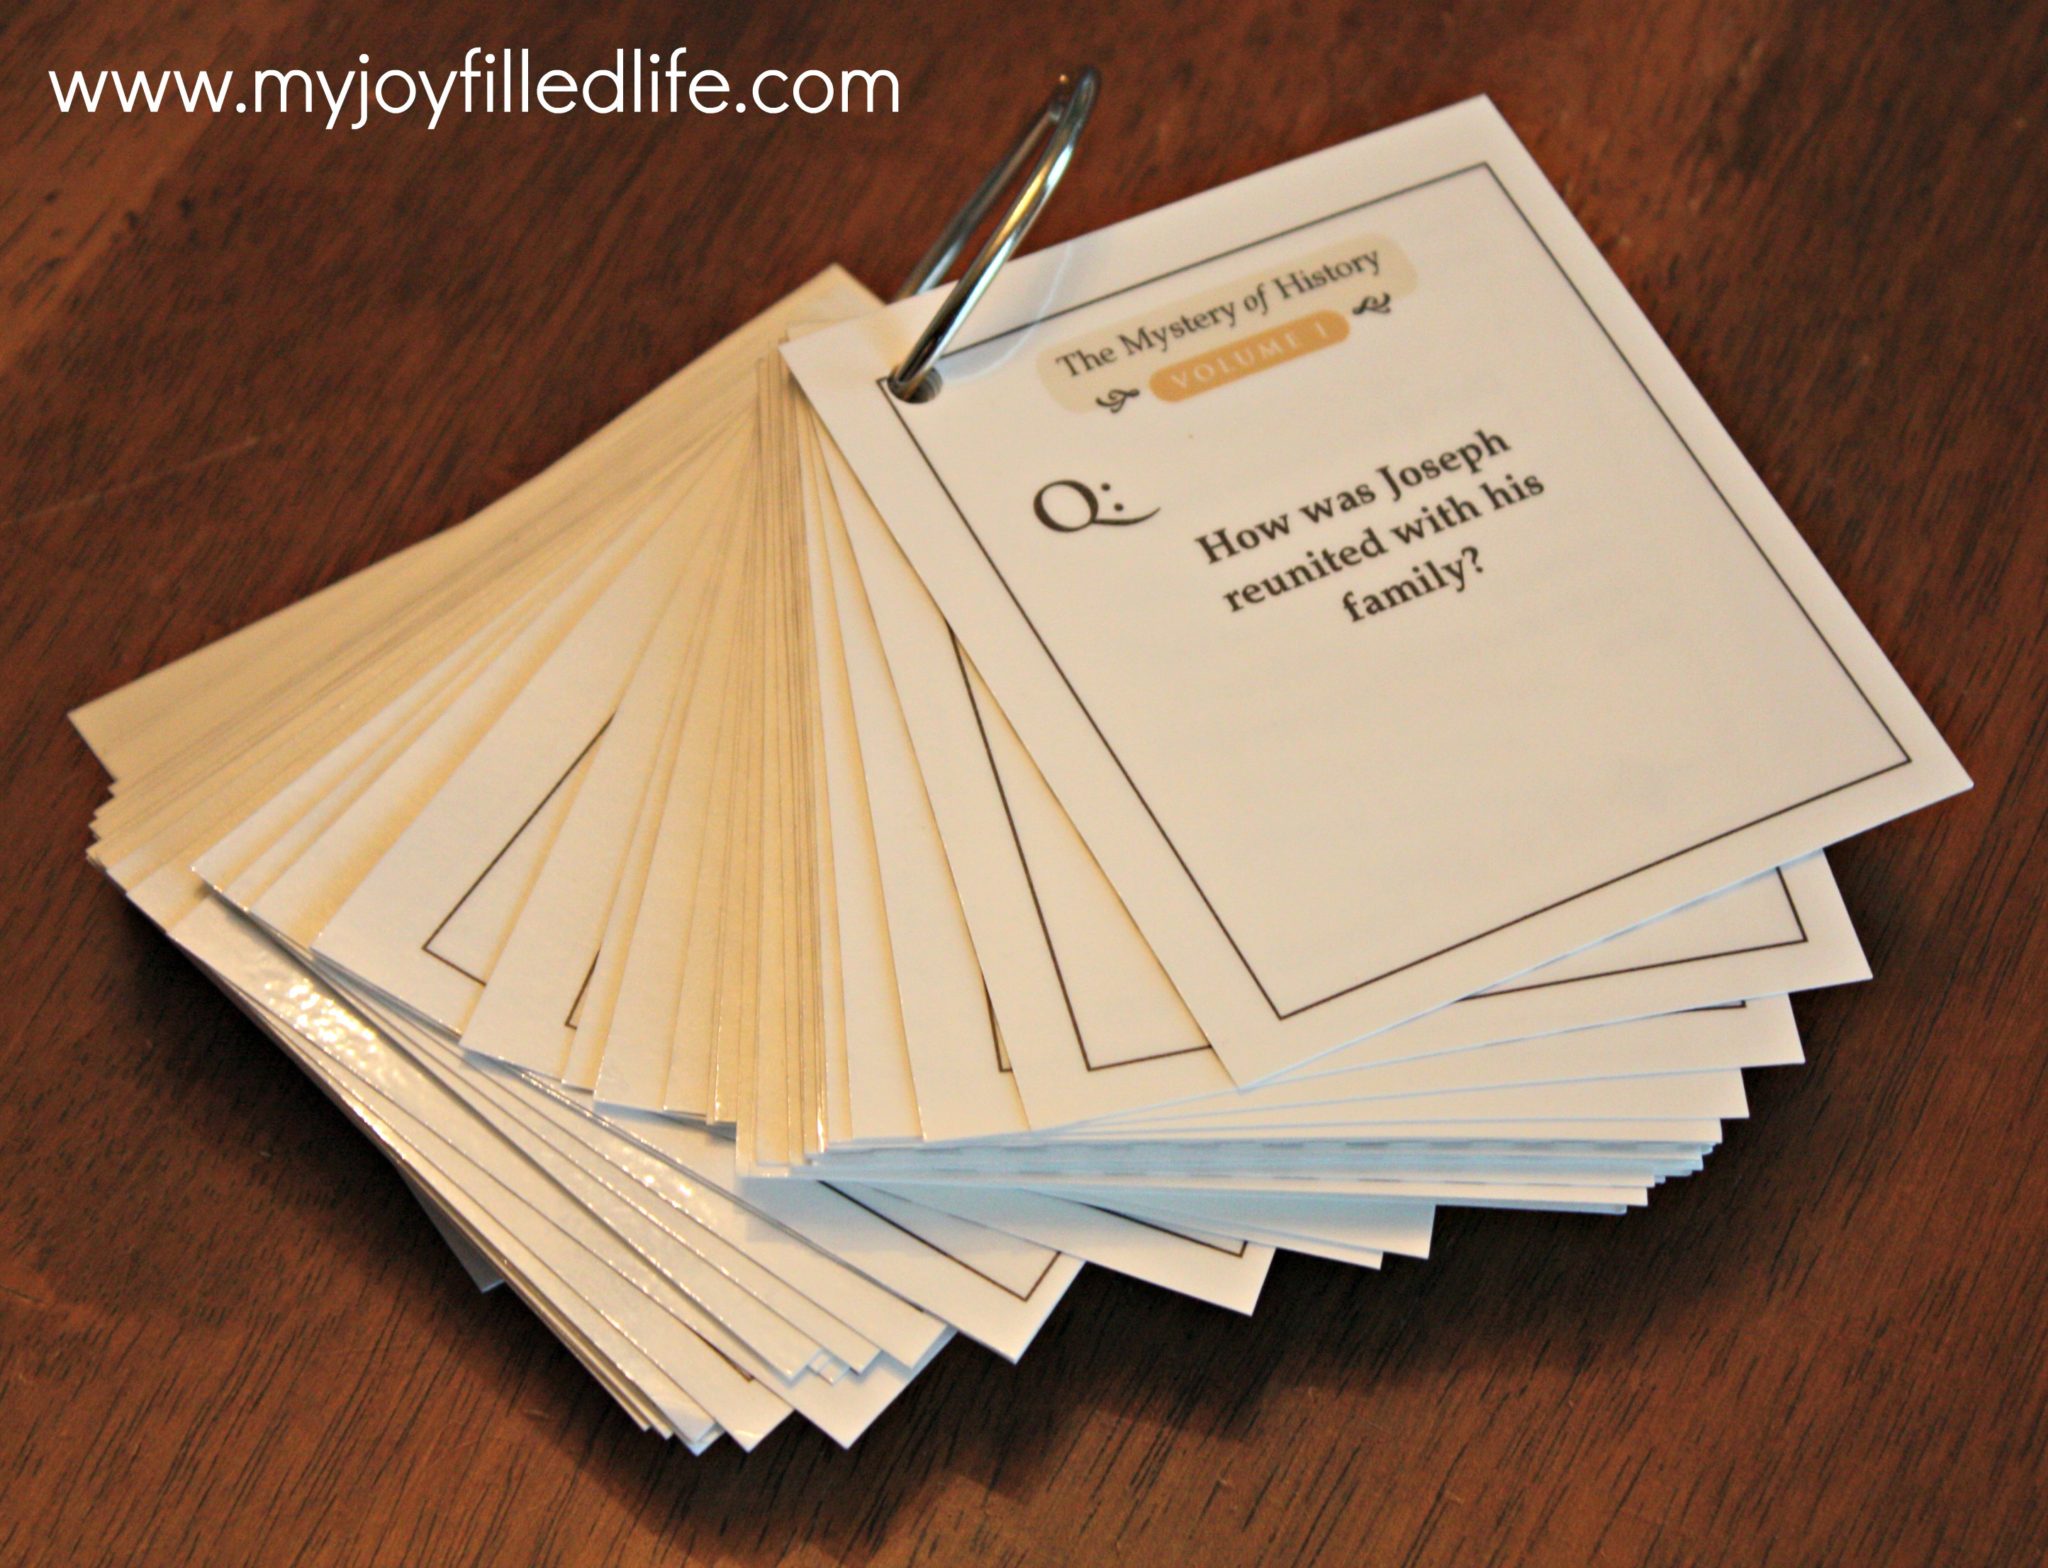
And that’s it! We also use the Challenge Cards for review purposes. I print them on cardstock, laminate them, cut them out, and put them on a 2 inch binder ring (I place each quarter on its own ring).
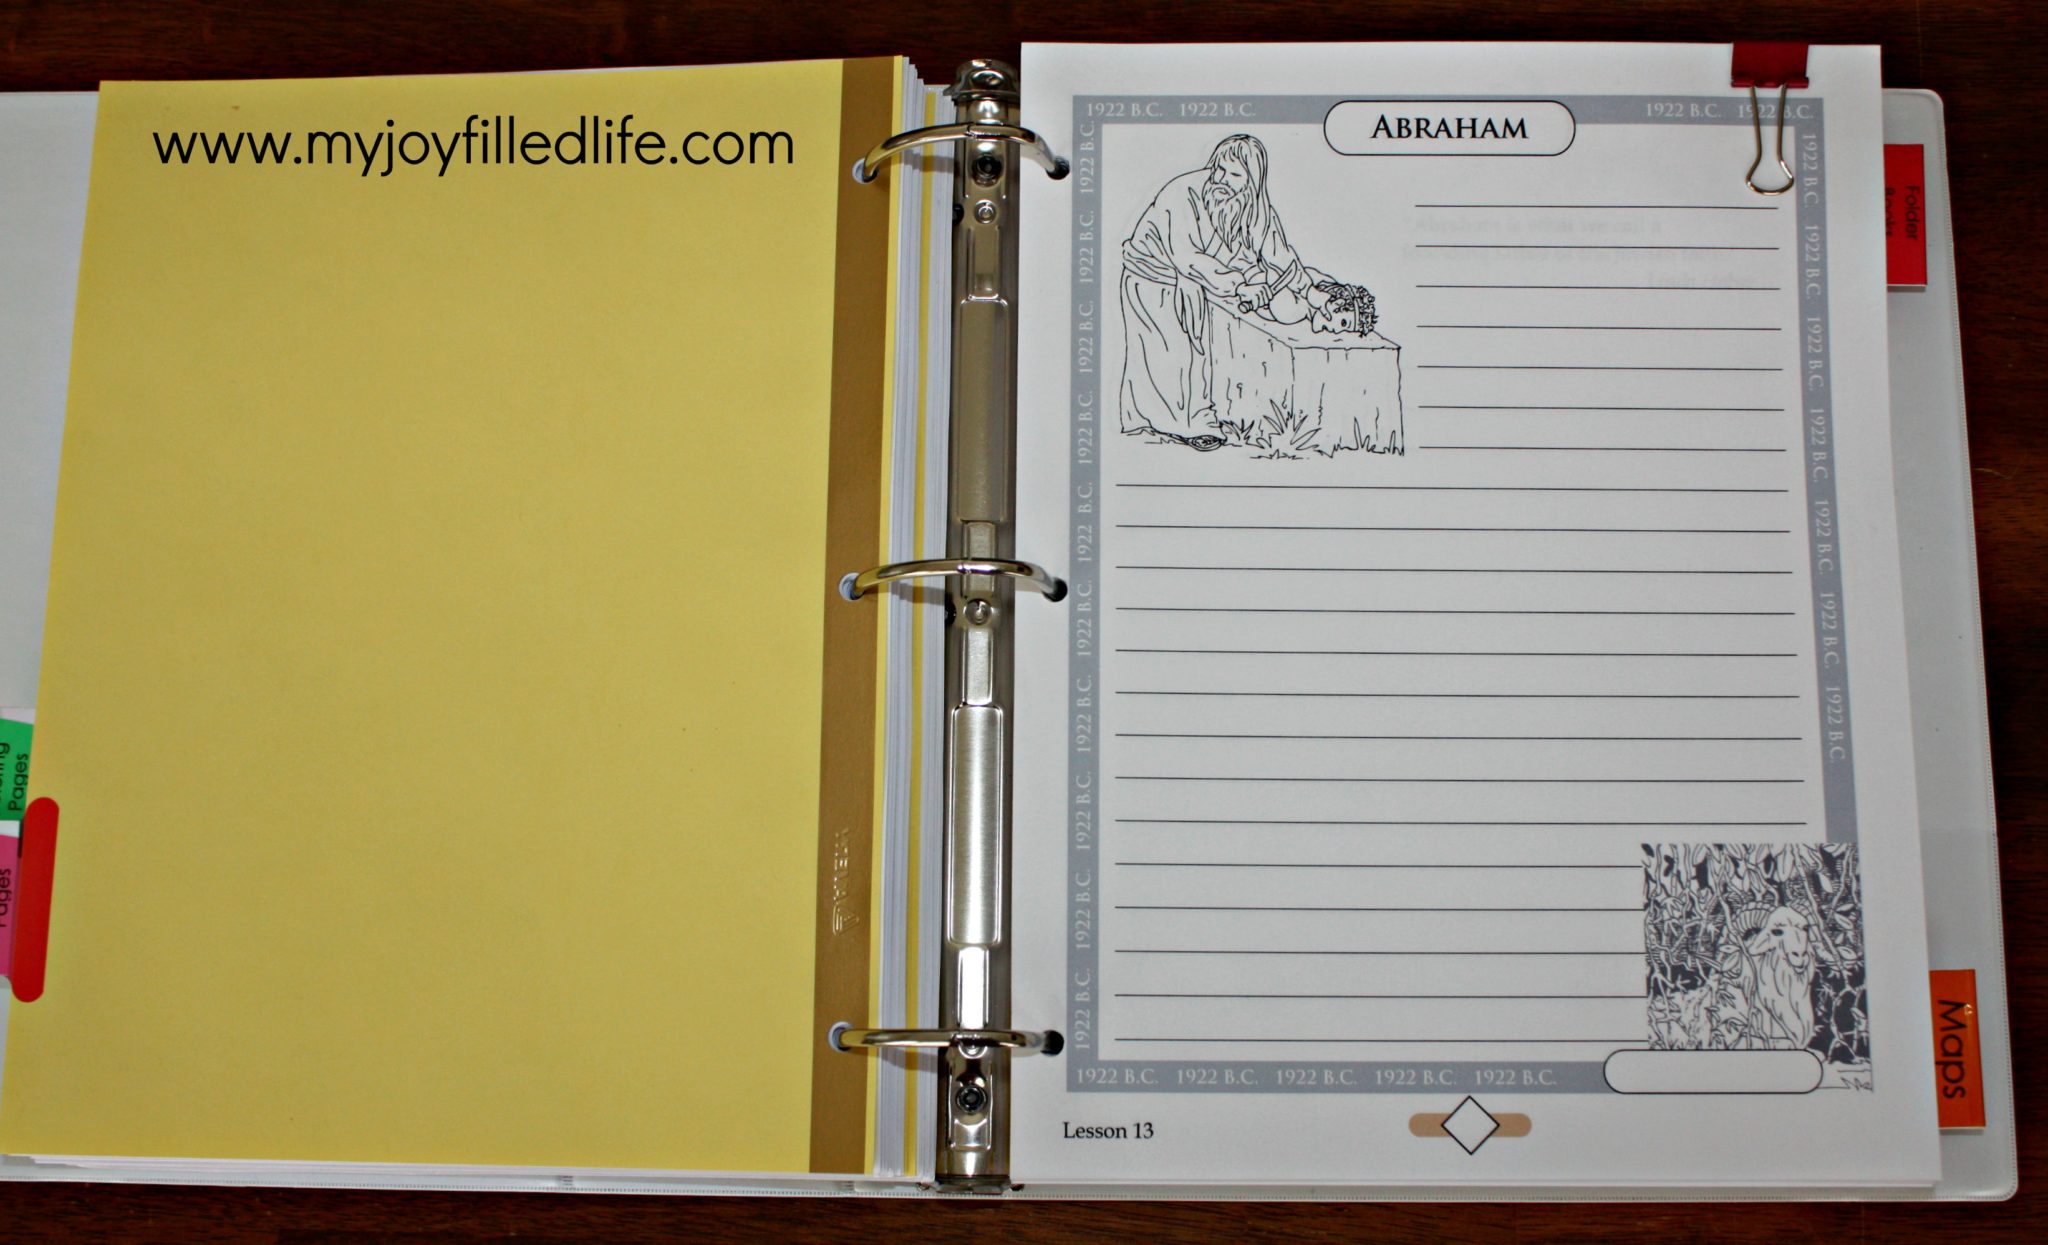
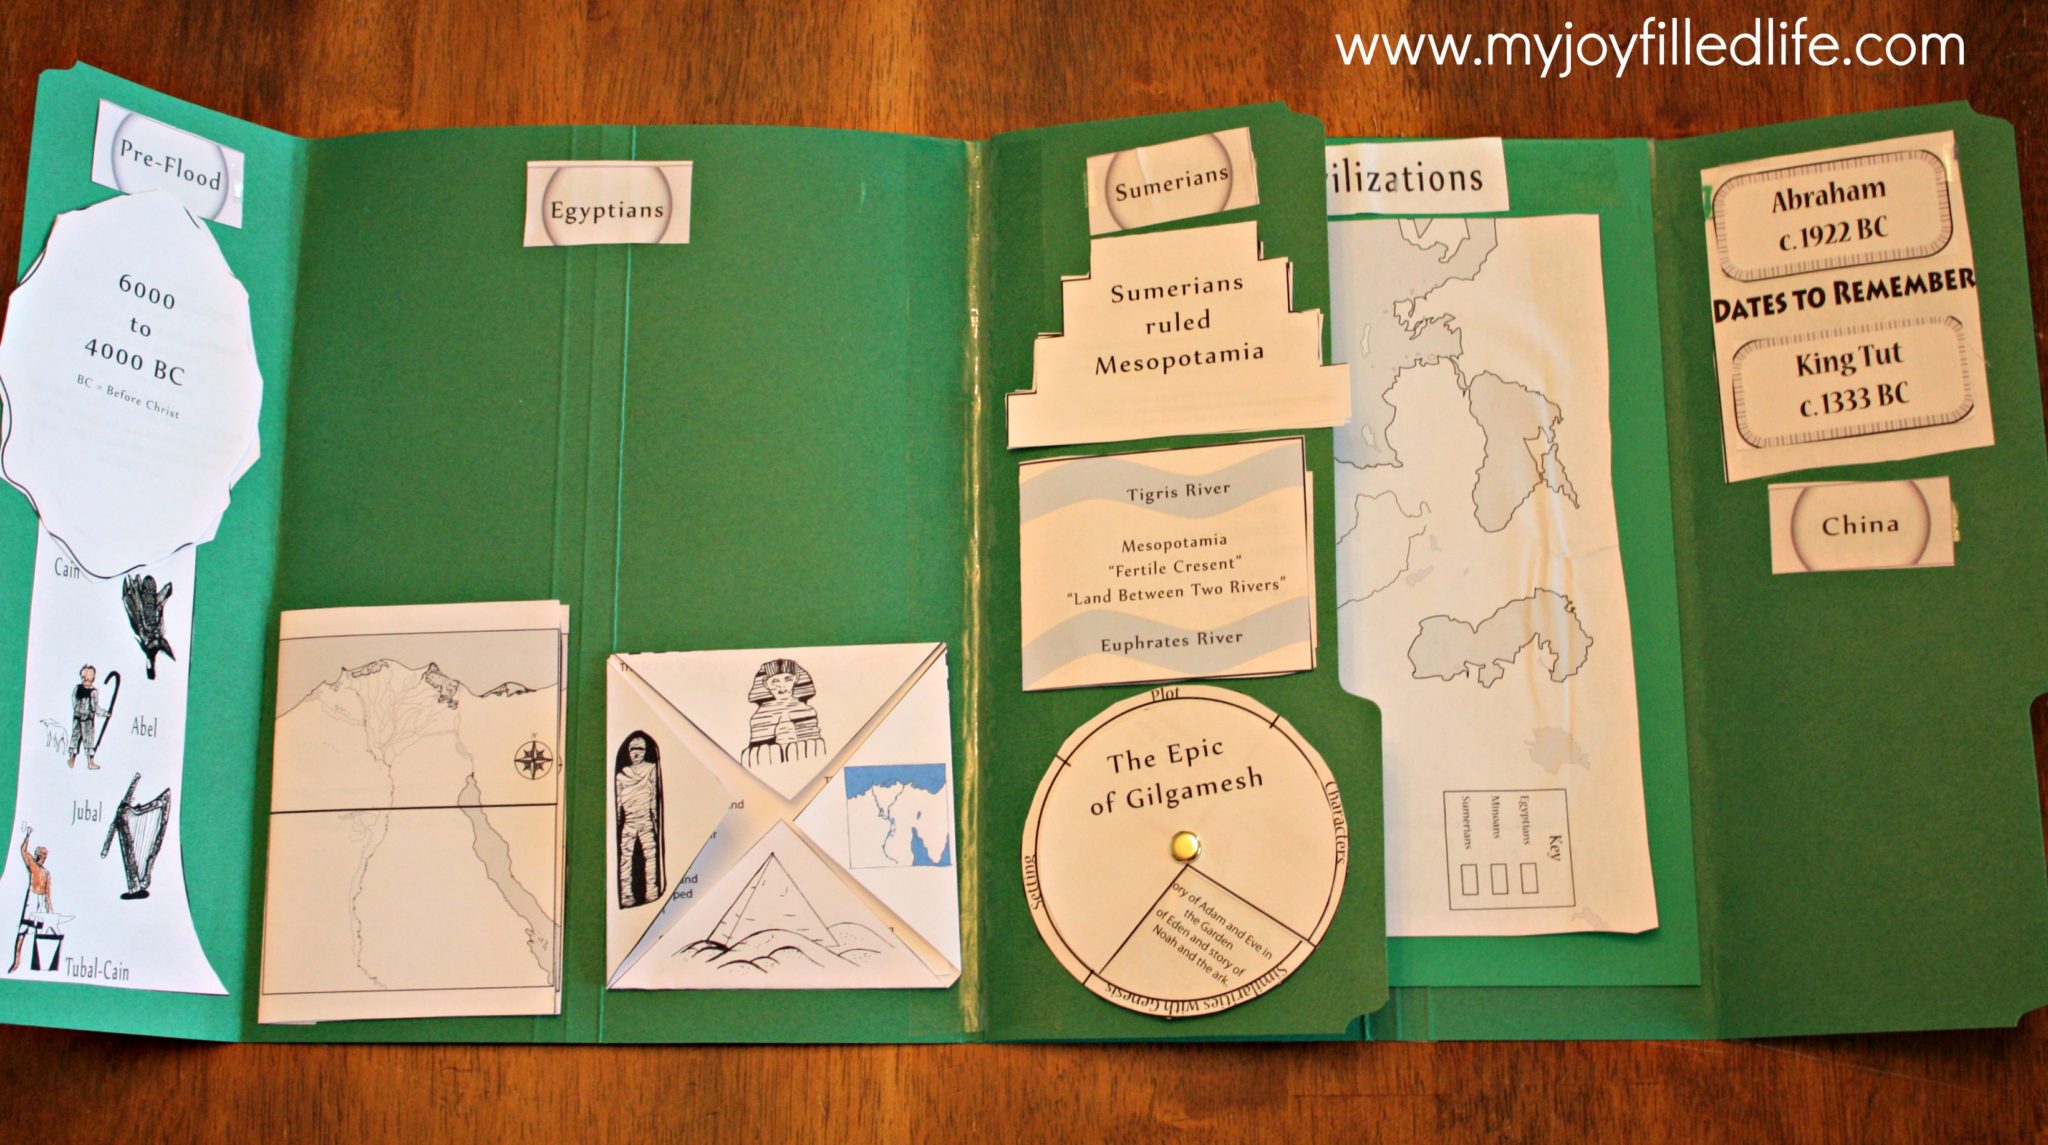
And here is a picture of a Folderbook that we are working on –
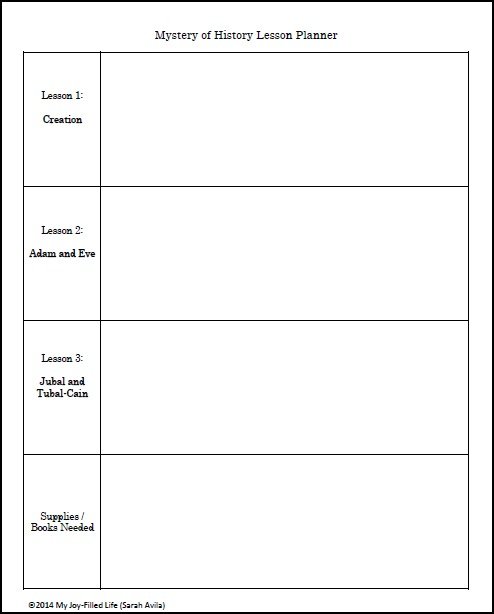
I have also made up some planning pages to go along with Mystery of History Volume 1. There are planning spaces for 3 lessons (1 week) on each page. I use these spaces to write down which assignments and activities we will do for each lesson (I wish we had time to do everything) and then there is a space at the bottom to write down any supplies or library books I need to get for the week. You can use these planning pages if you’d like; just click below to download.
Download Volume I
Download Volume II